System Setup Utility
149
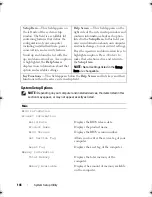
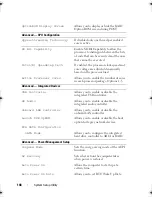
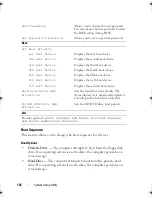
Auto Power On Hour
Allows you to set RTC Wake Up Hour.
Auto Power On Minute
Allows you to set RTC Wake Up Minute.
Auto Power On Second
Allows you to set RTC Wake Up Second
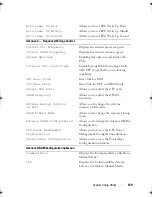
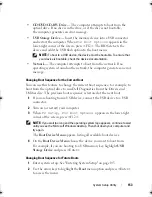
Advanced — Frequency/Voltage Control
Current CPU Frequency
Displays the current processor speed.
Current DRAM Frequency
Displays the current memory speed.
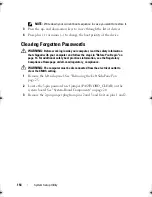
Spread Spectrum
Enabling this option could reduce the
EMI.
Internal PLL Overvoltage
Enable Internal PLL Overvoltage for K-
SKU CPUs to get better over clocking
capability.
DMI Base Clock
Base clock for DMI
CPU Gear Ratio
Base clock for CPU and DRAM only
Adjust CPU Ratio
Allows you to adjust the CPU ratio.
DRAM Frequency
Allows you to adjust the DRAM
frequency.
Extreme Memory Profile
(X.M.P)
Allows you to change the extreme
memory profile value.
DRAM Timing Mode
Allows you to change the memory timing
mode.
Advance DRAM Configuration
Allows you to change the Advance DRAM
Configuration.
CPU Power Management
Configuration
Allows you to access the CPU Power
Management Configuration submenu.
Overvoltage Configuration
Allows you to access the Overvoltage
Configuration submenu.
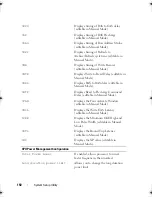
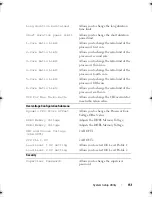
Advance DRAM Configuration Submenu
Command Rate
Displays the Command Rate (editable in
Manual Mode).
tCL
Displays the Column Address Strobe
Latency (editable in Manual Mode).
book.book Page 149 Wednesday, May 16, 2012 2:37 PM
Summary of Contents for Alienware Aurora R4
Page 16: ...16 Before you Begin ...
Page 24: ...24 Technical Overview ...
Page 28: ...28 Left Side Panel ...
Page 31: ...Hard Drive s 31 2 Follow the steps in After Working Inside Your Computer on page 15 ...
Page 32: ...32 Hard Drive s ...
Page 36: ...36 Hard Drive Fan Assembly ...
Page 39: ...Optical Drive s 39 2 Follow the steps in After Working Inside Your Computer on page 15 ...
Page 40: ...40 Optical Drive s ...
Page 56: ...56 PCI Fan Assembly ...
Page 62: ...62 Graphics Card ...
Page 69: ...Memory Fan 69 2 Follow the steps in After Working Inside Your Computer on page 15 ...
Page 70: ...70 Memory Fan ...
Page 74: ...74 Processor Liquid Cooling Assembly ...
Page 81: ...Processor 81 ...
Page 82: ...82 Processor ...
Page 88: ...88 Power Supply ...
Page 92: ...92 Coin Cell Battery ...
Page 98: ...98 System Board Assembly ...
Page 102: ...102 Master I O Board ...
Page 106: ...106 Top Lighting Board ...
Page 108: ...108 Right Side Top Panel 2 Remove the screw that secures the right side top panel ...
Page 112: ...112 Right Side Top Panel ...
Page 116: ...116 Right Side Middle Panel ...
Page 120: ...120 Right Lighting Board ...
Page 135: ...Back Bezel 135 1 screws 2 2 back bezel 3 tabs 1 2 3 ...
Page 140: ...140 WiFi Bluetooth Assembly ...
Page 144: ...144 Top I O Panel ...
Page 158: ...158 System Setup Utility ...
Page 162: ...162 Specifications ...

