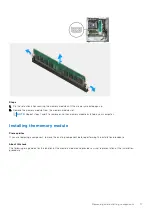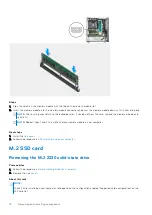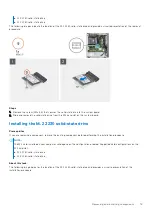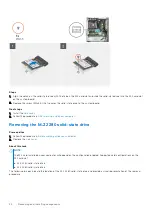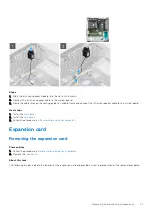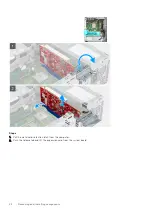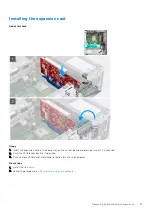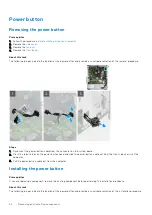
Steps
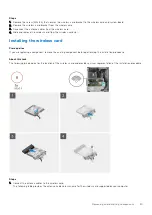
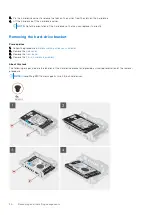
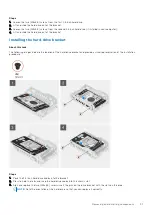
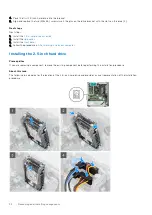
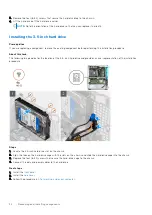
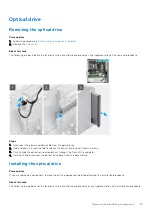
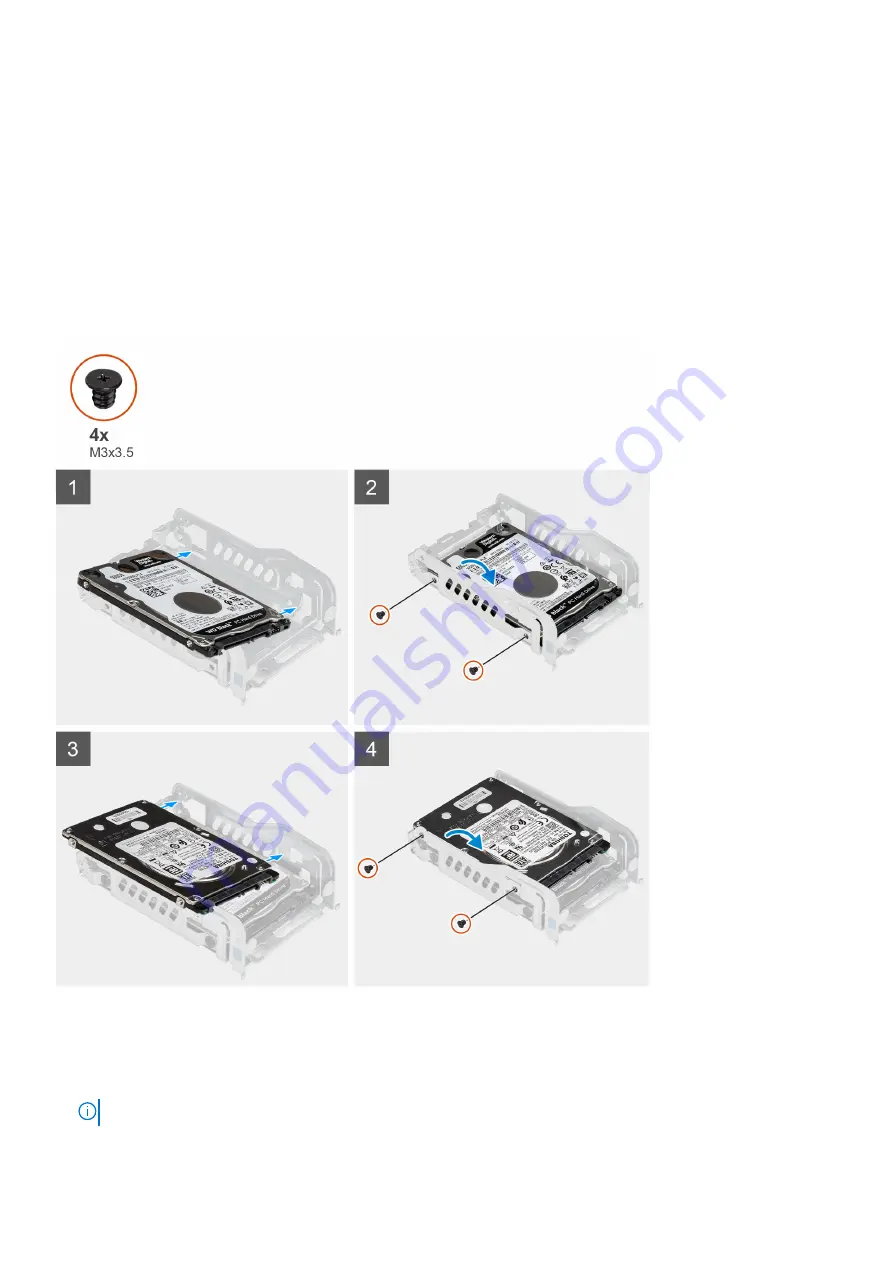
1. Loosen the two (M3x3.5) screws from the first 2.5 inch hard-drive.
2. Lift and slide the hard drive out of the bracket.
3. Loosen the two (M3x3.5) screws from the second 2.5 inch hard-drive (if installed in your computer).
4. Lift and slide the hard drive out of the bracket.
Installing the hard-drive bracket
About this task
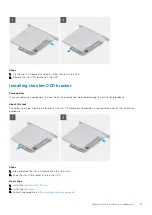
The following images indicate the location of the hard-drive bracket and provide a visual representation of the installation
procedure.
Steps
1. Place the 2.5-inch hard-drive caddy into the bracket.
2. Press to hold the tabs and snap the hard-drive caddy into the chassis slot.
3. Align and replace the two (M3x3.5) screws insert the pins on the drive bracket with the slots on the drive.
NOTE:
Note the orientation of the hard-drive so that you can replace it correctly.
Removing and installing components
31

