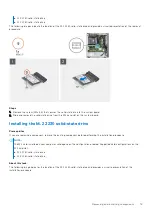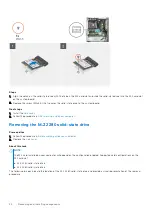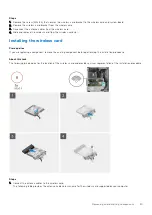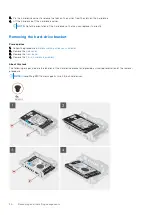
Steps
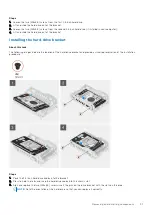
1. Locate the hard-drive carrier to install the hard drive.
2. Place the hard drive into the hard-drive carrier and align the tabs on the carrier with the slots on the hard drive.
3. Snap the hard-drive carrier into the hard drive.
4. Slide the hard-drive assembly into the hard-drive cage until it snaps into place.
5. Connect the data cable and power cable to the hard drive.
Next steps
1. Install the
.
After working inside your computer
.
3.5 inch hard drive
Removing the 3.5-inch hard drive
Prerequisites
Before working inside your computer
.
2. Remove the
.
3. Remove the
.
About this task
The following images indicate the location of the 3.5-inch hard drive and provide a visual representation of the removal
procedure.
Steps
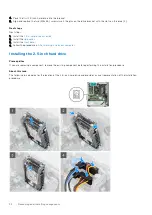
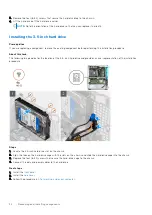
1. Locate the 3.5-inch hard drive on the chassis.
2. Disconnect the data and power cables from the hard drive.
Removing and installing components
33

