102
Installing System Components
3
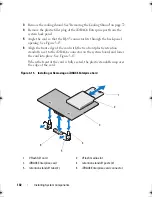
Remove the cooling shroud. See "Removing the Cooling Shroud" on page 72.
4
Remove the plastic filler plug of the iDRAC6 Enterprise port from the
system back panel.
5
Angle the card so that the RJ-45 connector fits through the back-panel
opening. See
Figure 3-15.
6
Align the front edge of the card with the two front plastic retention
standoffs next to the iDRAC6 connector on the system board, and lower
the card into place. See Figure 3-15.
When the front of the card is fully seated, the plastic standoffs snap over
the edge of the card.
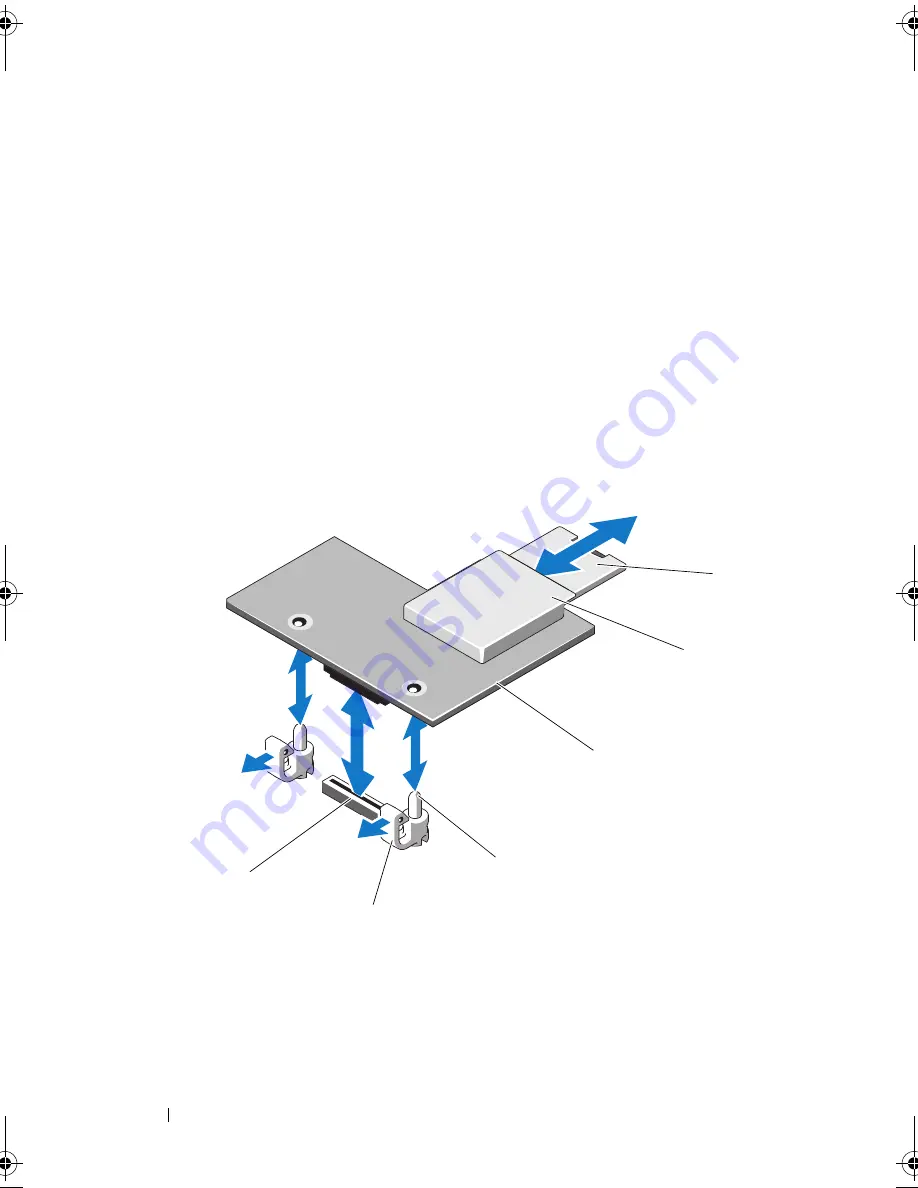
Figure 3-15.
Installing or Removing an iDRAC6 Enterprise Card
1
VFlash SD card
2
VFlash media slot
3
iDRAC6 Enterprise card
4
retention standoff posts (2)
5
retention standoff tabs (2)
6
iDRAC6 Enterprise card connector
3
2
1
4
5
6
book.book Page 102 Friday, February 26, 2010 11:22 AM
Summary of Contents for DX6012S
Page 10: ...10 Contents ...
Page 40: ...40 About Your System ...
Page 62: ...66 Using the System Setup Program and UEFI Boot Manager ...
Page 118: ...122 Installing System Components ...
Page 134: ...144 Troubleshooting Your System ...
Page 144: ...154 Jumpers and Connectors ...
Page 146: ...156 Getting Help ...
Page 152: ...162 Index ...


