

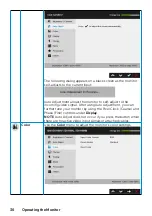
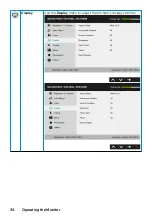
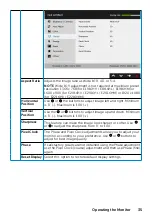


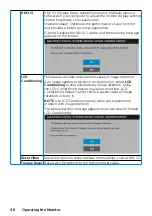


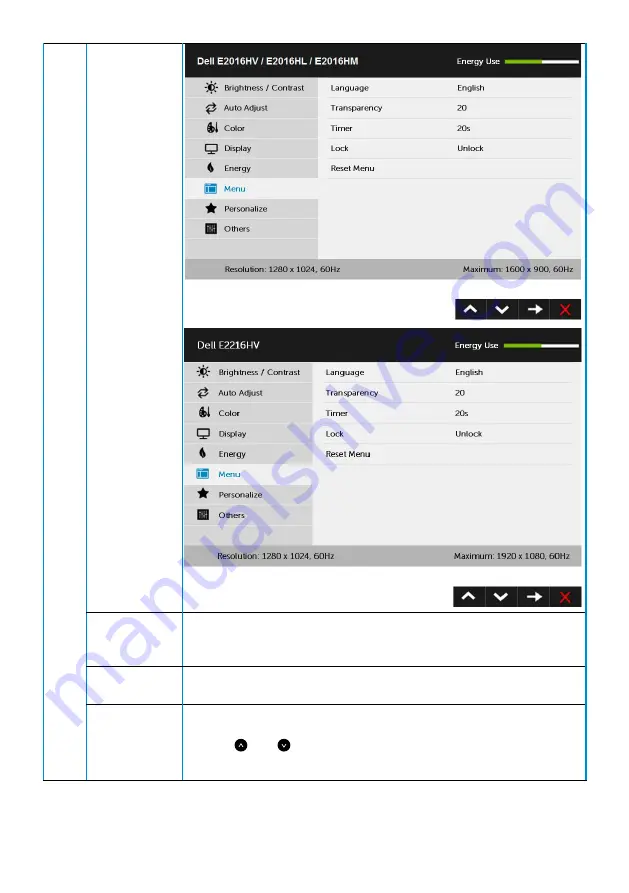
Language
Allows you to set the OSD display to one of eight languages:
English, Spanish, French, German, Brazilian Portuguese, Russian,
Simplified Chinese, or Japanese.
Transparency
Allows you to adjust the OSD background from opaque to
transparent.
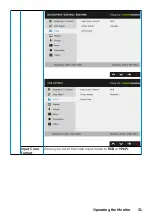
Timer
Allows you to set the time for which the OSD remains active
after you press a key on the monitor.
Use the and keys to adjust the slider in 1 second
increments, from 5 to 60 seconds.
Summary of Contents for E1916HL
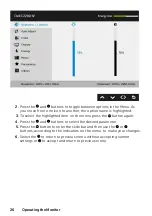
Page 25: ...Operating the Monitor 25 Main Menu ...
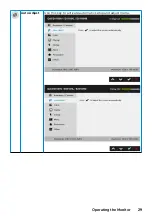
Page 29: ...Operating the Monitor 29 Auto Adjust Use this key to activate automatic setup and adjust menu ...
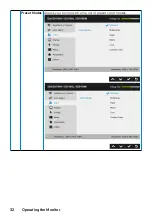
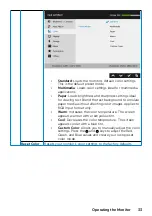
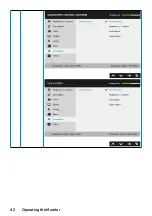
Page 32: ...32 Operating the Monitor Preset Modes Allows you to choose from a list of preset color modes ...
Page 36: ...36 Operating the Monitor Energy ...
Page 37: ...Operating the Monitor 37 ...
Page 42: ...42 Operating the Monitor ...
Page 45: ...Operating the Monitor 45 ...


