20" LCD Color Monitor
Dell E207WFP
8
D
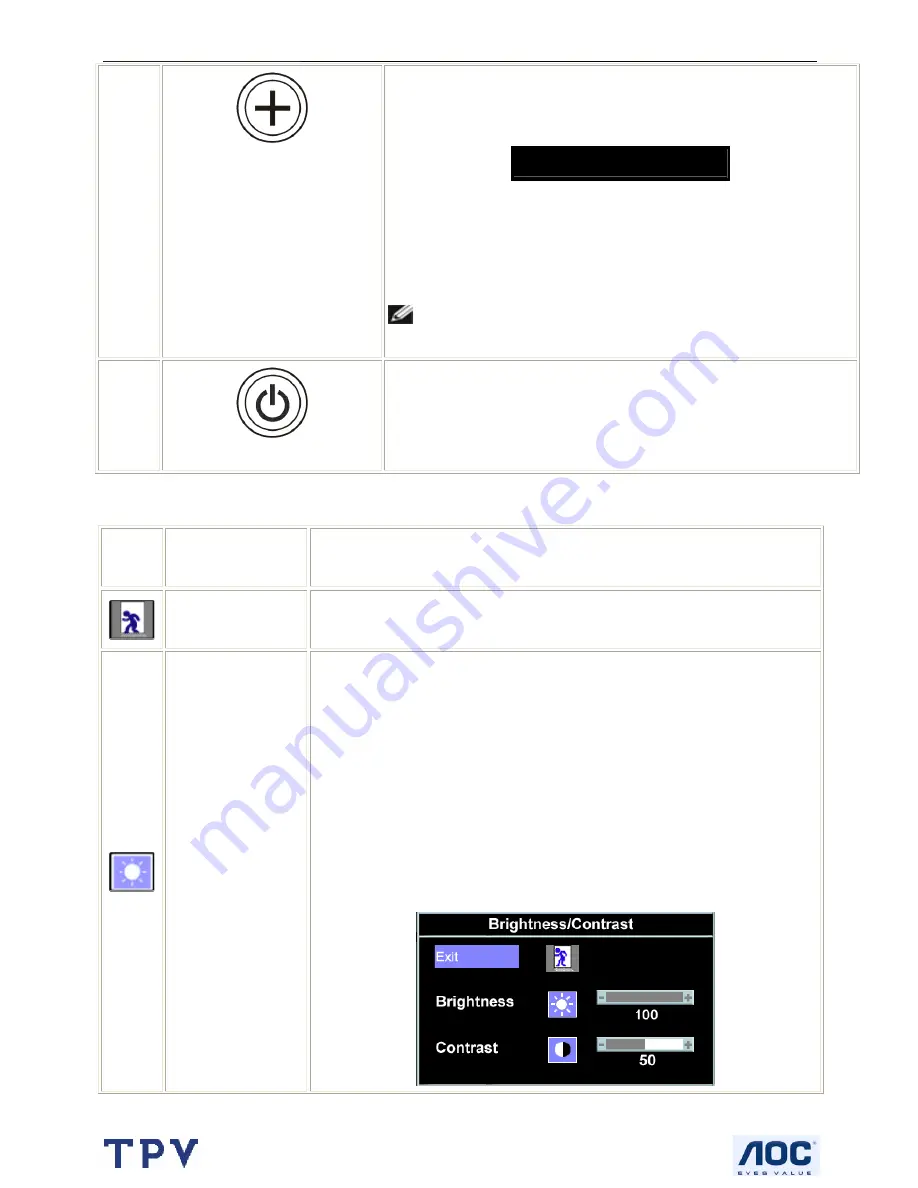
Auto Adjust
Use this button to activate automatic setup and adjust menu. The following
dialog appears on a black screen as the monitor self-adjusts to the current
input:
Auto Adjust In Progress
Auto Adjustment allows the monitor to self-adjust to the incoming video
signal. After using Auto Adjustment, you can further tune your monitor by
using the Pixel Clock (Coarse) and Phase (Fine) controls under Image
Settings.
NOTE:
Auto Adjust will not occur if you press the button while
there are no active video input signals, or attached cables.
E
Power Button and Indicator
Use the power button to turn the monitor on and off.
The green light indicates the monitor is on and fully functional. An amber
light indicates power save mode.
3.3 Adjusting the Picture
Icon
Menu and
Submenus
Description
Exit
Select to exit the Main menu.
Brightness/
Contrast
Brightness adjusts the luminance of the backlight.
Adjust Brightness first, then adjust Contrast only if further adjustment is
necessary.
Push the + button to increase luminance and push the - button to decrease
luminance (min 0 ~ max 100).
Contrast adjusts the degree of difference between darkness and lightness on the
monitor screen.
Push the + button to increase the contrast and push the - button to decrease the
contrast (min 0 ~ max 100).
Summary of Contents for E207WFP
Page 30: ...20 LCD Color Monitor Dell E207WFP 30 7 PCB Layout 7 1 Main Board ...
Page 31: ...20 LCD Color Monitor Dell E207WFP 31 ...
Page 32: ...20 LCD Color Monitor Dell E207WFP 32 7 2 Power Board ...
Page 33: ...20 LCD Color Monitor Dell E207WFP 33 ...
Page 34: ...20 LCD Color Monitor Dell E207WFP 34 7 3 Key Board ...
Page 48: ...20 LCD Color Monitor Dell E207WFP 48 2 Select Commands Batch ...
Page 50: ...20 LCD Color Monitor Dell E207WFP 50 11 Exploded View ...
Page 51: ...20 LCD Color Monitor Dell E207WFP 51 ...


