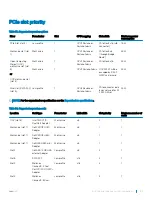
Table 32. Supported heat sinks
Heat sink
Dimensions
Design
CPU 1, standard heat sink
Length =108 mm (4.25 inches), Width =88
mm (3.46 inches), Height =24.8 mm (0.97
inches)
2 heat pipes
CPU 1, extended heat sink
Length =108 mm (4.25 inches), Width =96
mm (3.77 inches), Height =24.8 mm (0.97
inches)
2 heat pipes
CPU 2, standard heat sink
Length =108 mm (4.25 inches), Width =88
mm (3.46 inches), Height =24.8 mm (0.97
inches)
3 heat pipes
Removing a processor and heat sink module
Prerequisites
WARNING:
The heat sink may be hot to touch for some time after the system has been powered down. Allow the heat sink to
cool before removing it.
1
Follow the safety guidelines listed in
2
Follow the procedure listed in
Before working inside your system
.
3
Remove the sled from the enclosure.
4
Remove the air shroud.
5
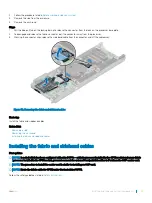
If installed, disconnect the fabric cable from the fabric processor.
NOTE:
The process to remove a processor heat sink module (PHM) is identical for a fabric and a non-fabric processor.
Steps
1
Using a Torx #T30 screwdriver, loosen the screws on the heat sink in the order below:
a Loosen the first screw three turns.
b Loosen the second screw completely.
c Return to the first screw and loosen it completely.
NOTE:
It is normal for the heat sink to slip off the blue retention clips when the screws are partially
loosened, continue to loosen the screw(s).
2
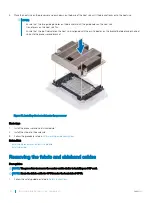
Pushing both blue retention clips simultaneously, lift the PHM out of the system.
3
Set the PHM aside with the processor side facing up.
Installing and removing system components
79
Summary of Contents for EMC PowerEdge C6420
Page 1: ...Dell EMC PowerEdge C6420 Regulatory Model E43S Series Regulatory Type E43S001 ...
Page 8: ...Figure 1 Supported configurations for PowerEdge C6420 8 PowerEdge C6420 overview ...
Page 64: ...Figure 12 Removing a sled 64 Installing and removing system components ...
Page 66: ...Figure 14 Installing a sled 66 Installing and removing system components ...


