Install the system in the cabinet
In an angled drop-in design, inner (chassis) rails are attached to the sides of the system and then the system slides into the
outer (cabinet) rails that are installed in the rack.
About this task
WARNING:
The system is heavy. To avoid personal injury and/or damage to the equipment, do not attempt to
install the system in a cabinet without a mechanical lift and/or help from another person.
Steps
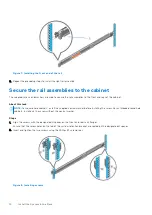
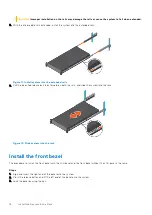
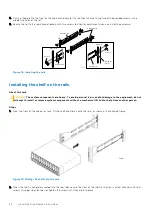
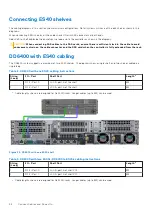
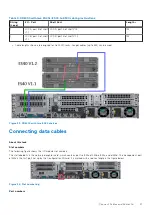
1. Pull the inner rails out of the rack until they lock into place.
2. Release the inner rail lock by pulling forward on the white tabs and sliding the inner rail out of the intermediate rails.
Figure 9. Pull out the intermediate rail
1. Intermediate rail
2. Inner rail
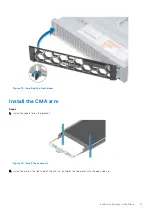
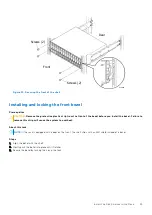
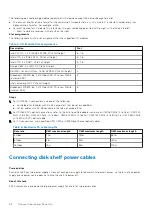
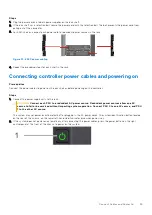
3. Attach the inner rails to the sides of the system by aligning the J-slots on the rail with the standoffs on the system and
sliding forward on the system until they lock into place.
Figure 10. Attach the inner rails to the system
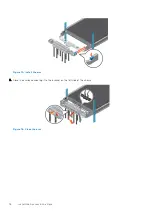
4. Verify all the J-slots on the rails are aligned with the rail standoffs on the system.
Install the System in the Rack
15


