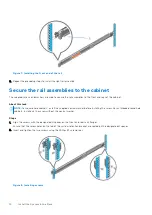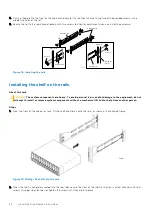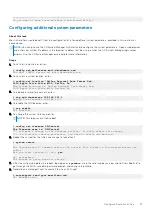
2. Pull the sliding rail to the front of the cabinet and secure it to the front channel using two of the provided screws in the
middle two holes of the rail.
3. Secure the rail to the rear channel loosely with two screws to allow for adjustment when you install the enclosure.
EMC3452
Right rear
Screw (2)
Alignment
pin (2)
Mounting rail
Alignment pins
Adjustable rail
Right front
Mounting rail
Screw (2)
Figure 18. Installing the rails
Installing the shelf on the rails
About this task
CAUTION:
The system components are heavy. To avoid personal injury and/or damage to the equipment, do not
attempt to install or remove system components without a mechanical lift and/or help from another person.
Steps
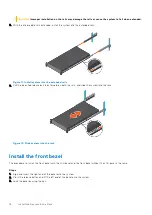
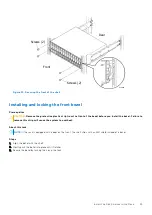
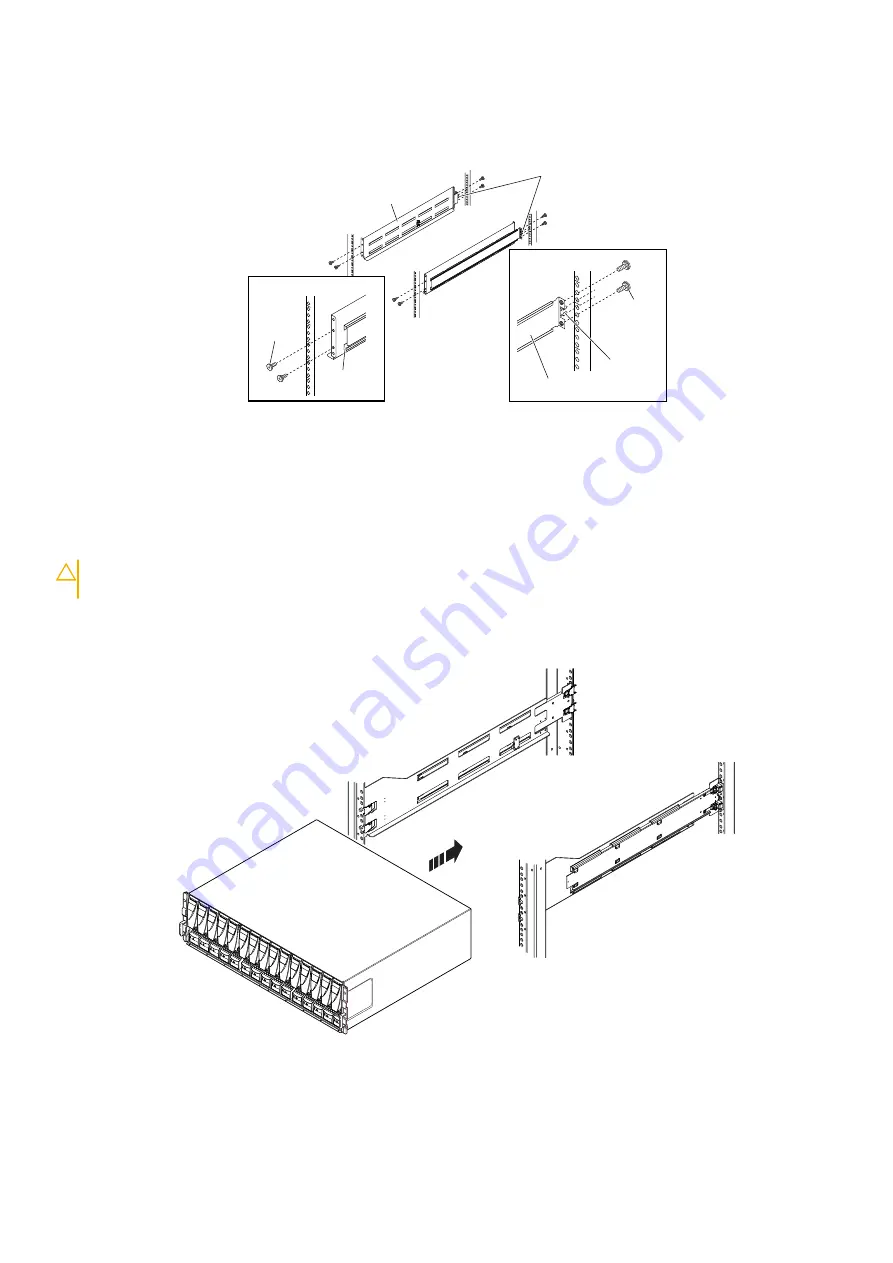
1. From the front of the cabinet or rack, lift the shelf and slide it onto the rails, as shown in the following figure.
CL5845
Figure 19. Sliding the shelf onto the rails
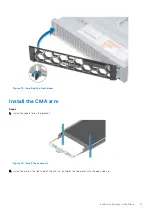
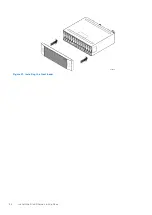
2. When the shelf is completely seated into the rear tabs, secure the front of the shelf to the front vertical channels with four
screws (two per side), but do not tighten the screws until they are all in place.
22
Install the Disk Shelves in the Rack


