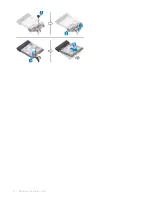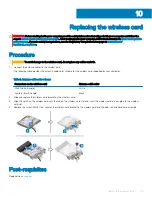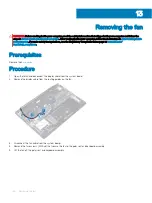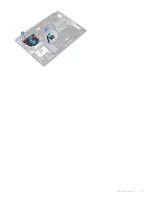
Replacing the solid-state drive/Intel Optane
Enable the Intel Optane after you replace it. For more information about enabling the Intel Optane, see
.
WARNING:
Before working inside your computer, read the safety information that shipped with your computer and follow the
steps in
Before working inside your computer
. After working inside your computer, follow the instructions in
. For more safety best practices, see the Regulatory Compliance home page at
CAUTION:
Solid-state drives are fragile. Exercise care when handling the solid-state drive.
Procedure
1
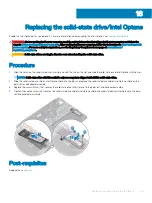
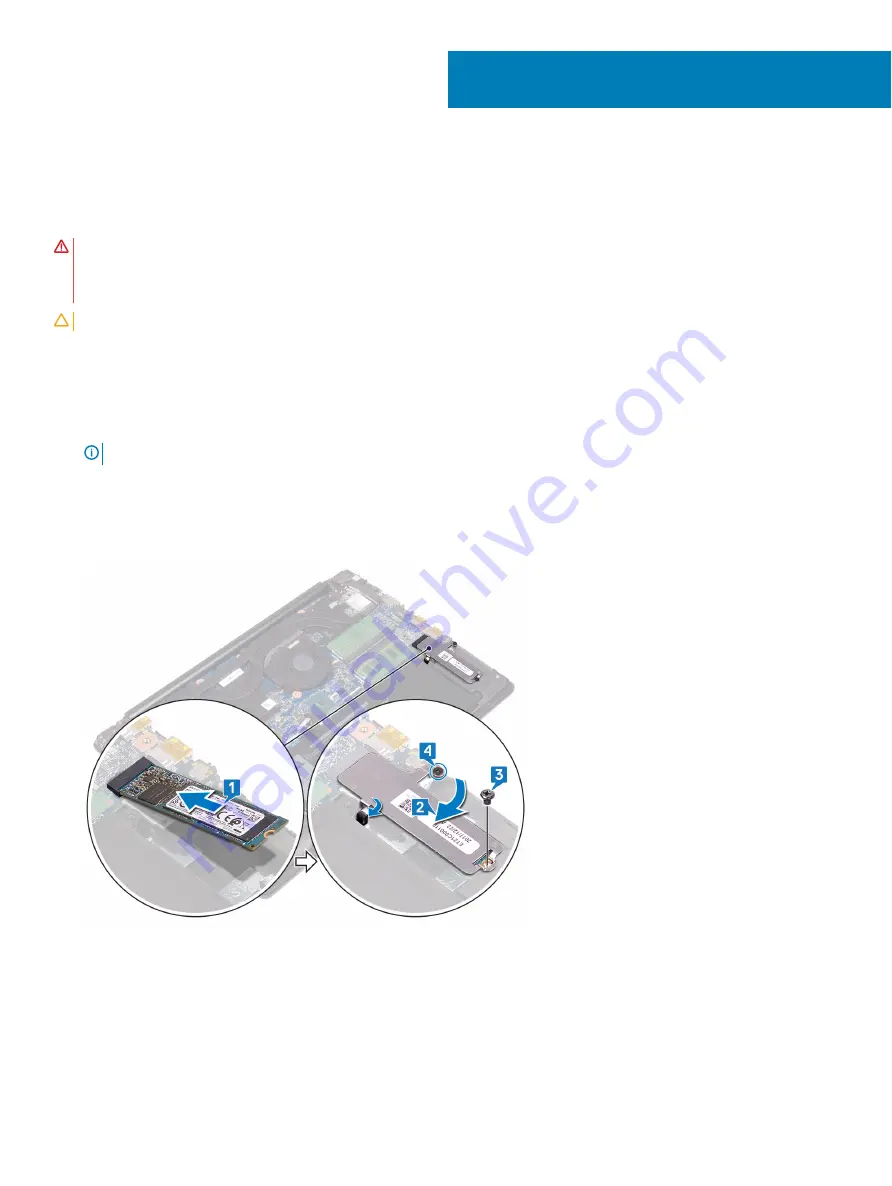
Align the notch on the solid-state drive/Intel Optane with the tab on the slot and slide the solid-state drive/Intel Optane into the slot.
NOTE:
Solid-state drive shield is available only on computers shipped with NVMe solid-state drive.
2
Slide the solid-state drive shield/Intel Optane shield into the tabs and replace the solid-state drive shield/Intel Optane shield on the
palm rest and keyboard assembly.
3
Replace the screw (M2x3) that secures the solid-state drive/Intel Optane to the palm rest and keyboard assembly.
4
Tighten the captive screw that secures the solid-state drive shield/Intel Optane shield and solid-state drive/Intel Optane to the palm
rest and keyboard assembly.
Post-requisites
Replace the
.
18
Replacing the solid-state drive/Intel Optane
35
Summary of Contents for G3 15
Page 18: ...18 Replacing the base cover ...
Page 24: ...24 Removing the wireless card ...
Page 29: ...Removing the fan 29 ...
Page 31: ...Post requisites Replace the base cover Replacing the fan 31 ...
Page 39: ...Post requisites 1 Replace the battery 2 Replace the base cover Replacing the hard drive 39 ...
Page 50: ...50 Removing the display assembly ...
Page 57: ...Removing the power button board 57 ...
Page 59: ...Post requisites Replace the base cover Replacing the power button board 59 ...
Page 62: ...62 Removing the system board ...
Page 67: ...Removing the power button with fingerprint reader 67 ...
Page 71: ...Removing the palm rest and keyboard assembly 71 ...
Page 78: ...78 Removing the display panel ...


