Kosketuslevyn asentaminen
HUOMAUTUS
: Ennen kuin teet mitään toimia tietokoneen sisällä, lue tietokoneen mukana toimitetut turvallisuustiedot ja
noudata kohdan
Ennen tietokoneen komponenttien käsittelyä
vaiheita. Kun olet työskennellyt tietokoneen sisäosien
Tietokoneen sisällä työskentelyn jälkeen
ohjeita. Lisää parhaita turvallisuuskäytäntöjä on
Regulatory Compliance -sivulla osoitteessa
www.dell.com/regulatory_compliance
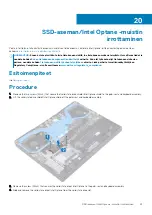
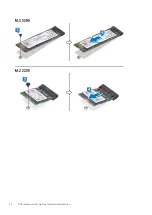
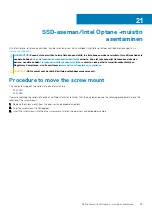
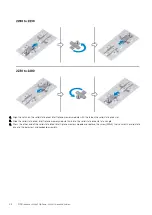
Procedure
NOTE:
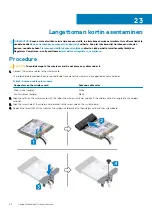
Ensure that the touchpad is aligned with the guides available on the palm-rest and keyboard assembly, and the
gap on either sides of the touchpad is equal.
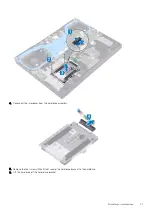
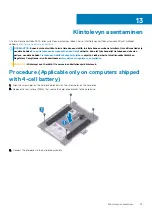
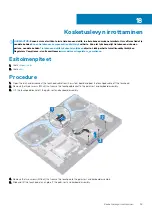
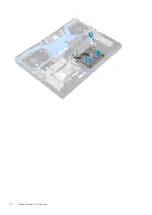
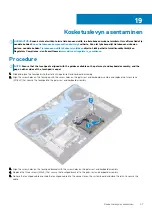
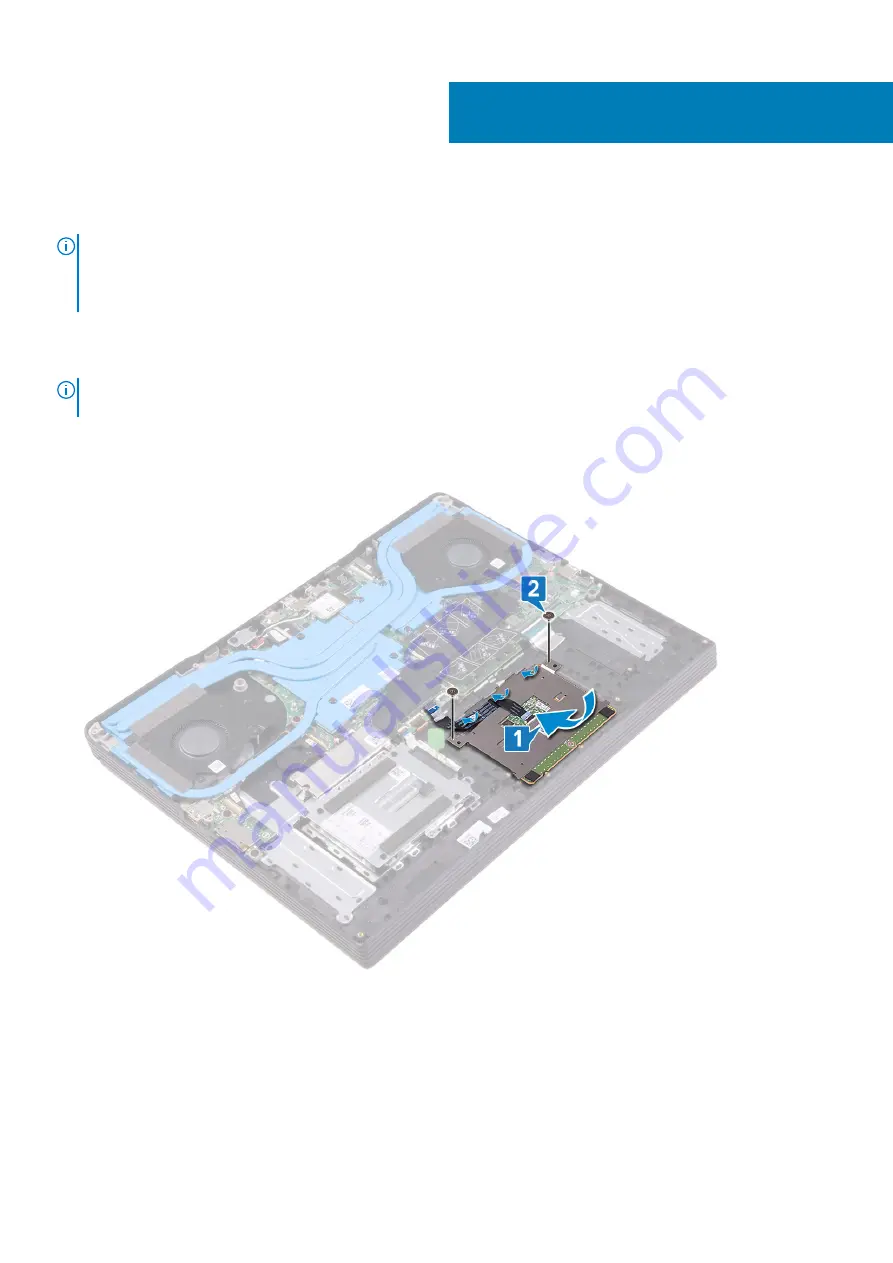
1. Slide and place the touchpad into the slot on the palm-rest and keyboard assembly.
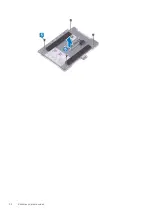
2. Align the screw holes on the touchpad with the screw holes on the palm-rest and keyboard assembly and replace the two screws
(M1.6x2) that secure the touchpad to the palm-rest and keyboard assembly.
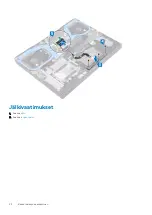
3. Align the screw holes on the touchpad bracket with the screw holes on the palm-rest and keyboard assembly.
4. Replace the three screws (M2x3) that secure the touchpad bracket to the palm-rest and keyboard assembly.
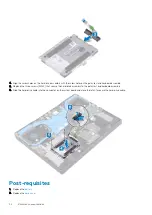
5. Adhere the touchpad cable and slide the touchpad cable into the connector on the system board and close the latch to secure the
cable.
19
Kosketuslevyn asentaminen
41
Summary of Contents for G7 7790
Page 1: ...Dell G7 7790 Service Manual Regulatory Model P40E Regulatory Type P40E001 ...
Page 20: ...20 Rungon suojuksen asentaminen ...
Page 23: ...Akun irrottaminen 23 ...
Page 25: ...Jälkivaatimukset Asenna rungon suojus Akun asentaminen 25 ...
Page 27: ...Muistimoduulien irrottaminen 27 ...
Page 29: ...Jälkivaatimukset Asenna rungon suojus Muistimoduulien asentaminen 29 ...
Page 32: ...32 Kiintolevyn irrottaminen ...
Page 40: ...40 Kosketuslevyn irrottaminen ...
Page 42: ...Jälkivaatimukset 1 Asenna akku 2 Asenna rungon suojus 42 Kosketuslevyn asentaminen ...
Page 44: ...44 SSD aseman Intel Optane muistin irrottaminen ...
Page 49: ...Jälkivaatimukset Asenna rungon suojus SSD aseman Intel Optane muistin asentaminen 49 ...
Page 51: ...Langattoman kortin irrottaminen 51 ...
Page 53: ...Jälkivaatimukset Asenna rungon suojus Langattoman kortin asentaminen 53 ...
Page 55: ...Removing the graphics card fan 55 ...
Page 57: ...Jälkivaatimukset Asenna rungon suojus Replacing the graphics card fan 57 ...
Page 68: ...68 Näyttökokoonpanon irrottaminen ...
Page 82: ...82 Sormenjälkilukijalla varustetun virtapainikkeen irrottaminen ...
Page 86: ...86 Kämmentuki ja näppäimistökokoonpanon irrottaminen ...
Page 88: ...16 Replace the base cover 88 Kämmentuki ja näppäimistökokoonpanon asentaminen ...

