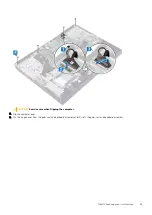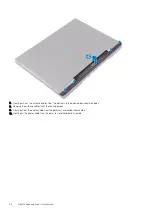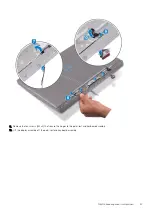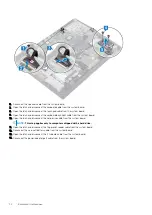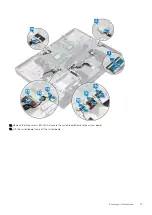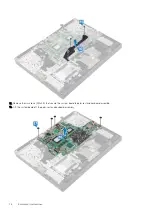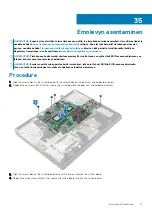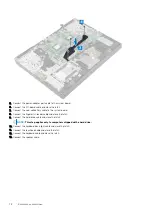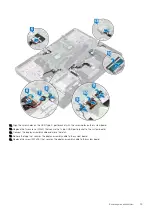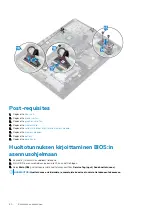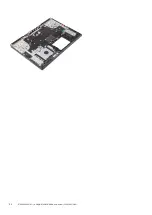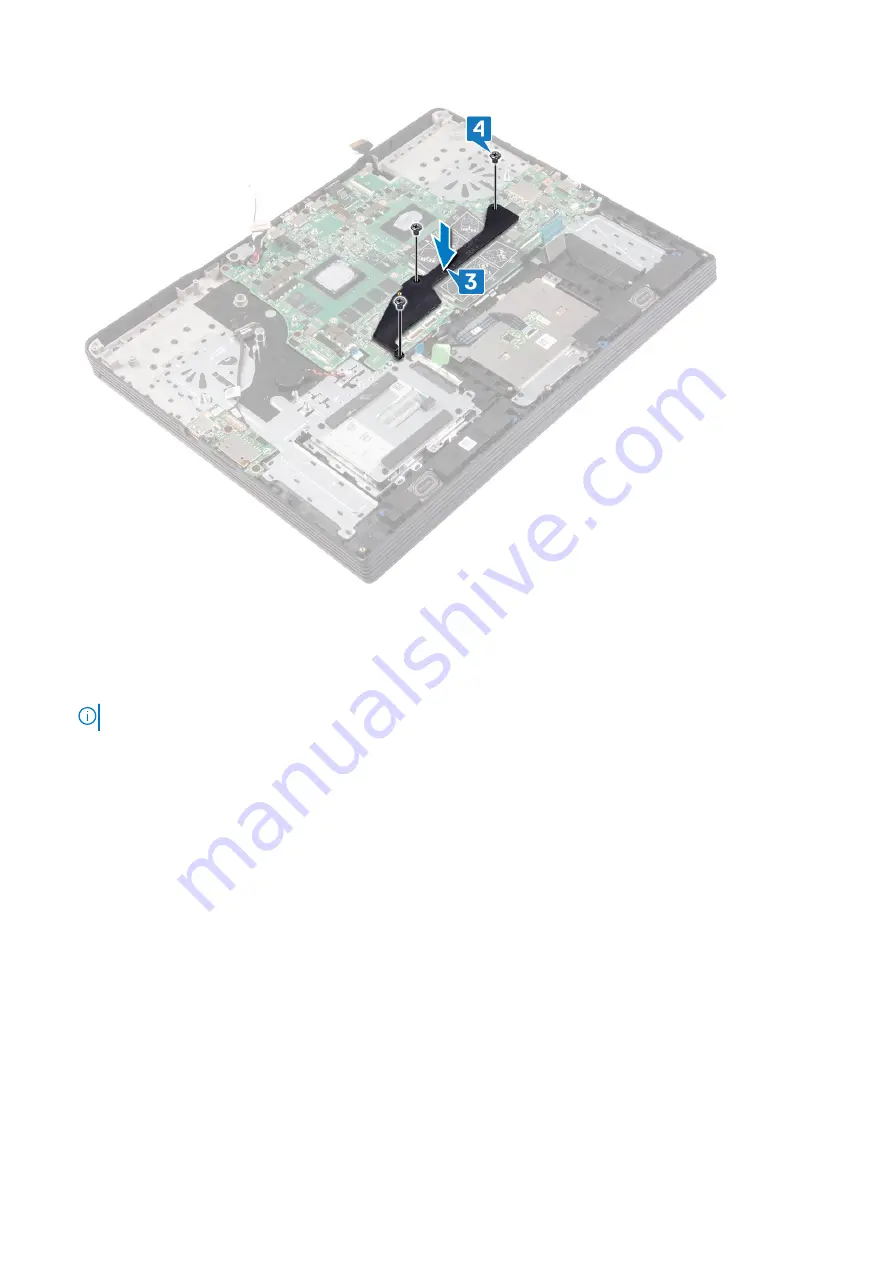
5. Connect the power-adapter port cable to the system board.
6. Connect the I/O-board cable and close the latch.
7. Connect the coin-cell battery cable to the system board.
8. Connect the fingerprint-reader cable and close the latch.
9. Connect the hard-drive cable and close the latch.
NOTE:
This step applies only to computers shipped with a hard drive.
10. Connect the keyboard back-light cable and close the latch.
11. Connect the touchpad cable and close the latch.
12. Connect the keyboard cable and close the latch.
13. Connect the speaker cable.
78
Emolevyn asentaminen
Summary of Contents for G7 7790
Page 1: ...Dell G7 7790 Service Manual Regulatory Model P40E Regulatory Type P40E001 ...
Page 20: ...20 Rungon suojuksen asentaminen ...
Page 23: ...Akun irrottaminen 23 ...
Page 25: ...Jälkivaatimukset Asenna rungon suojus Akun asentaminen 25 ...
Page 27: ...Muistimoduulien irrottaminen 27 ...
Page 29: ...Jälkivaatimukset Asenna rungon suojus Muistimoduulien asentaminen 29 ...
Page 32: ...32 Kiintolevyn irrottaminen ...
Page 40: ...40 Kosketuslevyn irrottaminen ...
Page 42: ...Jälkivaatimukset 1 Asenna akku 2 Asenna rungon suojus 42 Kosketuslevyn asentaminen ...
Page 44: ...44 SSD aseman Intel Optane muistin irrottaminen ...
Page 49: ...Jälkivaatimukset Asenna rungon suojus SSD aseman Intel Optane muistin asentaminen 49 ...
Page 51: ...Langattoman kortin irrottaminen 51 ...
Page 53: ...Jälkivaatimukset Asenna rungon suojus Langattoman kortin asentaminen 53 ...
Page 55: ...Removing the graphics card fan 55 ...
Page 57: ...Jälkivaatimukset Asenna rungon suojus Replacing the graphics card fan 57 ...
Page 68: ...68 Näyttökokoonpanon irrottaminen ...
Page 82: ...82 Sormenjälkilukijalla varustetun virtapainikkeen irrottaminen ...
Page 86: ...86 Kämmentuki ja näppäimistökokoonpanon irrottaminen ...
Page 88: ...16 Replace the base cover 88 Kämmentuki ja näppäimistökokoonpanon asentaminen ...

