140
Adding and Replacing Parts
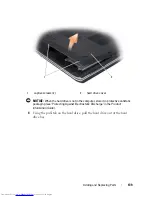
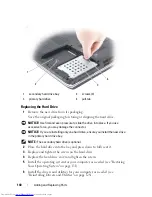
Replacing the Hard Drive
1
Remove the new drive from its packaging.
Save the original packaging for storing or shipping the hard drive.
NOTICE:
Use firm and even pressure to slide the drive into place. If you use
excessive force, you may damage the connector.
NOTICE:
If you are installing only one hard drive, ensure you install the new drive
in the primary hard drive bay.
NOTE:
The secondary hard drive is optional.
2
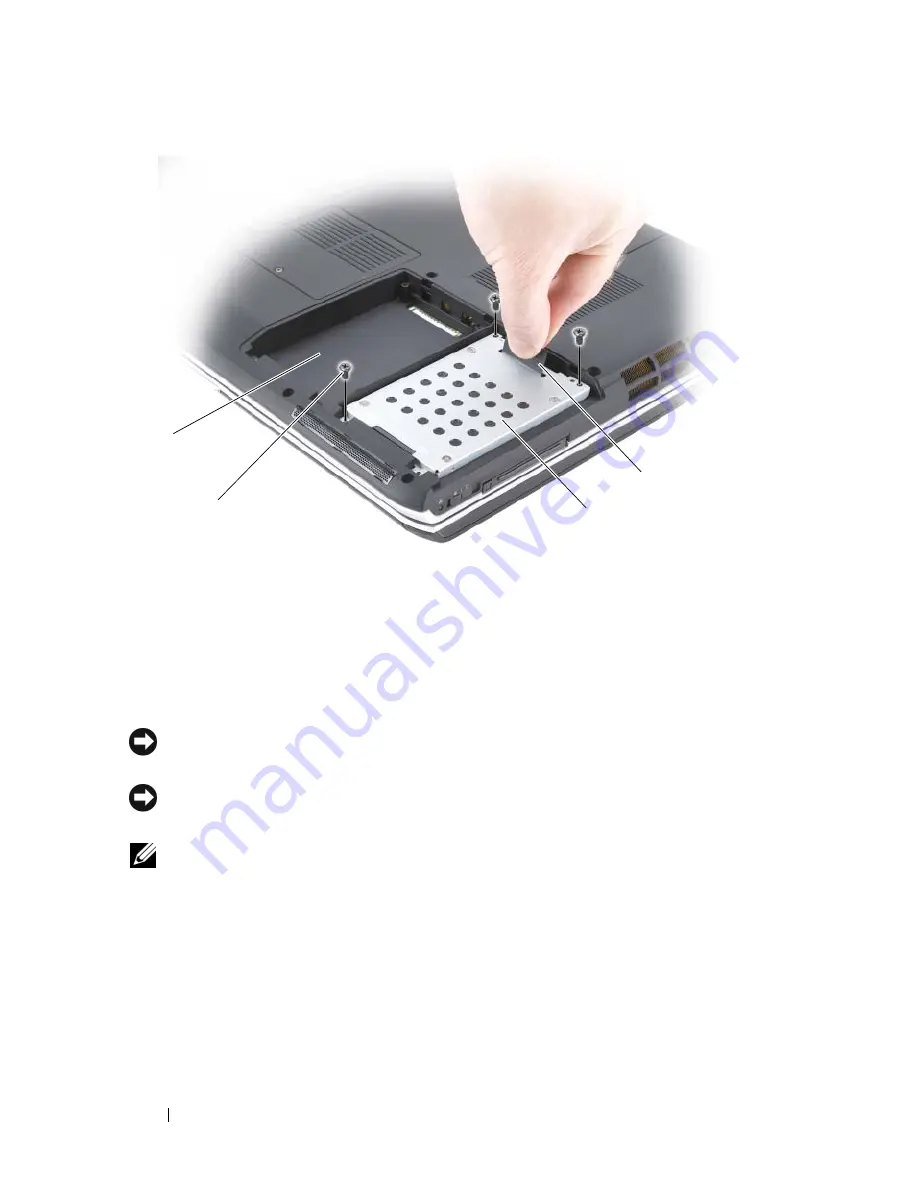
Place the hard drive into the bay and press down to fully seat it.
3
Replace and tighten the screws on the hard drive.
4
Replace the hard drive cover and tighten the screws.
5
Install the operating system for your computer, as needed (see "Restoring
Your Operating System" on page 131).
6
Install the drivers and utilities for your computer, as needed (see
"Reinstalling Drivers and Utilities" on page 128).
1
secondary hard drive bay
2
screws (3)
3
primary hard drive
4
pull-tab
3
1
2
4
Summary of Contents for Inspiron 1721
Page 1: ...w w w d e l l c o m s u p p o r t d e l l c o m Dell Inspiron 1721 Owner s Manual Model PP22X ...
Page 20: ...20 About Your Computer Front View 4 5 13 3 6 12 11 9 8 7 14 2 1 10 ...
Page 52: ...52 Using a Battery ...
Page 76: ...76 Using Multimedia ...
Page 80: ...80 Using ExpressCards ...
Page 96: ...96 Securing Your Computer ...
Page 166: ...166 Dell QuickSet Features ...
Page 176: ...176 Getting Help ...
Page 194: ...194 Appendix ...
Page 212: ...212 Glossary ...
Page 220: ...220 Index ...


