Back to Contents Page
Hard Drive
Dell™ Inspiron™ 2600 and 2650
Removing the Hard Drive
Replacing the Hard Drive
Removing the Hard Drive
1.
Ensure that the work surface is flat and clean to prevent scratching the computer cover.
2.
Save and close any open files, exit any open programs, and shut down the computer.
3.
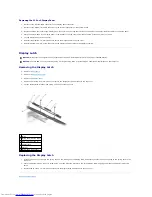
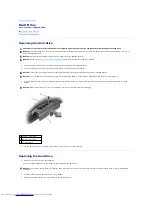
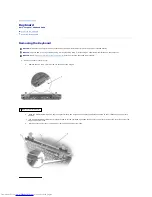
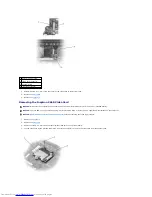
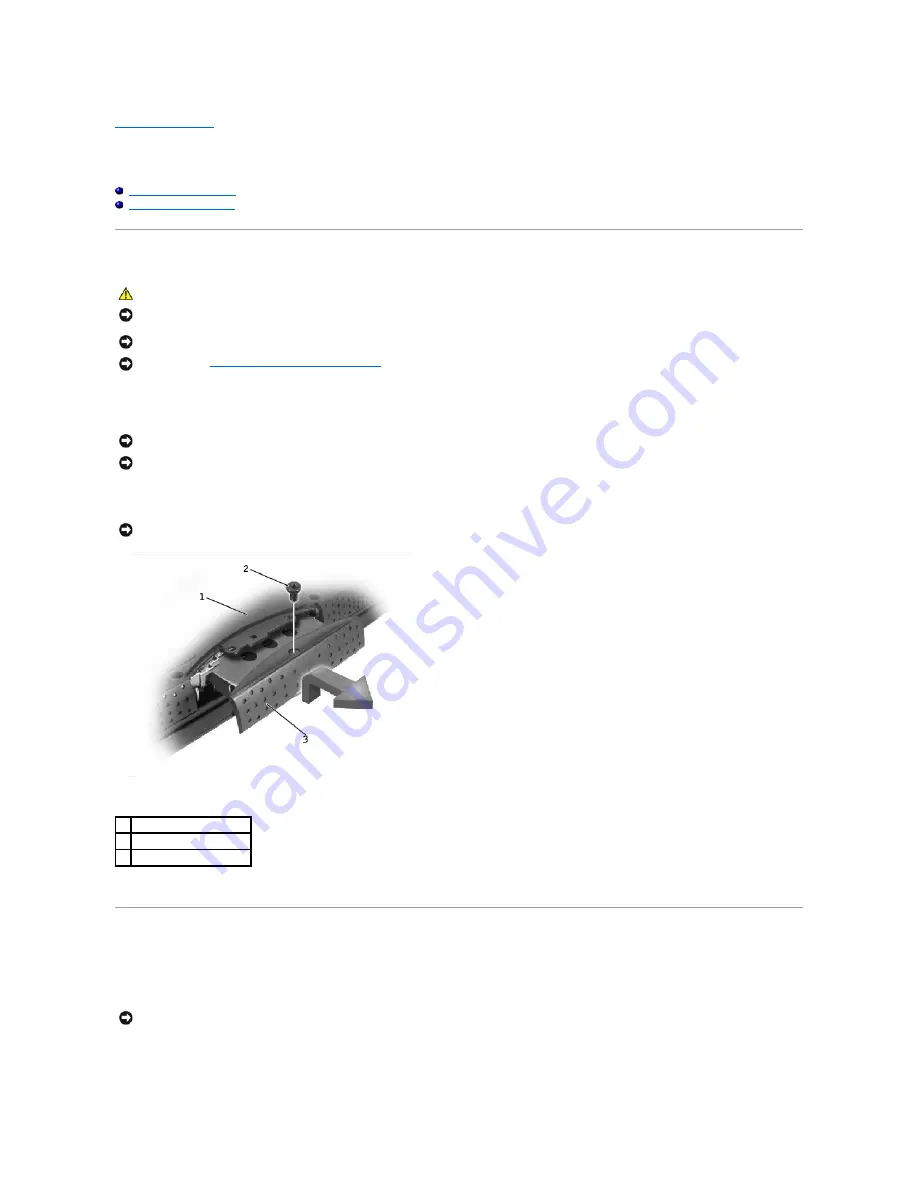
Turn the computer over. Use a #1 Phillips screwdriver to remove the M2.5 x 5-mm screw from the hard drive door, and place the screw in a safe
location.
4.
Lift the hard drive door to release it, and slide the hard drive out of the computer.
Replacing the Hard Drive
1.
Remove the new drive from its packaging.
Save the original packaging to use when storing or shipping the hard drive.
2.
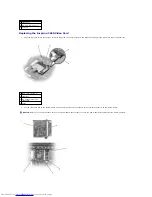
Slide the hard drive into the bay until it is fully seated.
3.
Replace and tighten the M2.5 x 5-mm screw in the hard drive door.
CAUTION:
If you remove the hard drive from the computer when the drive is hot,
do not touch
the metal housing of the hard drive.
NOTICE:
To prevent data loss, turn off the computer before removing the hard drive. Do not remove the hard drive while the computer is on or in a
power management mode.
NOTICE:
Hard drives are extremely fragile; even a slight bump can damage the drive.
NOTICE:
Read "
Preparing to Work Inside the Computer
" before performing the following procedure.
NOTICE:
Disconnect the computer and any attached devices from electrical outlets, and remove any installed battery.
NOTICE:
To avoid ESD, ground yourself by using a wrist grounding strap or by touching an unpainted metal surface on the computer.
NOTICE:
When the hard drive is not in the computer, store it in protective antistatic packaging.
1 bottom of computer
2 M2.5 x 5-mm screw
3 hard drive door
NOTICE:
Use firm and even pressure to slide the drive into place. If you force the hard drive into place using excessive force, you may damage the
connector.
Summary of Contents for Inspiron 2600
Page 3: ......
Page 22: ......
Page 67: ...Back to Contents Page ...
Page 75: ...Back to Contents Page ...


