14.
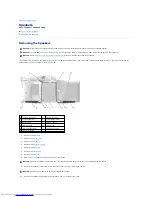
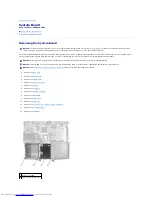
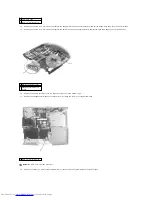
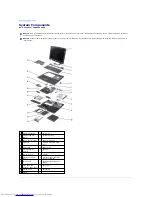
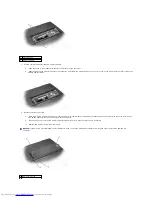
Remove the two M2.5 x 5-mm screws that secure the floppy drive cage to the system board, and lift the floppy drive cage out of the bottom case.
15.
Remove the two M2.5 x 5-mm screws that secure the hard drive cage to the system board, and lift the hard drive cage out of the bottom case.
16.
Remove the battery connector cover by lifting the cover out of the bottom case.
17.
Remove the headphone/microphone connector cover by lifting the cover out of the bottom case.
18.
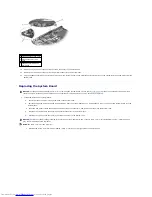
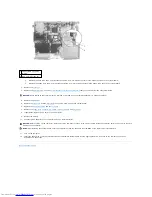
Remove the six M2.5 x 4-mm screws labeled "circle L" that secure the system board to the bottom case.
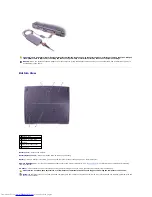
3 hard drive cage
4 M2.5 x 5-mm screws (2)
1 battery connector cover
2 headphone/microphone
bridge
1 M2.5 x 4-mm screws (6)
HINT:
The M2.5 x 4-mm screws are silver.
Summary of Contents for Inspiron 2600
Page 3: ......
Page 22: ......
Page 67: ...Back to Contents Page ...
Page 75: ...Back to Contents Page ...

