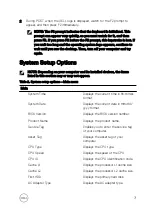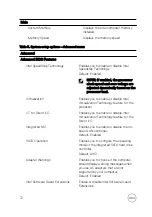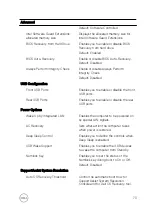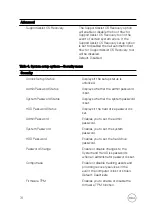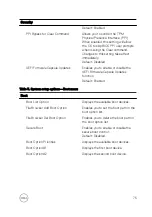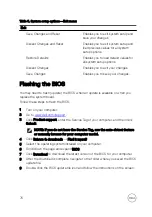
System setup
NOTE: Depending on the computer and its installed devices, the items listed
in this section may or may not be displayed.
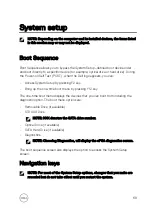
Boot Sequence
Boot Sequence allows you to bypass the System Setup–defined boot device order
and boot directly to a specific device (for example: optical drive or hard drive). During
the Power-on Self Test (POST), when the Dell logo appears, you can:
•
Access System Setup by pressing F2 key
•
Bring up the one-time boot menu by pressing F12 key
The one-time boot menu displays the devices that you can boot from including the
diagnostic option. The boot menu options are:
•
Removable Drive (if available)
•
STXXXX Drive
NOTE: XXX denotes the SATA drive number.
•
Optical Drive (if available)
•
SATA Hard Drive (if available)
•
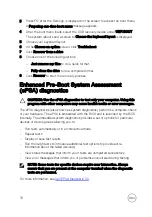
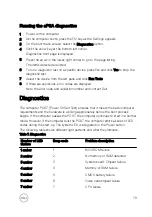
Diagnostics
NOTE: Choosing Diagnostics, will display the ePSA diagnostics screen.
The boot sequence screen also displays the option to access the System Setup
screen.
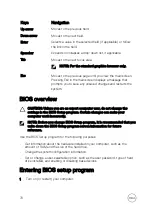
Navigation keys
NOTE: For most of the System Setup options, changes that you make are
recorded but do not take effect until you restart the system.
69
Summary of Contents for Inspiron 3472
Page 14: ...System board components 1 power button cable connector 2 coin cell battery 14 ...
Page 28: ...2 Remove the two screws 6 32xL6 35 that secure the hard drive assembly to the drive cage 28 ...
Page 30: ...5 Slide the hard drive out of the hard drive bracket 30 ...
Page 41: ...2 Remove the coin cell battery from the socket 41 ...
Page 45: ...5 Slide and remove the wireless card from the wireless card slot 45 ...
Page 49: ...3 Remove the antenna modules along with the cables off the chassis 49 ...
Page 53: ...5 Remove the power button module along with its cable through the slot on the front panel 53 ...
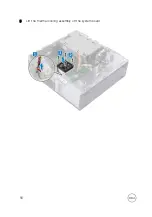
Page 56: ...3 Lift the thermal cooling assembly off the system board 56 ...
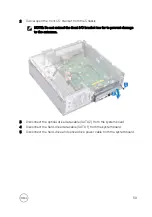
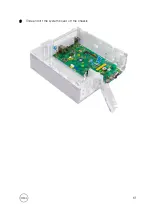
Page 61: ...8 Slide and lift the system board off the chassis 61 ...

