Removing the palm-rest and keyboard assembly
WARNING:
Before working inside your computer, read the safety information that shipped with your computer and follow the
steps in
Before working inside your computer
. After working inside your computer, follow the instructions in
. For more safety best practices, see the Regulatory Compliance home page at
Prerequisites
1
Remove the
.
2
Remove the
3
Remove the
4
Remove the
.
5
Remove the
.
6
Remove the
.
7
Remove the
solid-state drive/Intel Optane
.
8
Remove the
9
Remove the
10 Remove the
.
11 Remove the
.
12 Remove the
13 Remove the
14 Remove the
15 Remove the
.
16 Remove the
17 Remove the
power button with fingerprint reader
(optional).
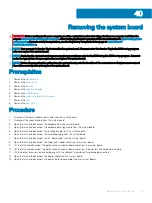
Procedure
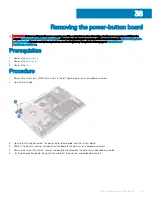
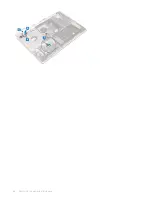
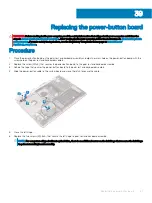
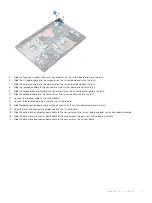
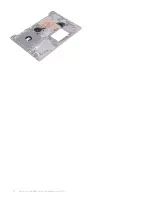
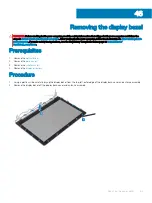
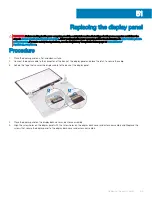
After performing the above steps, we are left with the palm rest and keyboard assembly.
44
Removing the palm-rest and keyboard assembly
79
Summary of Contents for Inspiron 3580
Page 1: ...Inspiron 3580 Service Manual Regulatory Model P75F Regulatory Type P75F106 ...
Page 18: ...18 Removing the optical drive ...
Page 20: ...20 Replacing the optical drive ...
Page 24: ...Post requisites Replace the optical drive 24 Replacing the base cover ...
Page 26: ...26 Removing the battery ...
Page 28: ...Post requisites 1 Replace the base cover 2 Replace the optical drive 28 Replacing the battery ...
Page 32: ...32 Removing the wireless card ...
Page 39: ...Removing the fan 39 ...
Page 41: ...Post requisites 1 Replace the base cover 2 Replace the optical drive Replacing the fan 41 ...
Page 49: ...Removing the touchpad 49 ...
Page 60: ...60 Removing the display assembly ...
Page 66: ...66 Removing the power button board ...
Page 71: ...Removing the system board 71 ...
Page 76: ...76 Removing the power button with fingerprint reader ...
Page 78: ...9 Replace the optical drive 78 Replacing the power button with fingerprint reader ...
Page 80: ...80 Removing the palm rest and keyboard assembly ...
Page 88: ...88 Removing the display panel ...

