Prerequisites
1. Remove the
(applicable only to computers shipped with optical drive).
2. Remove the
3. Remove the
.
4. Remove the
.
5. Remove the
.
6. Remove the
7. Remove the
.
8. Remove the
.
NOTE:
When removing and replacing the power button with fingerprint reader, do not remove the heat sink from the
system board.
Procedure
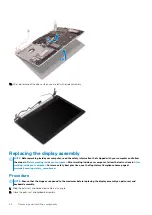
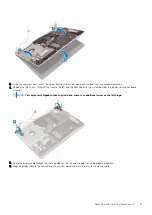
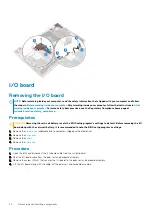
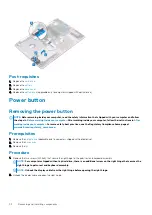
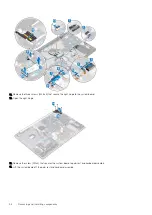
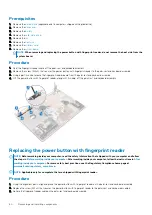
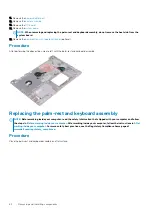
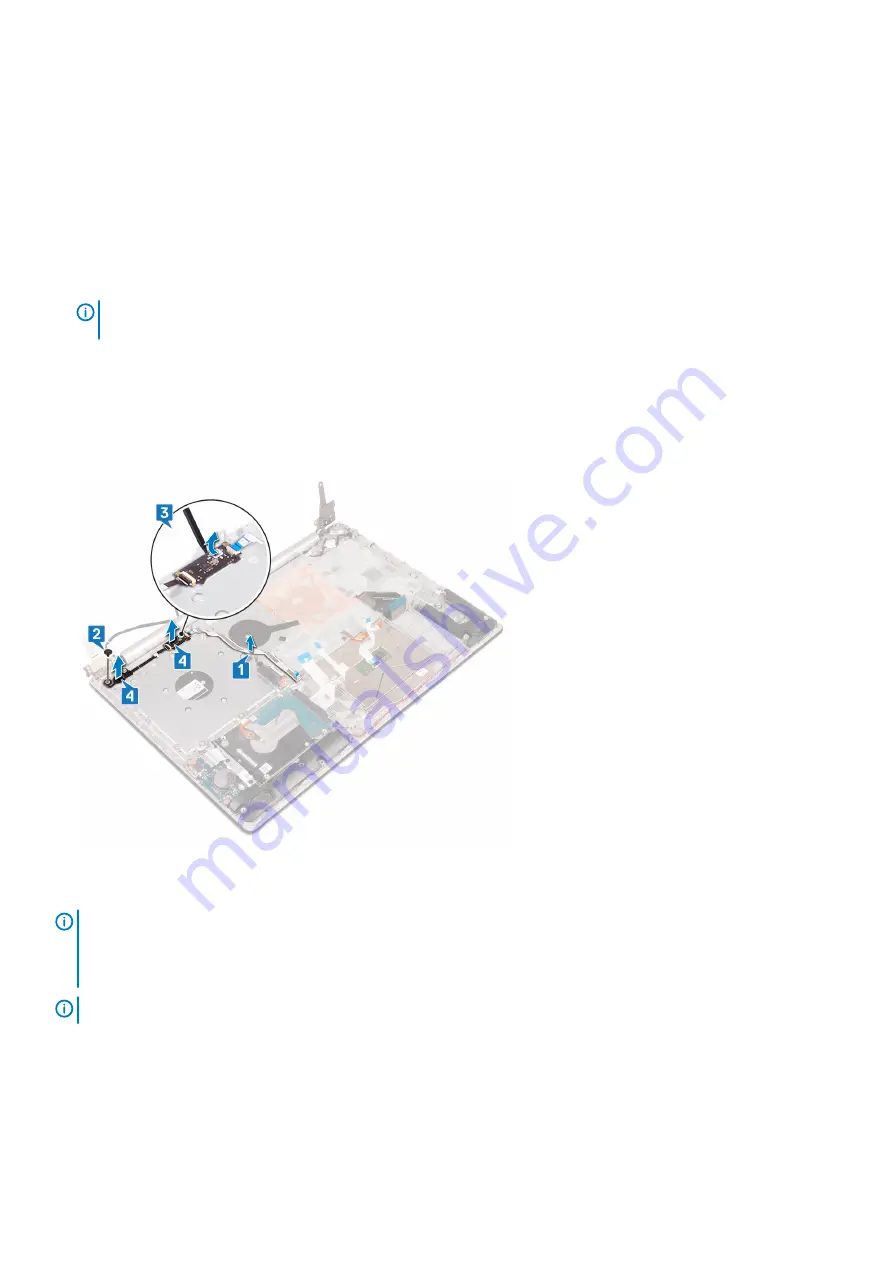
1. Peel the fingerprint reader cable off the palm-rest and keyboard assembly.
2. Remove the screw (M2x2) that secures the power button with fingerprint reader to the palm-rest and keyboard assembly.
3. Using a plastic scribe, release the fingerprint-reader board from the palm-rest and keyboard assembly.
4. Lift the power button with fingerprint reader, along with its cable, off the palm-rest and keyboard assembly.
Replacing the power button with fingerprint reader
NOTE:
Before working inside your computer, read the safety information that shipped with your computer and follow
the steps in
Before working inside your computer
. After working inside your computer, follow the instructions in
. For more safety best practices, see the Regulatory Compliance home page at
www.dell.com/regulatory_compliance
NOTE:
Applicable only for computers that are shipped with fingerprint reader.
Procedure
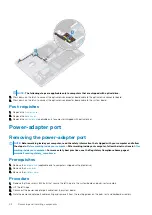
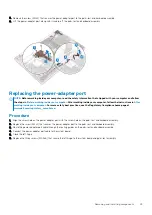
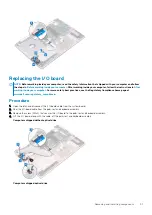
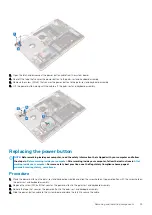
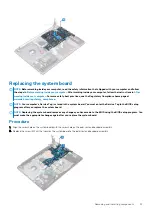
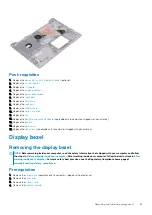
1. Using the alignment posts, align and place the power button with fingerprint reader on the palm-rest and keyboard assembly.
2. Replace the screw (M2x2) that secures the power button with fingerprint reader to the palm-rest and keyboard assembly.
3. Adhere the fingerprint reader cable on the palm-rest and keyboard assembly.
60
Removing and installing components

