
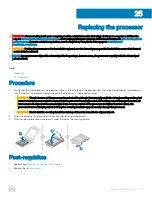
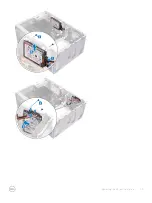
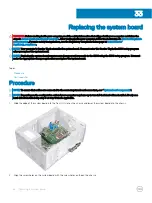


Removing the system board
WARNING:
Before working inside your computer, read the safety information that shipped with your computer and follow the
steps in
Before working inside your computer
. After working inside your computer, follow the instructions in
. For more safety best practices, see the Regulatory Compliance home page at
NOTE:
Your computer’s Service Tag is stored in the system board. You must enter the Service Tag in the BIOS setup program
after you replace the system board.
NOTE:
Replacing the system board removes any changes you have made to the BIOS using the BIOS setup program. You must
make the appropriate changes again after you replace the system board.
NOTE:
Before disconnecting the cables from the system board, note the location of the connectors so that you can reconnect
the cables correctly after you replace the system board.
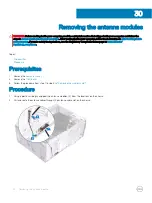
Topics:
•
•
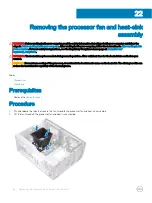
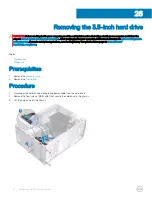
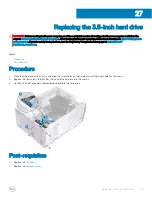
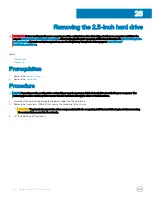
Prerequisites
1
Remove the
2
Remove the
.
3
Remove the
4
Remove the
solid-state drive/Intel Optane memory
.
5
Remove the
6
Remove the
7
Remove the
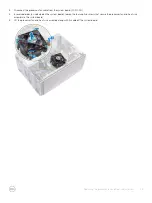
processor fan and heat-sink assembly
8
Remove the
.
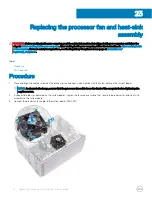
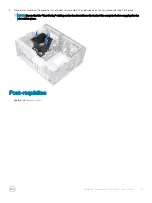
Procedure
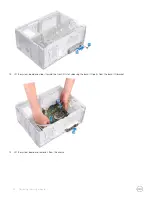
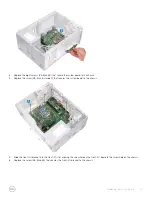
NOTE:
Note the routing of all cables as you remove them so that you can reroute them correctly after you replace the system
board. For information on system board connectors, see “
’.
NOTE:
Depending on the configuration ordered your computer may have up to two 2.5-inch hard drives installed. If only one hard
drive is installed skip step 3 or step 5 where applicable.
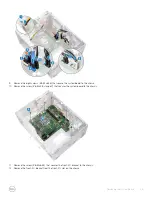
1
Disconnect the processor-power cable from the system board (ATX CPU).
2
Disconnect the optical-drive data cable from the system board (SATA 2).
3
Disconnect the hard-drive data cable from the system board (SATA 1).
4
Disconnect the hard-drive cable from the system board (SATA 0).
5
Disconnect the hard-drive data cable from the system board (SATA 3).
6
Disconnect the hard-drive power cable from the system board (SATA PWR).
7
Disconnect the hard-drive power cables from the system board (SATA PWR).
8
Disconnect the power-supply unit cable (P1) from the system board (ATX SYS).
32
52
Removing the system board
Summary of Contents for Inspiron 3670
Page 15: ...Removing the front bezel 15 ...
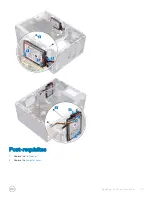
Page 17: ...Post requisites Replace the computer cover Replacing the front bezel 17 ...
Page 19: ...Removing the memory module 19 ...
Page 21: ...Post requisites Replace the computer cover Replacing the memory module 21 ...
Page 23: ...Removing the solid state drive Intel Optane 23 ...
Page 30: ...30 Removing the wireless card ...
Page 35: ...Post requisites Replace the computer cover Replacing the optical drive 35 ...
Page 47: ...Removing the 2 5 inch hard drive 47 ...
Page 55: ...Removing the system board 55 ...
Page 72: ...Post requisites Replace the computer cover 72 System and setup password ...


