Replacing the heat sink
NOTE:
Before working inside your computer, read the safety information that shipped with your computer and follow
the steps in
Before working inside your computer
. After working inside your computer, follow the instructions in
. For more safety best practices, see the Regulatory Compliance home page at
www.dell.com/regulatory_compliance
CAUTION:
Incorrect alignment of the heat sink can damage the system board and processor.
NOTE:
If either the system board or the heat sink is replaced, use the thermal pad/paste provided in the kit to ensure
that thermal conductivity is achieved.
Procedure
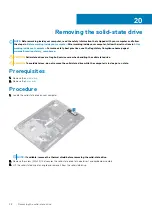
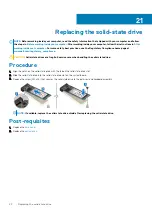
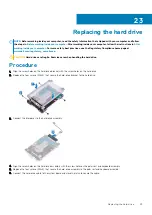
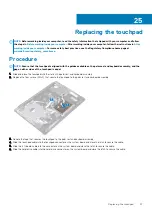
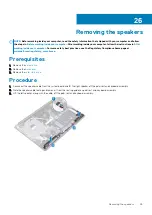
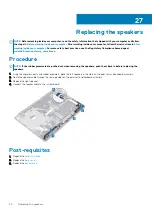
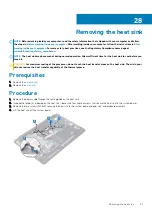
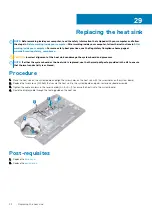
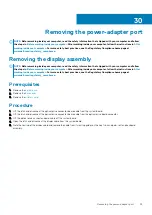
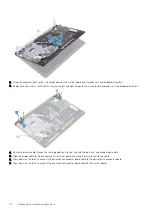
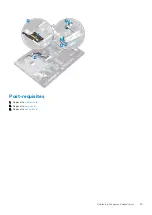
1. Place the heat sink on the system board and align the screw holes on the heat sink with the screw holes on the system board.
2. Replace the two screws (M2.5x5) that secure the heat sink to the system board and palm-rest and keyboard assembly.
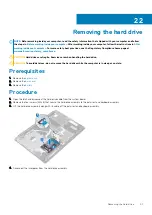
3. Tighten the captive screws in the reverse order (4->3->2->1) to secure the heat sink to the system board.
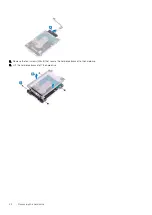
4. Route the display cable through the routing guide on the heat sink.
Post-requisites
1. Replace the
.
2. Replace the
29
52
Replacing the heat sink
Summary of Contents for Inspiron 3782
Page 1: ...Inspiron 3782 Service Manual Regulatory Model P35E Regulatory Type P35E006 ...
Page 18: ...18 Removing the optical drive ...
Page 20: ...20 Replacing the optical drive ...
Page 26: ...26 Removing the battery ...
Page 28: ...Post requisites 1 Replace the base cover 2 Replace the optical drive 28 Replacing the battery ...
Page 32: ...32 Removing the wireless card ...
Page 39: ...Removing the solid state drive 39 ...
Page 46: ...46 Removing the touchpad ...
Page 56: ...56 Removing the power adapter port ...
Page 62: ...62 Removing the display assembly ...
Page 68: ...68 Removing the power button board ...
Page 84: ...84 Removing the display panel ...

