Replacing the solid-state drive
NOTE:
Before working inside your computer, read the safety information that shipped with your computer and follow
the steps in
Before working inside your computer
. After working inside your computer, follow the instructions in
. For more safety best practices, see the Regulatory Compliance home page at
.
CAUTION:
Solid-state drives are fragile. Exercise care when handling the solid-state drive.
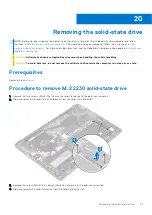
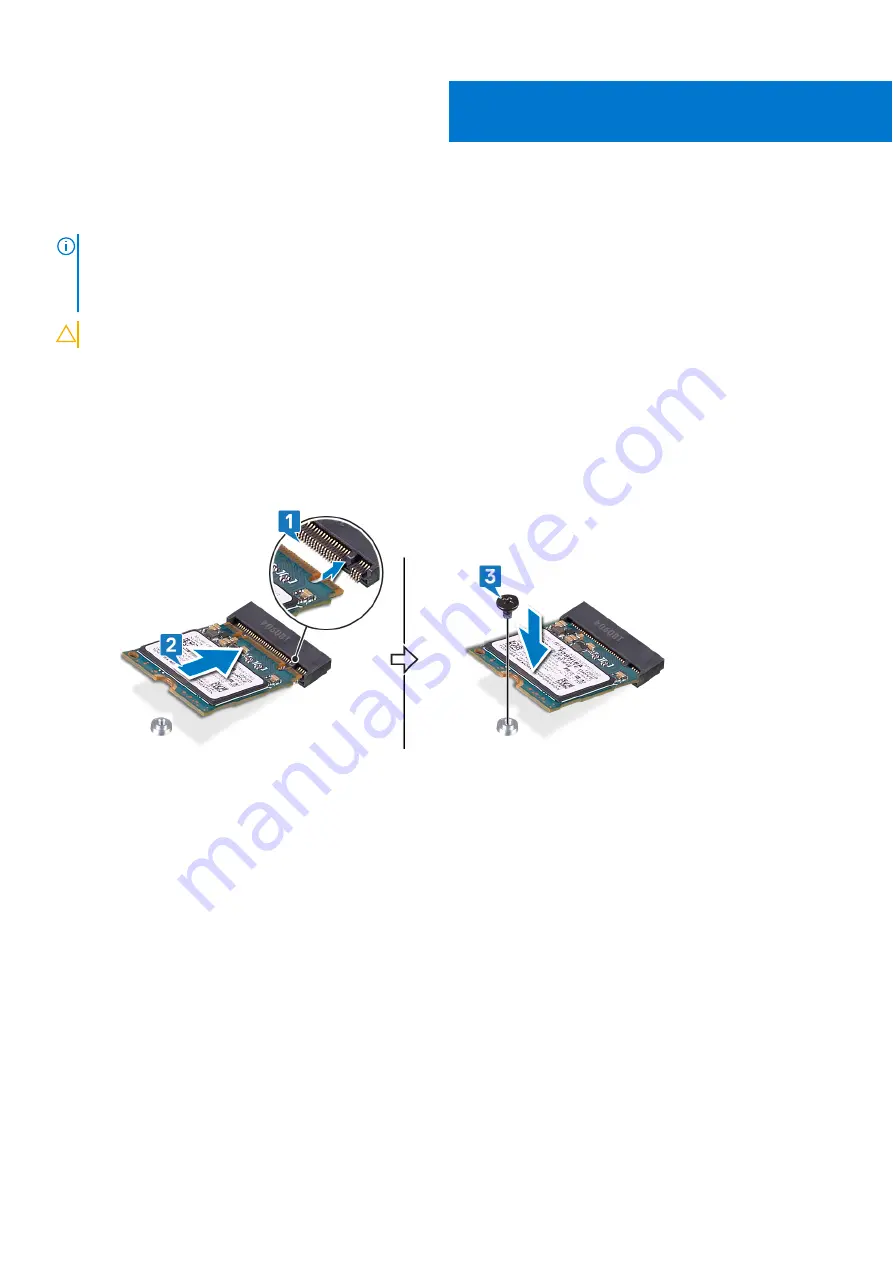
Procedure to replace M.2 2230 solid-state drive
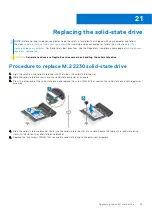
1. Align the notch on the solid-state drive with the tab on the solid-state drive slot.
2. Slide the solid-state drive firmly into the solid-state drive slot at an angle.
3. Press the other end of the solid-state drive and replace the screw (M2x3) that secures the solid-state drive to the palm-rest
assembly.
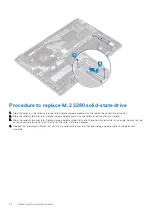
4. Slide the solid-state drive bracket firmly into the solid-state drive slot at an angle. Secure the tab on the solid-state drive
slot with the slot on the solid-state drive bracket.
5. Replace the two screws (M2x3) that secure the solid-state drive to the palm-rest assembly.
21
Replacing the solid-state drive
43
Summary of Contents for Inspiron 7590 2in1
Page 17: ...Removing the base cover 17 ...
Page 22: ...22 Removing the battery ...
Page 24: ...Post requisites Replace the base cover 24 Replacing the battery ...
Page 26: ...26 Removing the memory modules ...
Page 28: ...Post requisites Replace the base cover 28 Replacing the memory modules ...
Page 30: ...30 Removing the wireless card ...
Page 32: ...Post requisites Replace the base cover 32 Replacing the wireless card ...
Page 36: ...36 Removing the I O board ...
Page 38: ...Post requisites Replace the base cover 38 Replacing the I O board ...
Page 45: ...Post requisites Replace the base cover Replacing the solid state drive 45 ...
Page 51: ...Removing the hard drive 51 ...
Page 56: ...56 Removing the touchpad ...
Page 58: ...58 Replacing the touchpad ...
Page 66: ...Post requisites 1 Replace the fan 2 Replace the base cover 66 Replacing the display assembly ...
Page 70: ...70 Removing the system board ...
Page 81: ...Removing the power button with fingerprint reader 81 ...
Page 85: ...Removing the palm rest and antenna assembly 85 ...

