Steps
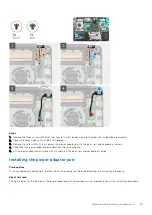
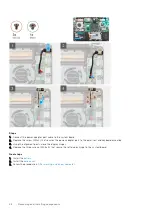
1. Open the latch and disconnect the I/O-board cable from the system board.
2. Disconnect the power-adapter cable from the system board.
3. Disconnect the speaker cable from the system board.
4. Open the latch and disconnect the touchpad cable from the system board.
5. Open the latch and disconnect the keyboard-backlight cable from the system board.
6. Remove the Mylar on the keyboard connector.
7. Open the latch and disconnect the keyboard cable from the system board.
8. Peel the tape that secures the display cable to the system board.
9. Open the latch and disconnect the display cable from the system board.
10. Remove the two screws (M2x5) that secure the USB Type-C port bracket to the system board.
11. Remove the six screws (M2x4) that secure the system board to the palm-rest and keyboard assembly.
12. Gently release the ports on the system board from the slots on the palm-rest and keyboard assembly and lift the system
board off the palm-rest and keyboard assembly.
Installing the system board
Prerequisites
If you are replacing a component, remove the existing component before performing the installation procedure.
About this task
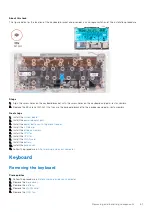
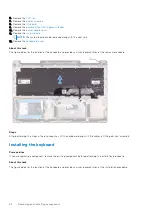
The figure indicates the location of the system board and provides a visual representation of the installation procedure.
56
Removing and installing components
Summary of Contents for Inspiron 7590
Page 1: ...Inspiron 7590 Service Manual Regulatory Model P83F Regulatory Type P83F001 July 2021 Rev A05 ...
Page 54: ...54 Removing and installing components ...
Page 55: ...Removing and installing components 55 ...
Page 57: ...Removing and installing components 57 ...


