Keyboard bracket
Removing the keyboard bracket
Prerequisites
Before working inside your computer
.
2. Remove the
.
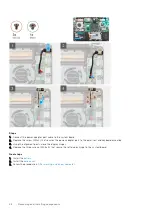
3. Remove the
.
4. Remove the
.
5. Remove the
6. Remove the
.
7. Remove the
.
8. Remove the
.
9. Remove the
power button with fingerprint reader
.
10. Remove the
.
11. Remove the
NOTE:
The system board can be removed along with the heat sink.
About this task
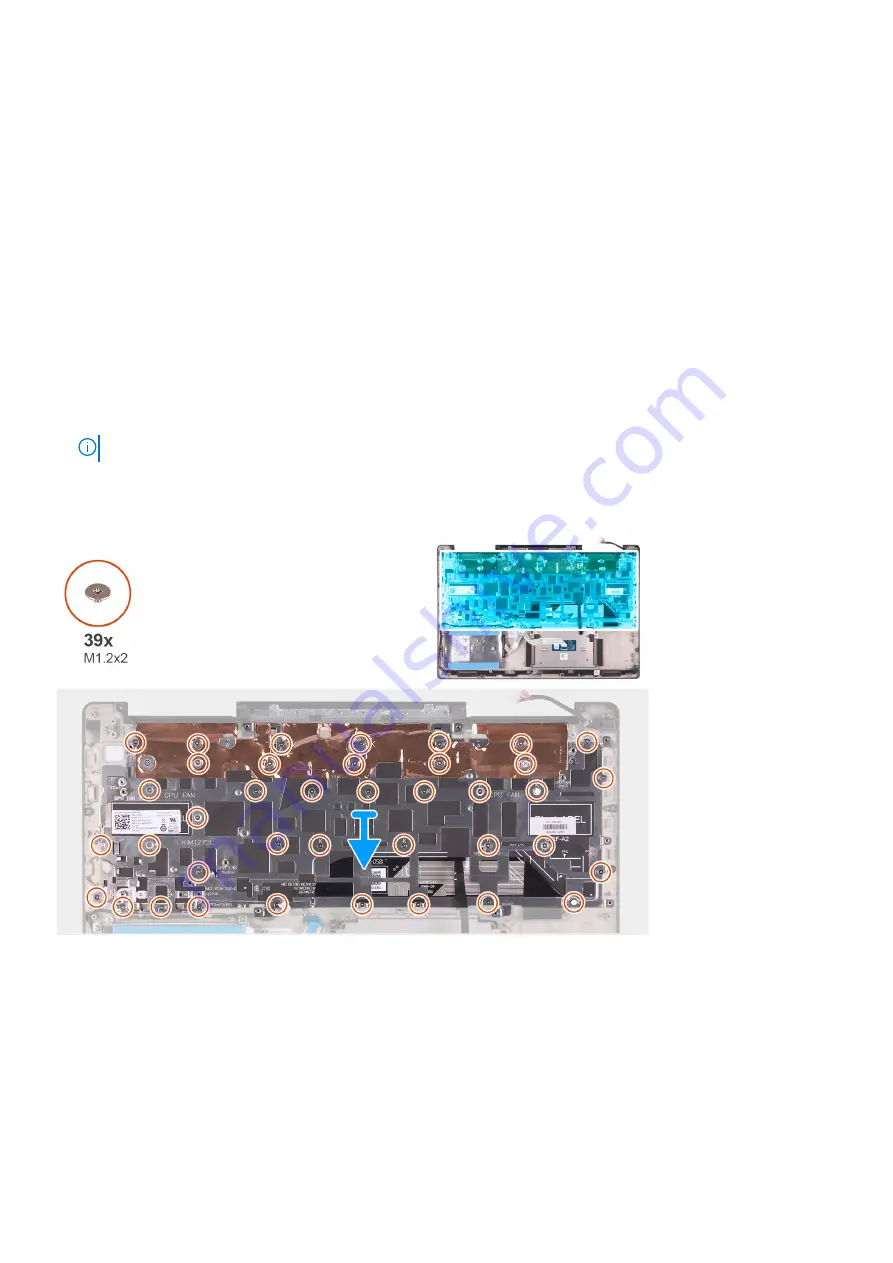
The figure indicates the location of the keyboard bracket and provides a visual representation of the removal procedure.
Steps
1. Remove the 39 screws (M1.2x2) that secure the keyboard bracket to the keyboard and palm-rest assembly.
2. Lift the keyboard bracket off the keyboard and palm-rest assembly.
Installing the keyboard bracket
Prerequisites
If you are replacing a component, remove the existing component before performing the installation procedure.
60
Removing and installing components
Summary of Contents for Inspiron 7590
Page 1: ...Inspiron 7590 Service Manual Regulatory Model P83F Regulatory Type P83F001 July 2021 Rev A05 ...
Page 54: ...54 Removing and installing components ...
Page 55: ...Removing and installing components 55 ...
Page 57: ...Removing and installing components 57 ...

