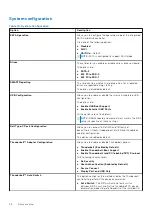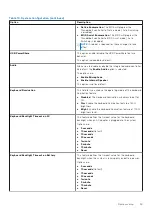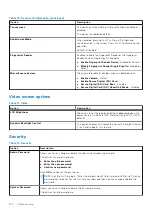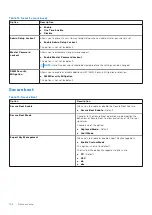
System setup
CAUTION:
Unless you are an expert computer user, do not change the settings in the BIOS Setup program.
Certain changes can make your computer work incorrectly.
NOTE:
Before you change BIOS Setup program, it is recommended that you write down the BIOS Setup program screen
information for future reference.
Use the BIOS Setup program for the following purposes:
●
Get information about the hardware installed in your computer, such as the amount of RAM and the size of the hard drive.
●
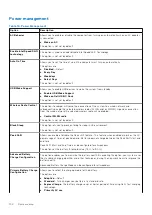
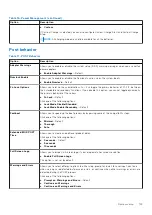
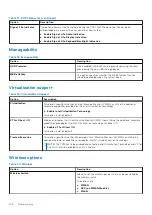
Change the system configuration information.
●
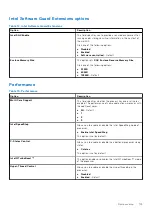
Set or change a user-selectable option, such as the user password, type of hard drive installed, and enabling or disabling
base devices.
Topics:
•
•
•
•
•
•
•
•
•
•
Clearing BIOS (System Setup) and System passwords
•
BIOS overview
The BIOS manages data flow between the computer's operating system and attached devices such as hard disk, video adapter,
keyboard, mouse, and printer.
Entering BIOS setup program
Steps
1. Turn on your computer.
2. Press F2 immediately to enter the BIOS setup program.
NOTE:
If you wait too long and the operating system logo appears, continue to wait until you see the desktop. Then,
turn off your computer and try again.
Boot menu
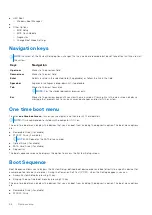
Press <F12> when the Dell logo appears to initiate a one-time boot menu with a list of the valid boot devices for the system.
Diagnostics and BIOS Setup options are also included in this menu. The devices listed on the boot menu depend on the bootable
devices in the system. This menu is useful when you are attempting to boot to a particular device or to bring up the diagnostics
for the system. Using the boot menu does not make any changes to the boot order stored in the BIOS.
The options are:
5
System setup
95
Summary of Contents for Latitude 7400 2-in-1
Page 24: ...4 Pry along the left right and bottom edges of the base 24 Removing and installing components ...
Page 43: ...5 Place the metal shield on the WWAN card Removing and installing components 43 ...
Page 51: ...8 Adhere the Mylar sheet on the system board Removing and installing components 51 ...
Page 56: ...4 Remove the metal foil from the heatsink shield 56 Removing and installing components ...
Page 57: ...5 Remove the heatsink shield from the system board Removing and installing components 57 ...
Page 60: ...3 Place the heatsink shield on the heatsink 60 Removing and installing components ...
Page 61: ...4 Adhere the metal foils on the heatsink shield Removing and installing components 61 ...
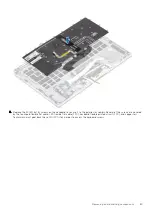
Page 87: ...8 Lift the keyboard off the palmrest assembly Removing and installing components 87 ...

