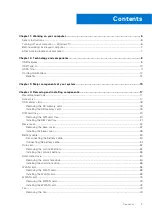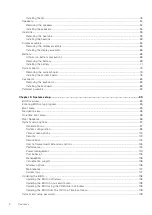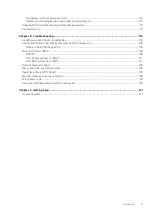
Technology and components
This chapter details the technology and components available in the system.
Topics:
•
•
•
•
USB features
Universal Serial Bus, or USB, was introduced in 1996. It dramatically simplified the connection between host computers and
peripheral devices like mice, keyboards, external drivers, and printers.
Table 1. USB evolution
Type
Data Transfer Rate
Category
Introduction Year
USB 2.0
480 Mbps
High Speed
2000
USB 3.0/USB 3.1 Gen
1
5 Gbps
SuperSpeed
2010
USB 3.1 Gen 2
10 Gbps
SuperSpeed
2013
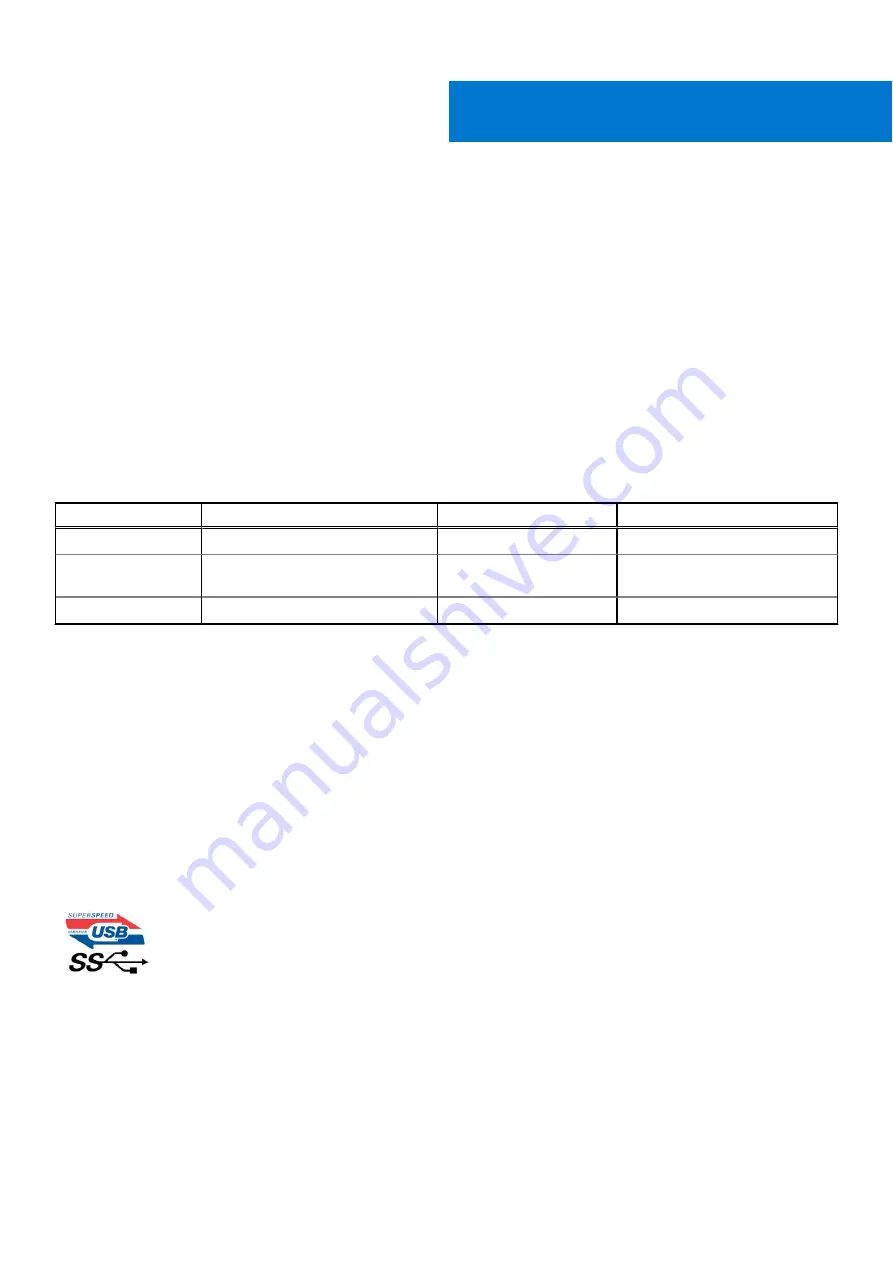
USB 3.0/USB 3.1 Gen 1 (SuperSpeed USB)
For years, the USB 2.0 has been firmly entrenched as the de facto interface standard in the PC world with about 6 billion
devices sold, and yet the need for more speed grows by ever faster computing hardware and ever greater bandwidth demands.
The USB 3.0/USB 3.1 Gen 1 finally has the answer to the consumers' demands with a theoretically 10 times faster than its
predecessor. In a nutshell, USB 3.1 Gen 1 features are as follows:
●
Higher transfer rates (up to 5 Gbps)
●
Increased maximum bus power and increased device current draw to better accommodate power-hungry devices
●
New power management features
●
Full-duplex data transfers and support for new transfer types
●
Backward USB 2.0 compatibility
●
New connectors and cable
The topics below cover some of the most commonly asked questions regarding USB 3.0/USB 3.1 Gen 1.
Speed
Currently, there are 3 speed modes defined by the latest USB 3.0/USB 3.1 Gen 1 specification. They are Super-Speed, Hi-Speed
and Full-Speed. The new SuperSpeed mode has a transfer rate of 4.8 Gbps. While the specification retains Hi-Speed, and
Full-Speed USB mode, commonly known as USB 2.0 and 1.1 respectively, the slower modes still operate at 480 Mbps and 12
Mbps respectively and are kept to maintain backward compatibility.
USB 3.0/USB 3.1 Gen 1 achieves the much higher performance by the technical changes below:
2
8
Technology and components
Summary of Contents for Latitude 7400 2-in-1
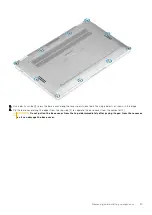
Page 24: ...4 Pry along the left right and bottom edges of the base 24 Removing and installing components ...
Page 43: ...5 Place the metal shield on the WWAN card Removing and installing components 43 ...
Page 51: ...8 Adhere the Mylar sheet on the system board Removing and installing components 51 ...
Page 56: ...4 Remove the metal foil from the heatsink shield 56 Removing and installing components ...
Page 57: ...5 Remove the heatsink shield from the system board Removing and installing components 57 ...
Page 60: ...3 Place the heatsink shield on the heatsink 60 Removing and installing components ...
Page 61: ...4 Adhere the metal foils on the heatsink shield Removing and installing components 61 ...
Page 87: ...8 Lift the keyboard off the palmrest assembly Removing and installing components 87 ...


