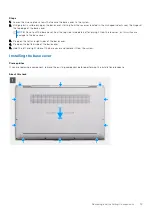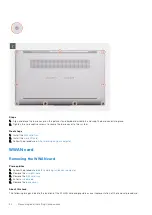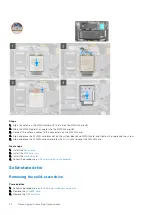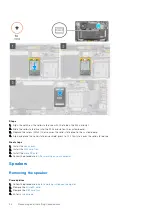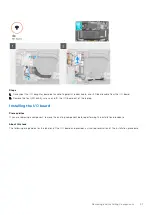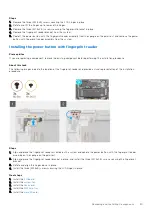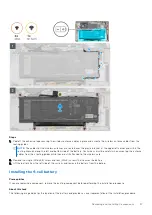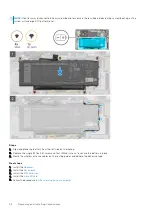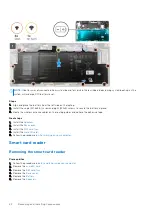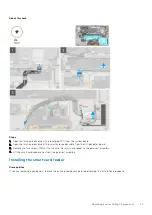
Steps
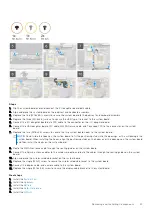
1. Align and place the I/O board on the system.
2. Replace the four (M1.6x3.5) screws to secure the I/O board in place.
3. Connect the LED board cable, fingerprint reader cable, and I/O daughter board data cable to the connectors on the I/O
board.
NOTE:
Reconnect the battery cable after laptop repair is completed.
Next steps
1. Install the
.
2. Install the
.
3. Install the
.
4. Install the
After working on your computer
.
Power button
Removing the power button
Prerequisites
before working inside your computer
.
2. Remove the
.
3. Remove the
4. Enter
.
5. Remove the
.
6. Remove the
.
7. Remove the
.
About this task
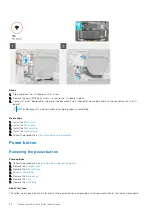
The following images indicate the location of the power-button and provide a visual representation of the removal procedure.
32
Removing and Installing Components


