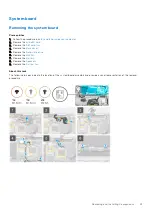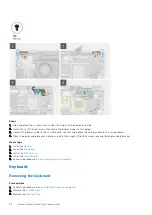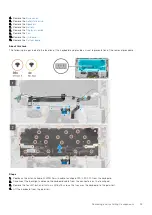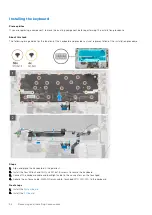
Steps
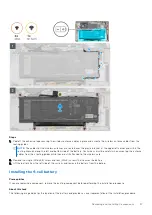
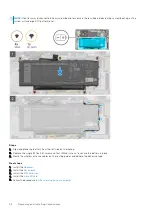
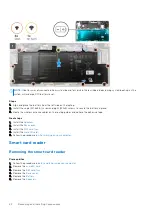
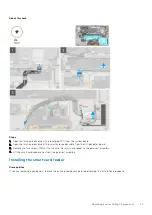
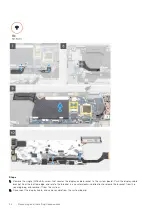
1. Remove the single M1.6x3.5 screw securing the display-cable bracket, and remove the display-cable bracket .
2. Disconnect the display cable from the system board by pulling the pull tab in a direct upward motion, and disconnect and
peel back the camera cable from the system board.
NOTE:
Technicians must disconnect the display cable from the system board by pulling the pull tab in a direct upward
motion to prevent damage to the connector's pins.
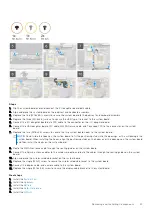
3. Open the display assembly to 90-degree angle and flip over the system, and then place the system on a flat surface.
4. Remove the six M2.5x5 screws that secure the display assembly to the laptop, press the edges of the laptop near the
hinges, and lift the hinges in the upward direction away from the laptop.
5. Lift the display assembly off the laptop.
Installing the display assembly
Prerequisites
If you are replacing a component, remove the existing component before performing the installation procedure.
NOTE:
The display assembly installation procedure is the same for both laptop and convertible chassis.
About this task
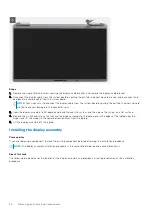
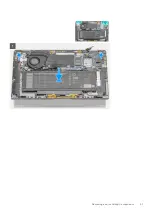
The following image indicates the location of the display assembly and provides a visual representation of the installation
procedure.
50
Removing and Installing Components


