Removing and Replacing Parts
23
Ke yb o a rd S cr e ws
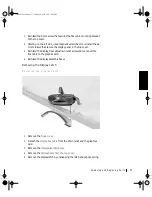
Removing the Keyboard Assembly
1
Follow the instructions in
“Preparing to Work Inside the Computer
2
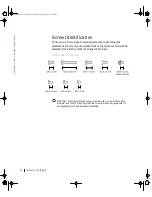
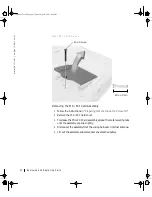
Turn the computer over and remove the four screws labeled with a
“circle K.”
3
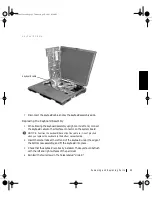
Turn the computer over and open the display.
NOTICE:
Be careful when handling the keyboard. The keycaps are fragile,
easily dislodged, and time-consuming to replace.
4
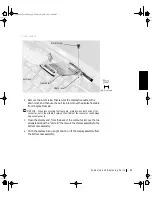
Use a nonmarring tool under the blank key to pry up the keyboard.
20-mm screws (4)
64mcwc11.book Page 23 Tuesday, April 3, 2001 9:58 AM


