36
Remo ving and Replacing Parts
w
w
w
.d
e
ll.c
o
m
|
s
u
p
p
o
rt
.d
e
ll.
c
o
m
M i cr o p ro c e s s o r Mo d u le
Removing the Microprocessor Module
1
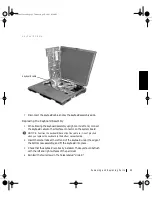
Follow the instructions in
“Preparing to Work Inside the Computer
2
Remove the
.
3
Remove the
NOTICE:
To ensure maximum cooling for the microprocessor, do not touch
the heat transfer areas on the thermal cooling assembly. The oils in your skin
reduce the heat transfer capability of the thermal pads.
4
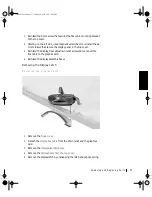
Remove the
microprocessor thermal cooling assembly
NOTICE:
When removing the microprocessor module, pull the module
straight up. Do not bend the pins.
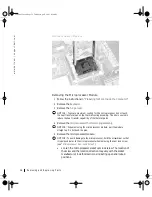
5
Remove the microprocessor module.
NOTICE:
To avoid damage to the microprocessor, hold the screwdriver so that
it is perpendicular to the microprocessor when removing the cam lock screw
(see “
a
Loosen the microprocessor socket cam lock screw. The location of
the screw and the rotation direction may vary with the socket
manufacturer; look for small icons indicating open and locked
positions.
64mcwc11.book Page 36 Tuesday, April 3, 2001 9:58 AM


