drive B.
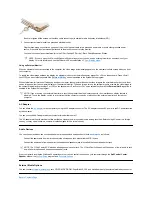
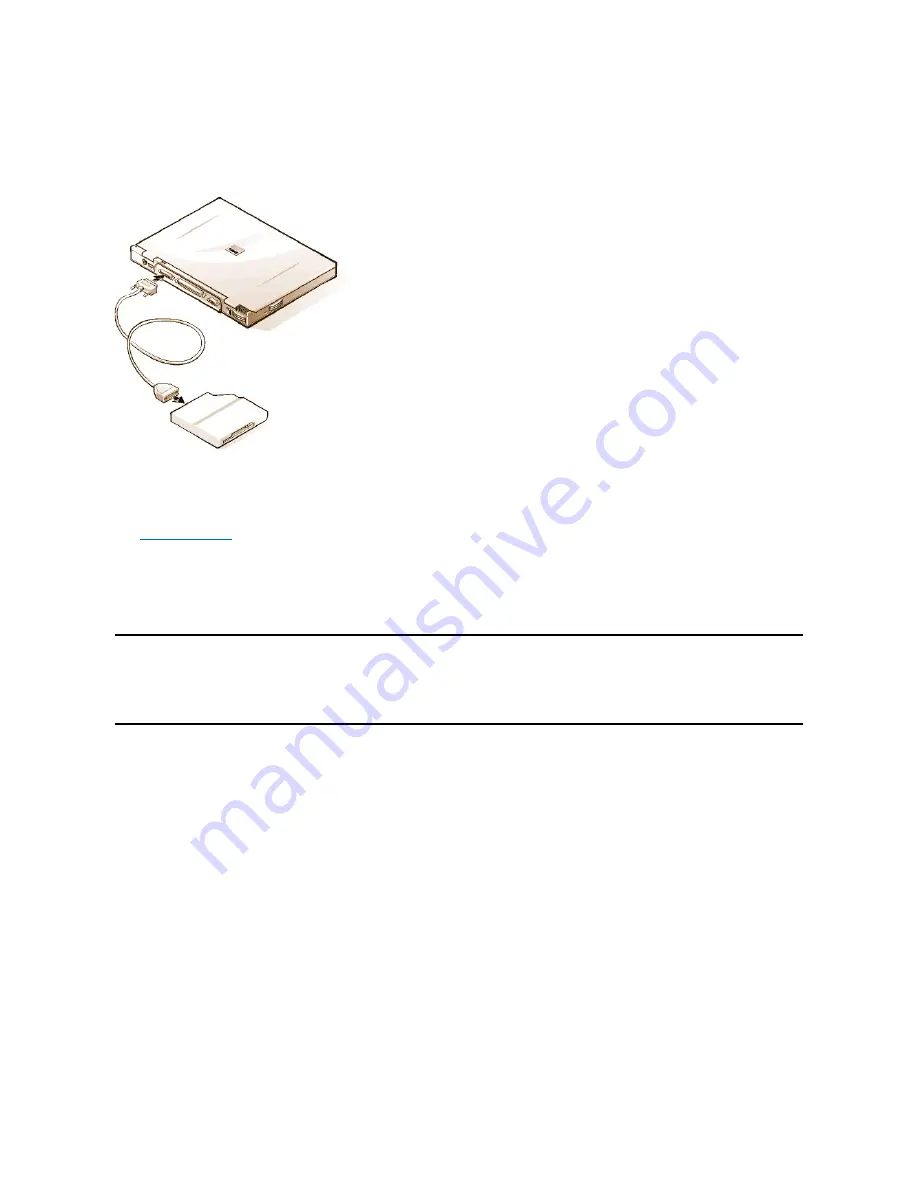
To connect the drive to the parallel connector on the I/O panel, use the optional parallel diskette-drive cable (available from Dell), as shown in
Figure 5.
Figure 5. Connecting a Diskette Drive to the Parallel Connector
NOTICE: When the diskette drive is not being used externally, remove the parallel diskette-drive cable from the parallel connector.
NOTICE: Use the parallel diskette-drive cable only with the diskette drive. Do not try to connect any other device to the computer
with this cable.
If the
Diskette Reconfig
option is set to
Any Time
in the System Setup program, you can connect the diskette drive to the parallel connector while
the computer is turned on.
The drive access indicator does not blink when data is being accessed from the diskette drive connected to the parallel connector.
NOTICE: Protect the diskette drive when it is not in the external media bay. Do not squeeze the drive or place objects on top of it;
doing so could damage the drive motor.
Docking Devices
You can attach your computer to Dell's C/Port Family APR and C/Dock Family Expansion Station docking devices through the docking connector.
For information on docking your computer, see the documentation that came with your docking device.
External Monitor
You can use the 15-hole video connector to attach an external monitor to the computer.
Connecting an External Monitor
To attach an external monitor, perform the following steps.
NOTICE: Do not place the monitor directly on top of your portable computer, even if it is closed. Doing so can crack the computer
case, the display, or both.
1. Make sure that the external monitor is turned off. Set the monitor on a monitor stand, desk top, or other level surface near your computer.
2. Connect the external monitor's video cable to the computer.
Plug the video cable connector into the matching video connector on the back of the computer, as shown in Figure 6. If the video cable
is not permanently attached to the monitor, connect it to the monitor.
Figure 6. Connecting an External Monitor
Summary of Contents for Latitude CS
Page 38: ......
Page 43: ......
Page 69: ...The S2D partition was successfully created Back to Contents Page ...


