Installation and Upgrade Procedures
2-5
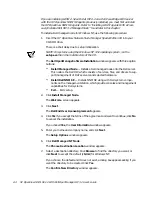
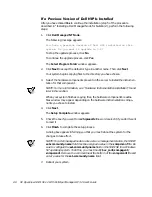
8.
Click
Yes
to accept the new directory or
No
to select another directory.
The
Select Program Folder
window appears.
9.
Click
Next
to accept the default name or type in another name. Then click
Next
.
Your system begins copying files to the directory you have chosen.
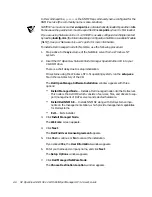
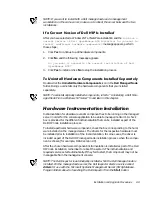
10. Select the hardware components present on the server to install the instrumen-
tation for that component.
NOTE: For more information, see “Hardware Instrumentation Installation” found
later in this section.
When your system finishes copying files, the hardware component’s readme
files window may appear depending on the hardware instrumentation compo-
nents you chose to install.
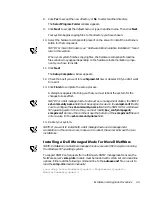
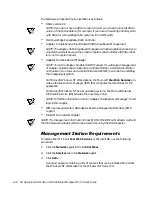
11. Click
Next
.
The
Setup Complete
window appears.
12. Check the box if you want to read
hipread.txt
now or deselect it if you don’t want
to read it.
13. Click
Finish
to complete the setup process.
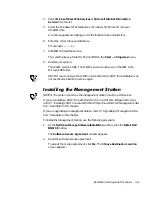
A dialog box appears informing you that you must reboot the system for the
changes to take effect.
NOTE: For a Dell managed node to also act as a management station, the SNMP
set-community-name
field must be assigned a value in the
snmpd.conf
file. Be
sure to configure the
set-community-name
field on the NNM SE for a Windows
NT operating system. To do this, you must modify
$ov_conf/snmpagent/
snmpd.conf
. Remove the comment near the bottom of the
snmpd.conf
file and
enter a value for the
set-community-name
field.
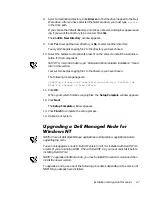
14. Reboot your system.
NOTE: If you want to install both a Dell managed node and a management
workstation on the same server, make sure to reboot the server between the two
installations.
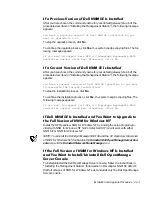
,QVWDOOLQJD'HOO0DQDJHG1RGHIRU1RYHOO1HW:DUH
NOTE: Installation of a NetWare managed node is executed from a system running
the Windows NT operating system.
To support SNMP set requests from a third-party SNMP management console, the
NetWare server’s
snmp.nlm
module must be loaded with certain set command line
options. Either add the following command line to the
autoexec.ncf
file or use it to
load the
snmp.nlm
module manually:
load snmp ControlCommunity=
public TrapCommunity=public
MonitorCommunity=
public
Summary of Contents for OpenManage HIP 3.2
Page 1: ... ZZZ GHOO FRP 3 2SHQ9LHZ 110 6 LWK HOO 2SHQ0DQDJH 3 86 5 6 8 ...
Page 24: ...1 14 HP OpenView NNM SE 1 2 With Dell OpenManage HIP 3 2 User s Guide ...
Page 50: ...2 26 HP OpenView NNM SE 1 2 With Dell OpenManage HIP 3 2 User s Guide ...
Page 62: ...A 4 HP OpenView NNM SE 1 2 With Dell OpenManage HIP 3 2 User s Guide ...


