


c. Line up the hole on the bottom of the interposer board with the notch on the connector, and snap the interposer
board onto the drive.
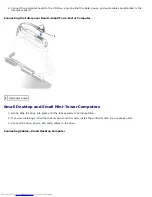
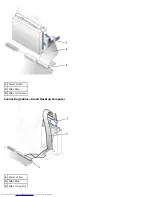
3. Gently slide the drive into the computer until the tabs securely click into position.
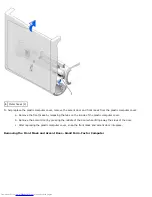
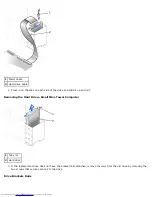
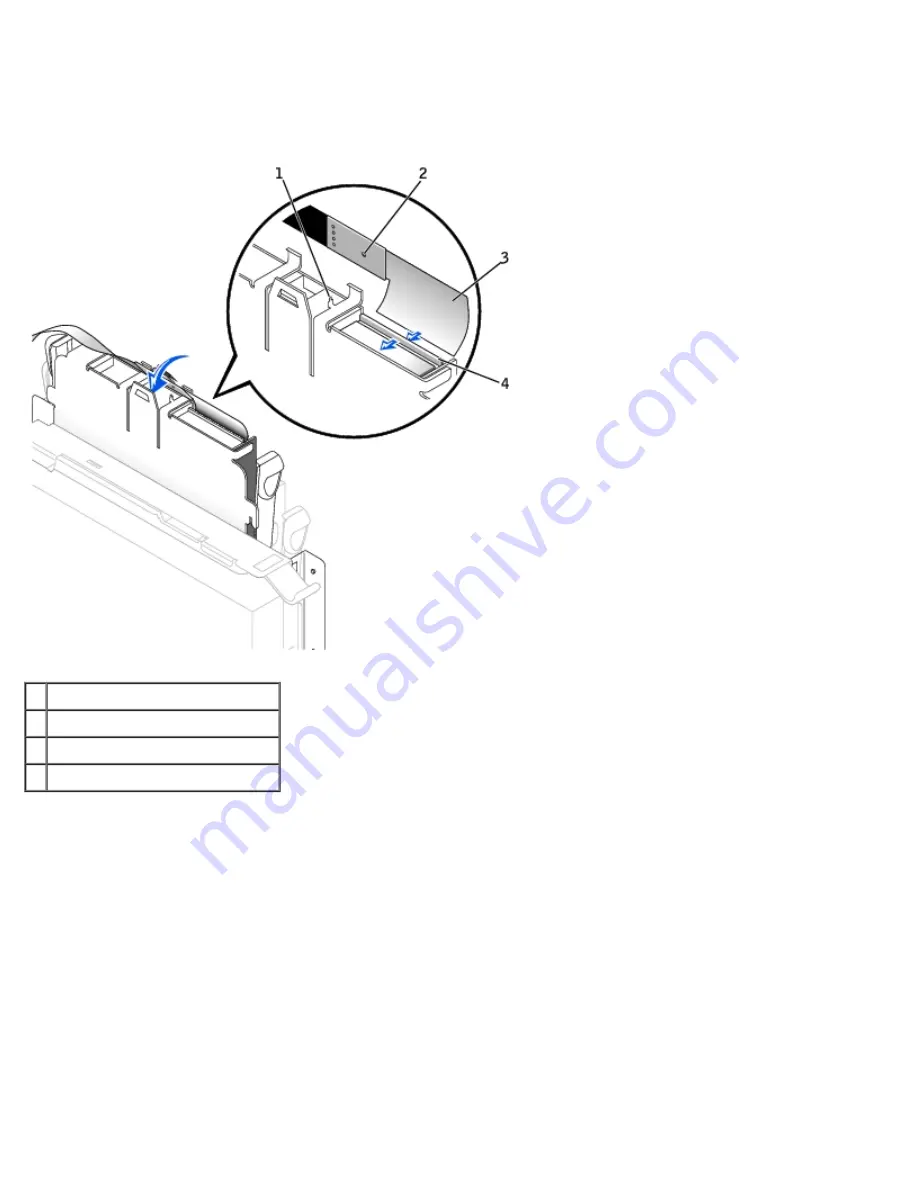
Attaching the Floppy-Drive Data Cable
1
Connector notch
2
Interposer board alignment hole
3
Floppy-drive cable
4 Lever
4. Attach the power cable to the interposer board on the floppy drive.
5. Connect the strip cable to the DSKT connector on the system board.
6. Check all cable connections, and fold cables out of the way to provide airflow for the fan and cooling vents.
7. Close the computer cover, reconnect your computer and devices to their electrical outlets, and turn them on.
8. Enter system setup and update the appropriate
Diskette Drive A
option to reflect the size and capacity of your new
floppy drive.
9. Verify that your computer works correctly by running the Dell Diagnostics.
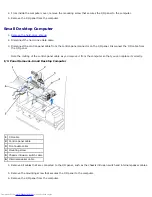
Small Desktop and Mini-Tower Computers
1. If the replacement drive does not have the bracket rails attached, remove the rails from the old drive by removing the
two screws that secure each rail to the drive. Attach the bracket to the new drive by aligning the screw holes on the
drive with the screw holes on the bracket rails and tightening all four screws (two screws on each rail).
Summary of Contents for OptiPlex GX50
Page 17: ...Small Desktop Computer ...
Page 26: ......
Page 30: ...To replace the I O panel follow the removal procedures in reverse Back to Contents Page ...
Page 45: ...1 Power cable 2 Audio cable 3 CD drive cable 4 CD drive connector Small Mini Tower Computer ...
Page 65: ...Back to Contents Page ...


