


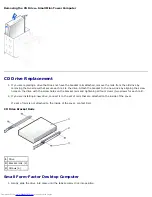
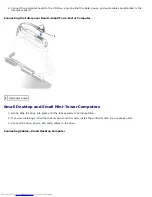


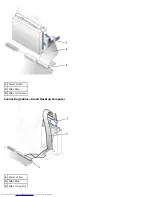

Floppy Drive Bracket Rails
1
Drive
2
Bracket rails (2)
3
Screws (4)
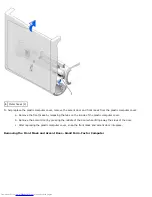
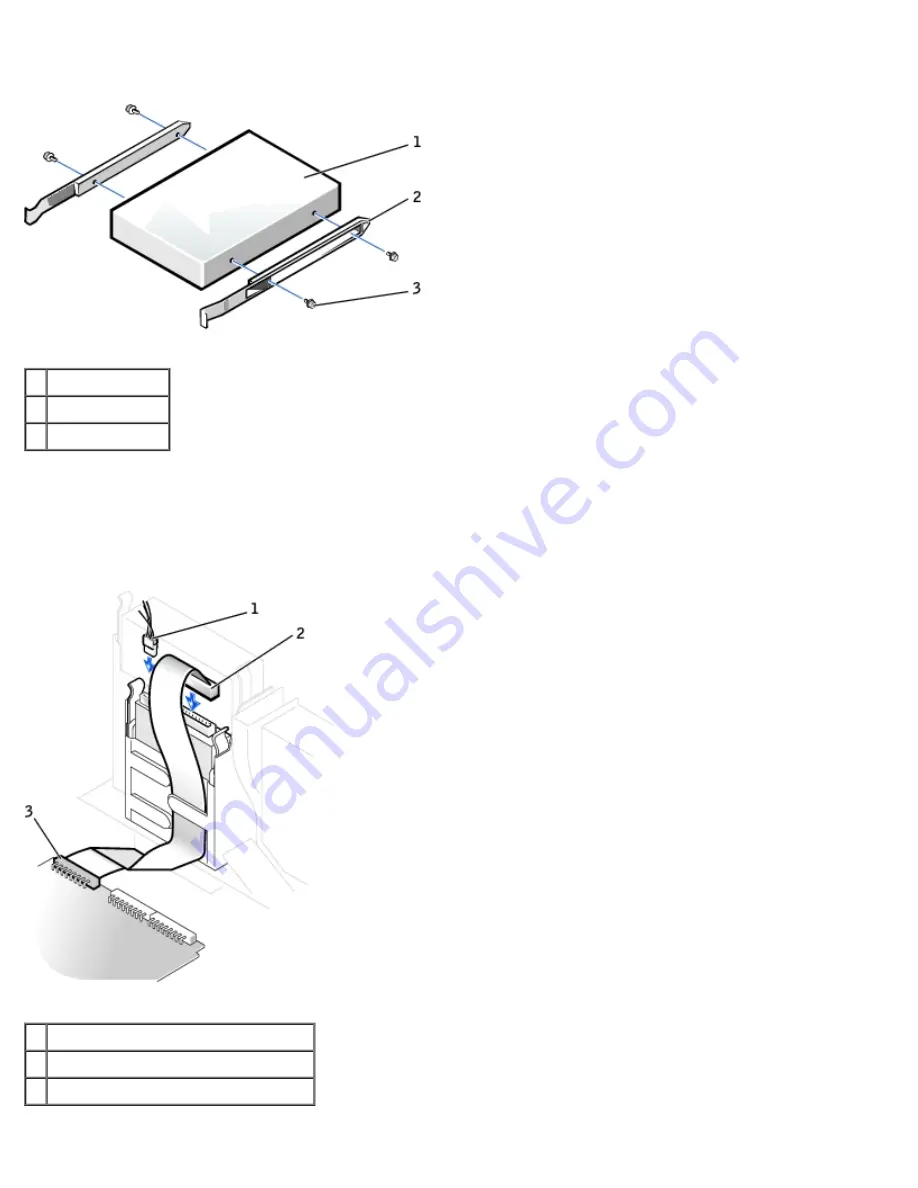
2. Gently slide the drive into place until the tabs securely click into position.
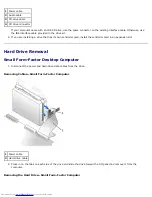
3. Attach the power and data cables to the floppy drive, and connect the other end of the data cable to the connector
labeled "DSKT" on the system board.
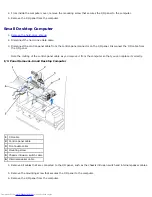
Small Desktop Computer
1
Power cable
2
Floppy-drive cable
3
Floppy-drive system board connector
Summary of Contents for OptiPlex GX50
Page 17: ...Small Desktop Computer ...
Page 26: ......
Page 30: ...To replace the I O panel follow the removal procedures in reverse Back to Contents Page ...
Page 45: ...1 Power cable 2 Audio cable 3 CD drive cable 4 CD drive connector Small Mini Tower Computer ...
Page 65: ...Back to Contents Page ...


