


Back to Contents Page
Expansion-Card Cage (Small Desktop Computer Only)
Dell™ OptiPlex™ GX50 Systems
Removing the Expansion-Card Cage
Replacing the Expansion-Card Cage
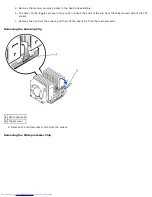
Removing the PCI Riser Board
Replacing the PCI Riser Board
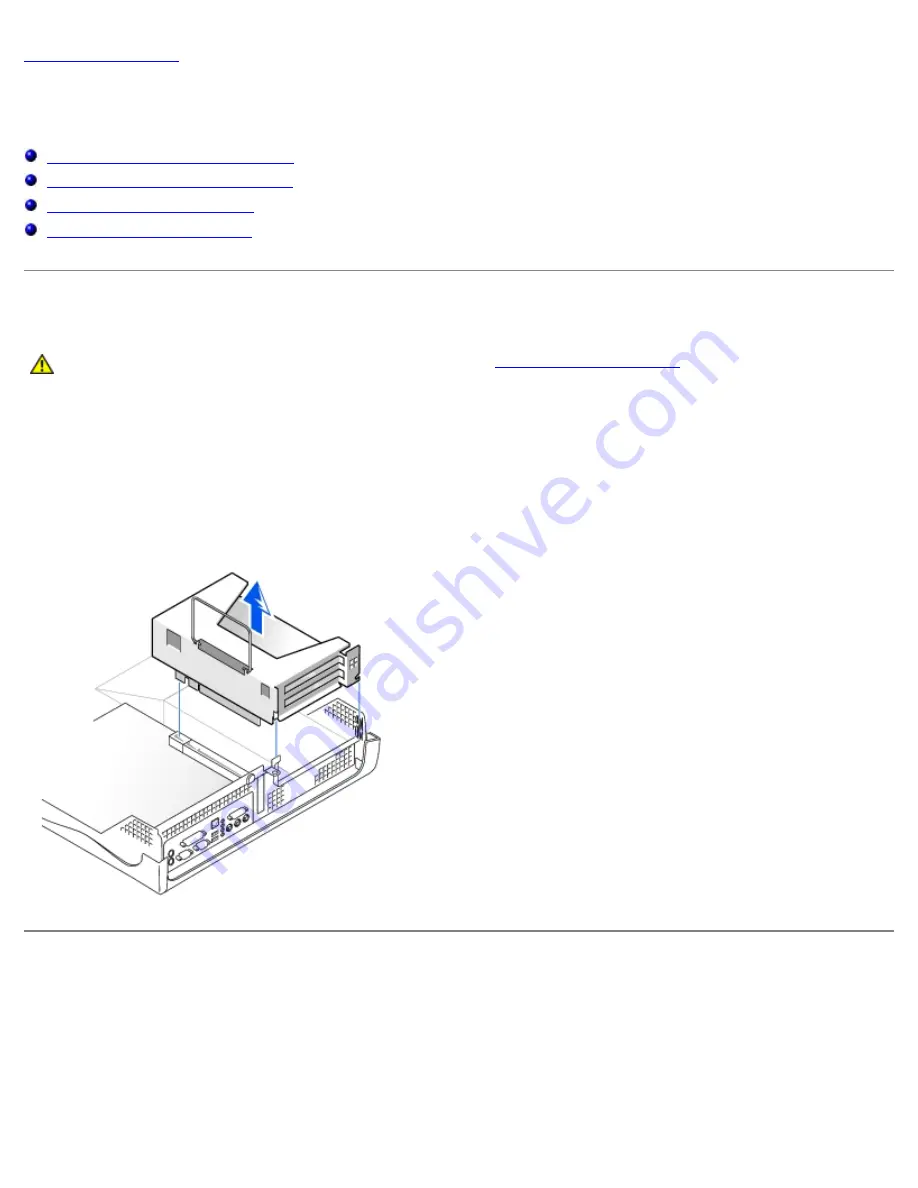
Removing the Expansion-Card Cage
CAUTION:
Use a wrist-grounding strap as explained in "
Precautionary Measures
."
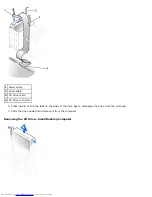
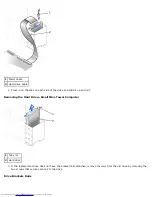
1. Examine any cables connected to expansion cards through the back- panel openings, and disconnect any cables that
will not extend to where the cage must be placed when it is removed from the computer.
2. Remove any cables connected to the expansion card.
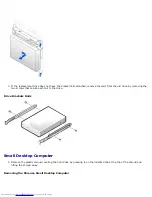
3. Gently pull on the handle and lift the expansion-card cage up and away from the computer.
Removing the Expansion-Card Cage
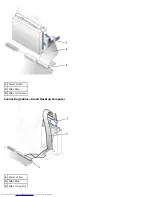
Replacing the Expansion-Card Cage
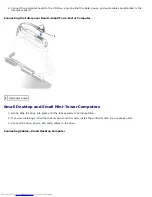
1. Align the expansion-card cage slots with the tabs in the computer opening for the expansion-card cage. Slide the
expansion-card cage into place.
2. Make sure that the riser board is fully seated in the RISER connector on the system board.
Replacing the Expansion-Card Cage
Summary of Contents for OptiPlex GX50
Page 17: ...Small Desktop Computer ...
Page 26: ......
Page 30: ...To replace the I O panel follow the removal procedures in reverse Back to Contents Page ...
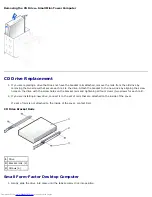
Page 45: ...1 Power cable 2 Audio cable 3 CD drive cable 4 CD drive connector Small Mini Tower Computer ...
Page 65: ...Back to Contents Page ...


