PowerConnect B-MLXe Hardware Installation Guide
51
53-1002111-01
Installing a PowerConnect B-MLXe-8 router
2
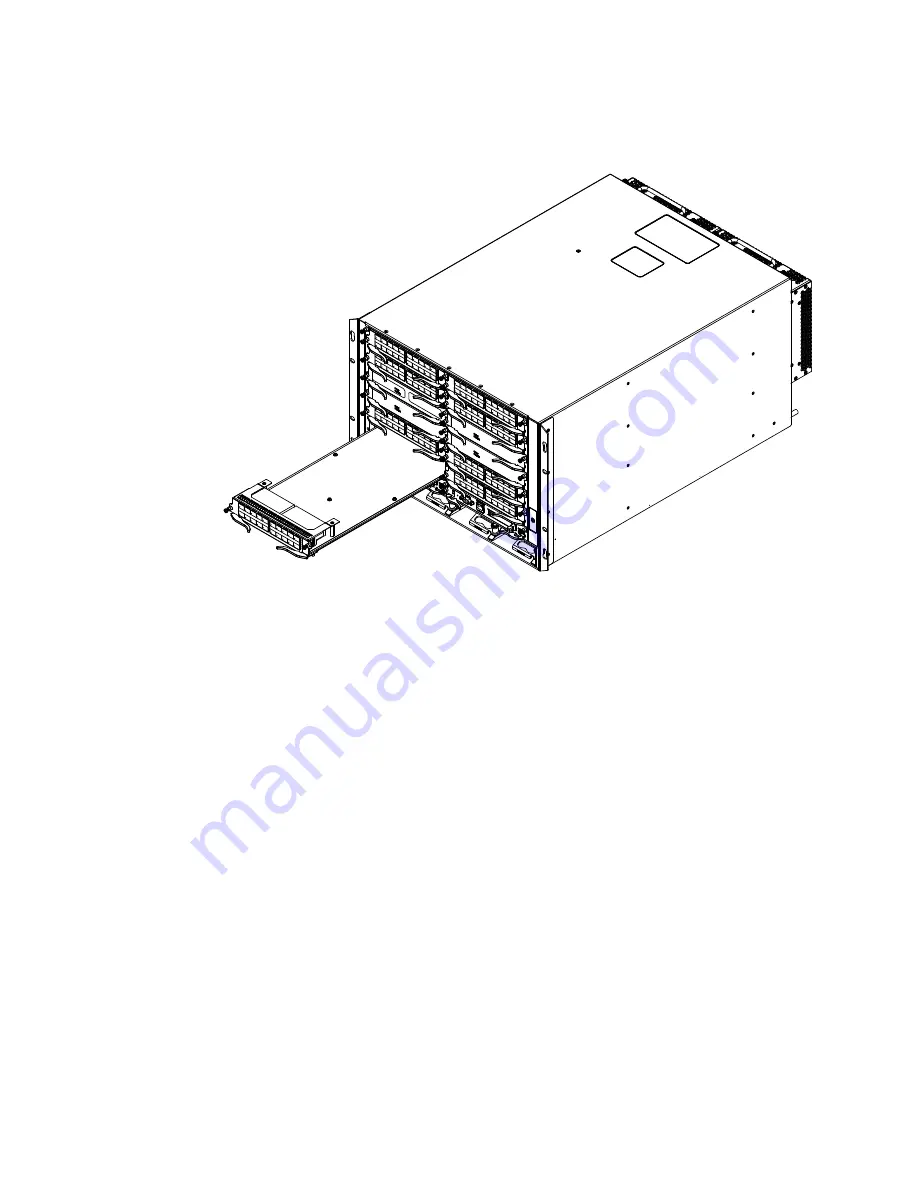
FIGURE 35
Installing a module in a 8-slot router
8. Rotate the ejectors flush with the module faceplate to fully seat the module in the backplane.
Modules have a snug fit for maximum EMI protection.
9. Tighten the two screws on each side of the module faceplate by pushing them in and turning
them clockwise. Complete the tightening process using a flat-blade screwdriver.
Power supply, switch fabric, and fan requirements
for NI-MLX-8x10-M and NI-MLX-1Gx48-T-A interface modules
A single 1200W power supply will support up to three NI-MLX-1Gx48-T-A or NI-MLX-8x10 interface
modules, with other modules filling the remaining slots. You can equip your router for 1+2 power
redundancy by installing up to two additional power supplies.
If you install four NI-MLX-1Gx48-T-A or NI-MLX-8x10-M modules in your router, you will need a
minimum of two power supplies. You can equip your router for 2+1 power redundancy by installing
one additional power supply.
Installing power supplies in the PowerConnect B-MLXe-8 router
The PowerConnect B-MLXe-8 router ships with one power supply, but it can accommodate up to
three AC power supplies (one required and two redundant). To equip your router for redundancy,
you will need to purchase one or two additional power supplies.
Power supply installation steps
Follow these steps to install a power supply in the PowerConnect B-MLXe-8 router.
Summary of Contents for PowerConnect B - MLXe 16
Page 1: ...53 1002111 01 02 November 2010 PowerConnect B MLXe Hardware Installation Guide ...
Page 194: ...182 PowerConnect B MLXe Hardware Installation Guide 53 1002111 01 Power cords 8 ...
Page 198: ...186 PowerConnect B MLXe Hardware Installation Guide 53 1002111 01 Russia A ...
Page 212: ...200 PowerConnect B MLXe Hardware Installation Guide 53 1002111 01 Dangers B ...


