156
| Discovering, Adding, and Managing Devices
Dell PowerConnect W AirWave 7.1
| User Guide
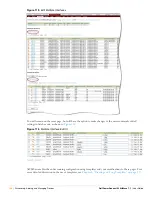
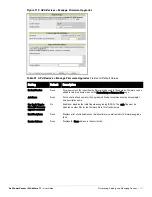
above a device table, will take you to the appropriate Management page (
APs/Devices > Manage
). See
“Configuring and Managing Devices” on page
158
for more information, and detailed procedures.
Auditing Device Configuration
When you have added a newly discovered device successfully to a Group in
Monitor
mode, the next step is to
verify device configuration status. Determine whether any changes will be applied to that device when you
convert it to
Managed read/write
mode.
AWMS uses SNMP or Telnet to read a device’s configuration. SNMP is used for Cisco controllers. Aruba devices
and wired routers and switches use Telnet/SHH to read device configuration. See
“Individual Device Support and
Firmware Upgrades” on page
169
for more details.
Perform these steps to verify the device configuration status:
1. Browse to the
APs/Devices > List
page.
2. Locate the device in the list and check the information in the
Configuration
column.
3. If the device is in
Monitor
mode, the
lock
symbol appears in the
Configuration
column, indicating that the
device is locked and will not be configured by AWMS.
4. Verify the additional information in the
Configuration
column for that device.
A status of
Good
indicates that all of the device's current settings match the group policy settings, and that
no changes will be applied when the device is shifted to
Manage
mode.
A status of
Mismatched
indicates that at least one of the device's current configuration settings do not
match the group policy, and will be changed when the device is shifted to
Manage
mode.
5. If the device configuration is
Mismatched
, click the
Mismatched
link to go to the
APs/Devices > Audit
page.
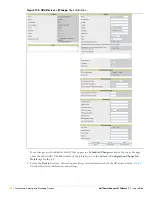
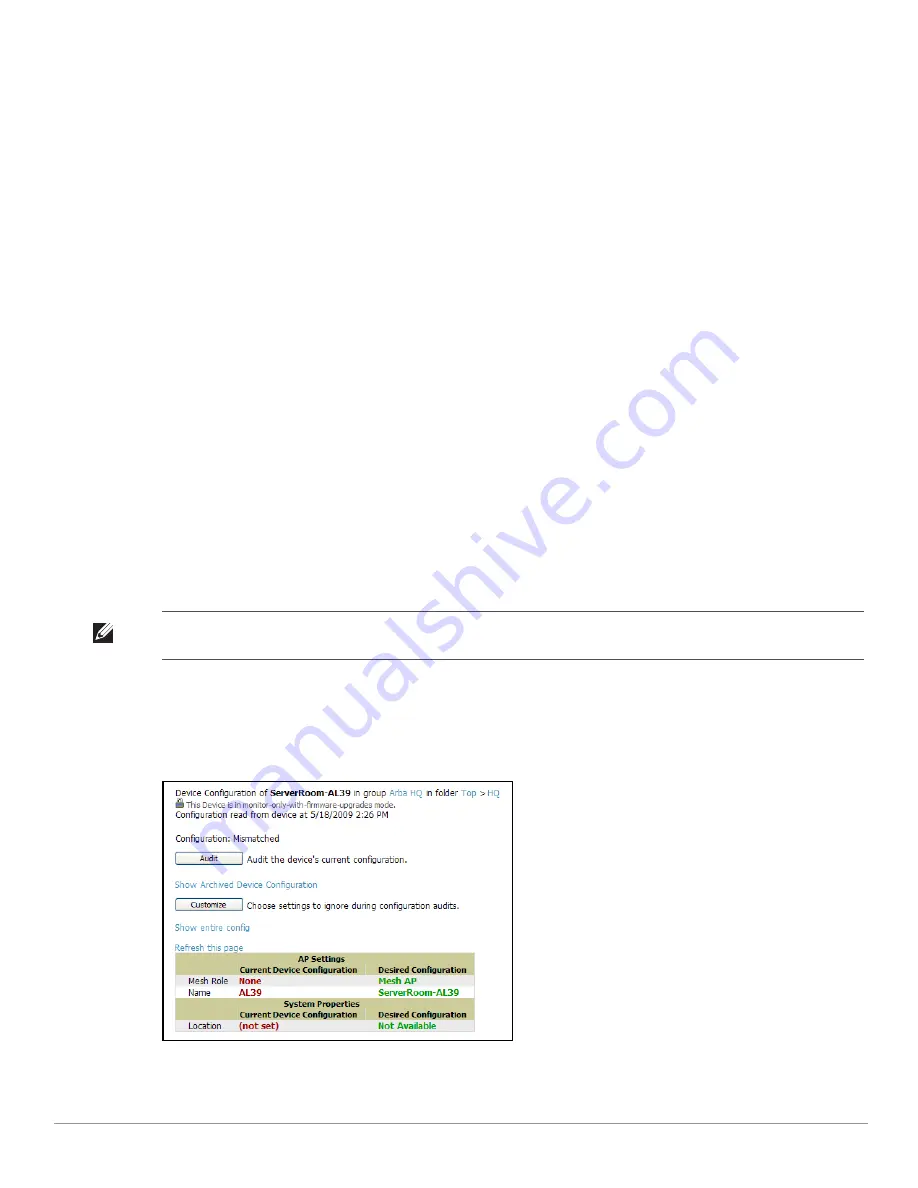
The
APs/Devices > Audit
page lists detailed information on all existing configuration parameters and settings
for an individual device.
The group configuration settings are displayed on the right side of the page. If the device is moved from
Monitor
to
Manage
mode, the settings on the right side of the page overwrite the settings on the left.
Figure
104
illustrates this page.
Figure 104
APs/Devices > Audit
Page Illustration
6. Review the list of changes to be applied to the device to determine whether the changes are appropriate. If
not, you need to change the Group settings or reassign the device to another Group.
Note: After upgrade, the APs/Devices > Audit page, and certain additional pages, show only Mismatched status by default for
non-template devices.
Summary of Contents for PowerConnect W Airwave 7.1
Page 1: ...Dell PowerConnect W AirWave Version 7 1 User Guide ...
Page 10: ...10 Dell PowerConnect W AirWave 7 1 User Guide ...
Page 30: ...30 Installing AWMS Dell PowerConnect W AirWave 7 1 User Guide ...
Page 194: ...194 Creating and Using Templates Dell PowerConnect W AirWave 7 1 User Guide ...
Page 260: ...260 Performing Daily Administration in AWMS Dell PowerConnect W AirWave 7 1 User Guide ...
Page 294: ...294 Creating Running and Emailing Reports Dell PowerConnect W AirWave 7 1 User Guide ...
Page 302: ...302 Using the AWMS Helpdesk Dell PowerConnect W AirWave 7 1 User Guide ...
Page 304: ...304 Package Management for AWMS Dell PowerConnect W AirWave 7 1 User Guide ...
Page 308: ...308 Third Party Security Integration for AWMS Dell PowerConnect W AirWave 7 1 User Guide ...
Page 314: ...314 Access Point Notes Dell PowerConnect W AirWave 7 1 User Guide ...
Page 316: ...316 Initiating a Support Connection Dell PowerConnect W AirWave 7 1 User Guide ...
Page 318: ...318 Cisco Clean Access Integration Perfigo Dell PowerConnect W AirWave 7 1 User Guide ...
Page 330: ...330 Third Party Copyright Information Dell PowerConnect W AirWave 7 1 User Guide ...
Page 334: ...334 Index Dell PowerConnect W AirWave 7 1 User Guide ...


