Installing System Components
77
Installing a Non-Redundant Power Supply
1
Slide the power supply into the back of the chassis until the power supply
release tab snaps into place (see Figure 3-10).
2
Replace the screw to secure the power supply to the system (see
Figure 3-10).
3
Connect all power cables to the system board, drives, and SAS backplane
(if installed).
Ensure that all power cables are routed properly to prevent the cables from
becoming pinched or crimped.
4
Replace the processor airflow shroud (see "Installing the Processor Airflow
Shroud" on page 72).
5
Replace the system cover (see "Installing the System Cover" on page 67).
Hard Drives
NOTICE:
Combining SATA and SAS hard drives in the same system configuration is
not supported.
Depending on your system configuration, your system supports up to four
3.5-inch SATA or SAS hard drives installed internally (see Figure 3-13) or at the
front of the system (see Figure 3-11). Hard drives installed in your system are
connected to the system board, an optional controller card, or to the SAS
backplane (requires a SAS controller card). Only hard drives installed in the hard
drive bays at the front of the system can be used as hot-pluggable.
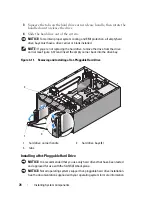
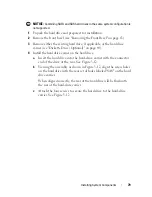
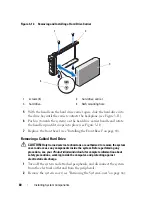
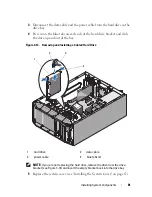
Removing a Hot-Pluggable Hard Drive
1
Remove the front bezel (see "Removing the Front Bezel
" on page 63
).
2
From the RAID management software, prepare the drive for removal a
nd
wait until the hard drive indicators on the front of the drive carrier signal
that the drive can be removed safely.
See your SAS/RAID controller
documentation for information about hot-pluggable hard drive removal.
If the hard drive is online, the green
activity/
fault indicator flashes as the
drive is powered down. When both drive indicators are off, the drive is
ready for removal.
Summary of Contents for POWEREDGE T300
Page 10: ...10 Contents ...
Page 132: ...132 Installing System Components ...
Page 174: ...174 Jumpers and Connectors ...
Page 176: ...176 Getting Help ...
Page 188: ...188 Glossary ...


