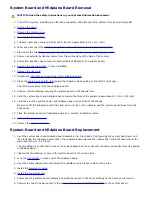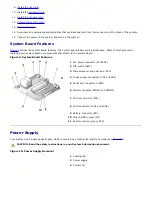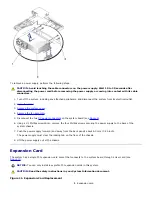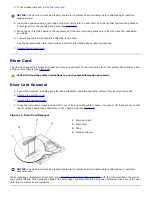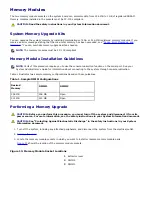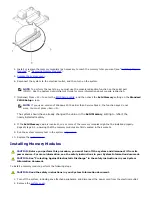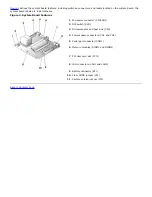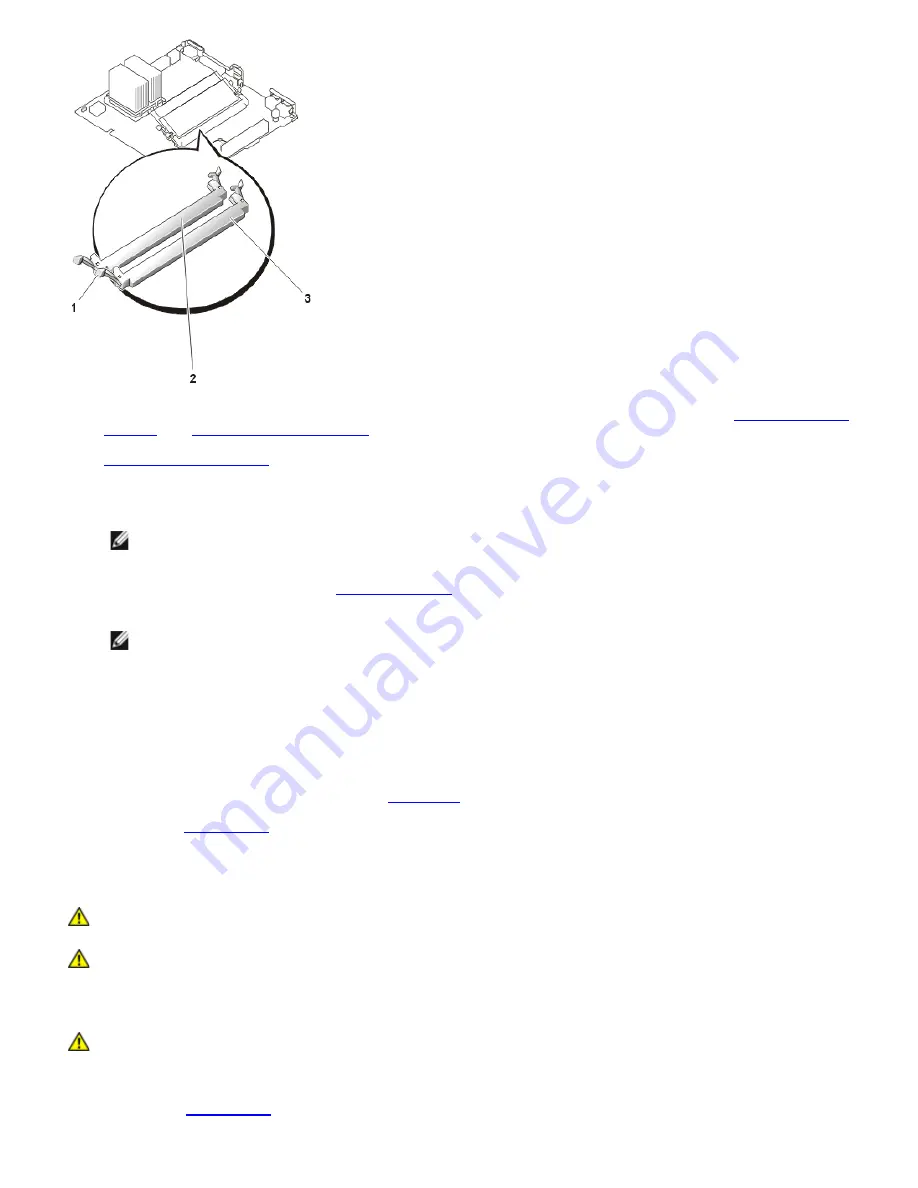
4. Install or replace the memory module(s) as necessary to reach the memory total you want (see "
Installing Memory
Modules
" or "
Removing Memory Modules
").
5.
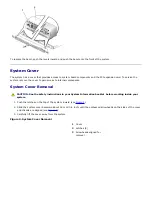
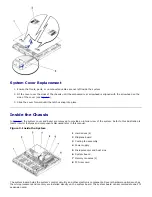
Replace the system cover
.
6. Reconnect the system to the electrical outlet, and then turn on the system.
NOTE:
To perform the next step, you must use the console redirection function on the serial port
(COM1). See the
System Administrator's Guide
for more information about console redirection.
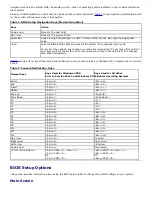
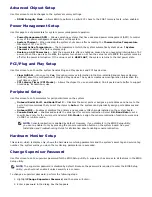
7. (Optional) Press <F2> to enter the
BIOS Setup utility
, and then check the
Extd Memory
setting on the
Standard
CMOS Setup
screen.
NOTE:
If you use a version of Windows 2000 earlier than Service Pack 2, the function keys do not
work. You must press <Esc><2>.
The system should have already changed the value in the
Extd Memory
setting to reflect the
newly installed memory.
8. If the
Extd Memory
value is incorrect, one or more of the memory modules might not be installed properly.
Repeat steps 2–5, ensuring that the memory modules are firmly seated in their sockets.
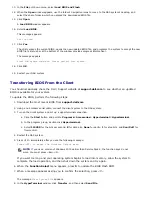
9. Run the system memory test in the system
diagnostics
.
10. Replace the
system cover
.
Installing Memory Modules
CAUTION:
Before you perform this procedure, you must turn off the system and disconnect it from its
power source. For more information, see the safety instructions in your
System Information
document.
CAUTION:
See "Protecting Against Electrostatic Discharge" in the safety instructions in your
System
Information
document.
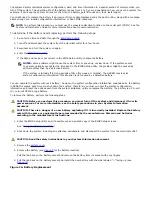
To install a memory module, perform the following steps.
CAUTION:
Read the safety instructions in your
System Information
document.
1. Turn off the system, including any attached peripherals, and disconnect the power cord from the electrical outlet.
2. Remove the
system cover
.
Summary of Contents for PowerVault 715N
Page 10: ...Back to Contents Page ...


