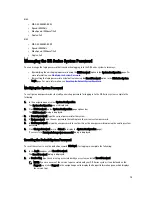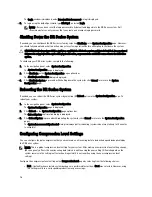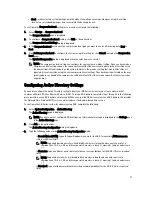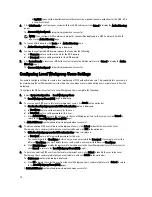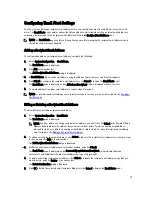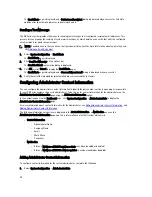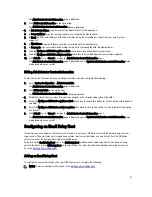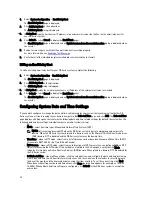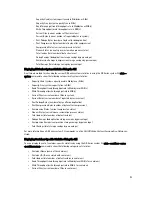
NOTE: The DR Series system administrator that manages the system has a different set of privileges than does
the CIFS administrator user. Only the DR Series system administrator can change the password for the CIFS
administrator user. To change the password that allows access for the CIFS administrator user, use the
authenticate --set --user administrator commands. For more information, see the
Dell DR Series System
Command Line Reference Guide
.
10. To select a CIFS connection type, click Enable CIFS in the CIFS pane.
The Client Access pane is displayed, which allows you to configure this container to use CIFS to backup Microsoft
(MS) Windows clients.
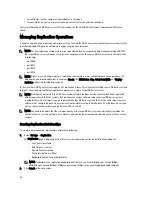
11. In the Client Access pane, define a specific CIFS client (or all clients) that can access the CIFS container or
manage clients who can access this container:
– To allow open access for all clients to the CIFS container you created, select Open Access (all clients have
access). When you select this setting, this action removes the Add clients (IP or FQDN Hostname) and
Clients text boxes. Select this check box
only
if you want to enable access for all clients to this CIFS
container.
– Type the IP address (or its FQDN hostname) in the Add clients (IP or FQDN Hostname) text box, and click
Add. The “added” client appears in the Clients list box.
– To delete an existing client from the Clients list box, click to select the IP address (or FQDN hostname) of
the client you want to delete, and click Remove. The “deleted” client disappears from the list box.
12. Click Create a New Container (or click Cancel to display the Containers page).
The Containers page is displayed, along with a Successfully Added dialog. The list of containers in the Containers
summary table is now updated with your new container.
Creating an OST Connection Type Container
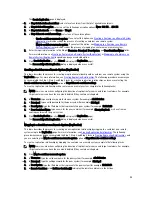
To create an OST connection type container, complete the following:
1.
Select Storage
→
Containers.
The Containers page is displayed showing all existing containers.
2.
Click Create.
The Create New Container dialog is displayed.
3.
In Container Name, type the name of the container.
Container names cannot exceed 32 characters in length, and can be composed of any combination of the following
characters:
– A-Z (uppercase letters)
– a-z (lowercase letters)
– 0-9 (numbers)
– dash (-) or underscore (_) special characters
NOTE: The DR Series system does not support the use of the following special characters in container
names: /, #, or @.
4.
In Marker Type, select from the following choices: None, Auto, CommVault, Networker, TSM, or ARCserv.
If you select the Auto marker type, this will enable all marker types to be detected. As a best practice, if you have
only one type of DMA with traffic directed to a container, it is best to select the corresponding marker type (for
example, CommVault). Conversely, as a best practice, if you have traffic from a DMA that is not one of the
supported marker types, it is best to disable marker detection for the container by selecting the None marker type.
5.
In Connection Type, select OST for this type of container to create.
The OST pane is displayed, which allows you to configure this container to use OST (OpenStorage Technology) to
backup NetBackup and Backup Exec media servers.
6.
In Capacity, select one of the following options allowed per container:
89
Summary of Contents for PowerVault DX6112
Page 1: ...Dell DR Series System Administrator Guide ...
Page 32: ...32 ...
Page 70: ...70 ...
Page 86: ...86 ...
Page 100: ...For more information on Replication schedules see Creating a Replication Schedule 100 ...
Page 114: ...114 ...

