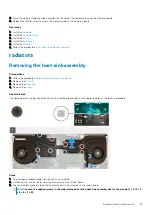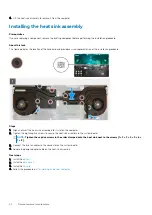
4. Lift the heat-sink assembly to remove it from the computer.
Installing the heat sink assembly
Prerequisites
If you are replacing a component, remove the existing component before performing the installation procedure.
About this task
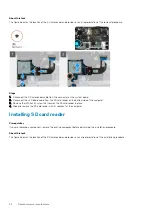
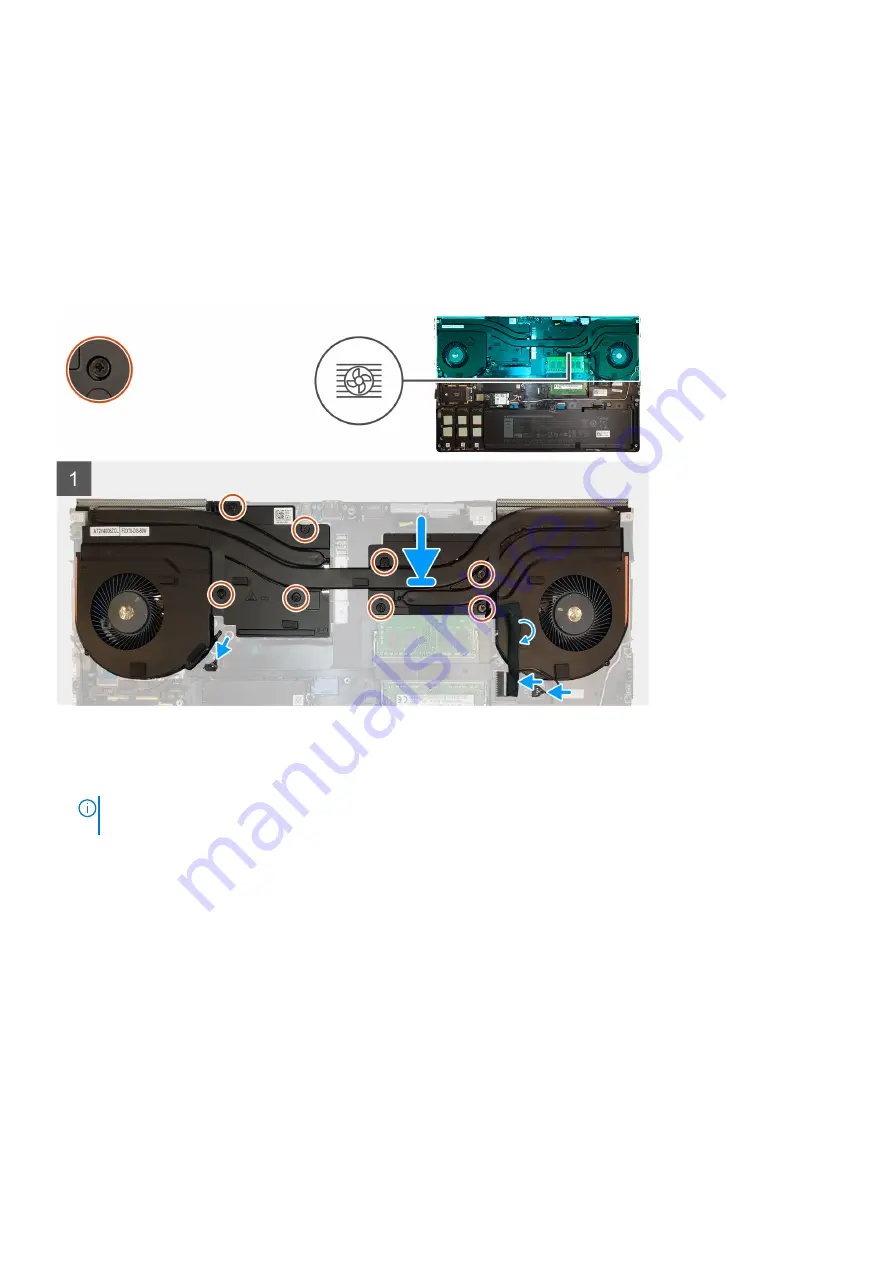
The figure indicates the location of the keyboard and provides a visual representation of the installation procedure.
Steps
1. Align and insert the heat-sink assembly into its slot on the computer.
2. Tighten the eight captive screws to secure the heat-sink assembly to the system board.
NOTE:
Tighten the captive screws in the order stamped onto the heat sink next to the screws [1 > 2 > 3 > 4 > 5 > 6 >
7 > 8].
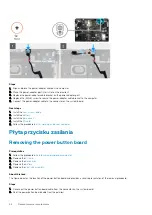
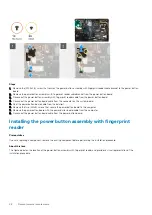
3. Connect the two fan cables to the connector on the system board.
4. Adhere the power-adapter cable on the heat-sink assembly.
Next steps
1. Install the
.
2. Install the
.
3. Install the
4. Follow the procedure in
after working inside your computer
.
44
Demontowanie i montowanie
Summary of Contents for Precision 7750
Page 1: ...Precision 7750 Service Manual Regulatory Model P44E Regulatory Type P44E001 May 2020 Rev A00 ...
Page 22: ...22 Demontowanie i montowanie ...
Page 25: ...Demontowanie i montowanie 25 ...
Page 66: ...66 Demontowanie i montowanie ...
Page 75: ...Demontowanie i montowanie 75 ...
Page 77: ...Demontowanie i montowanie 77 ...


