Adding and Replacing Parts
277
9
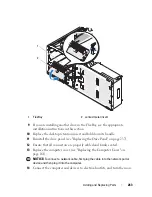
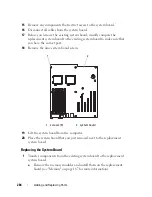
If you are installing another drive in the optical drive bay, see the
"Installing an Optical Drive (Desktop Computer)" on page 277.
10
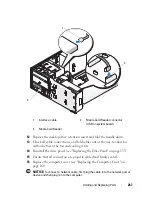
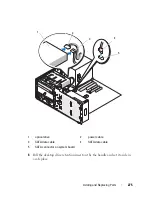
Replace the desktop drive retention insert and fold down its handle.
11
Reinstall the drive panel (see "Replacing the Drive Panel" on page 237).
12
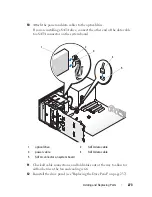
Ensure that all connectors are properly cabled and firmly seated.
13
Replace the computer cover (see "Replacing the Computer Cover" on
page 161).
NOTICE:
To connect a network cable, first plug the cable into the network port or
device and then plug it into the computer.
14
Connect the computer and devices to electrical outlets, and turn them on.
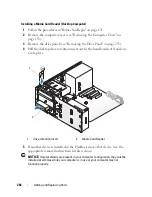
Installing an Optical Drive (Desktop Computer)
1
Follow the procedures in "Before You Begin" on page 151.
2
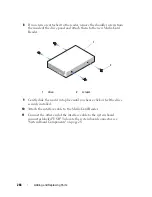
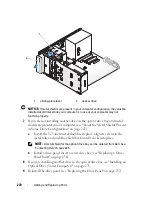
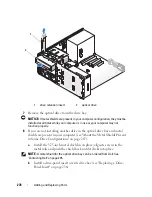
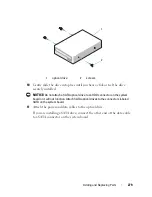
If you are installing a new drive, unpack the drive and prepare it for
installation.
Check the documentation that accompanied the drive to verify that the
drive is configured for your computer.
3
Remove the computer cover (see "Removing the Computer Cover" on
page 153).
4
Remove the drive panel (see "Removing the Drive Panel" on page 233).
5
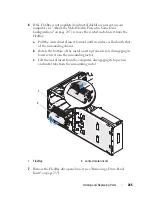
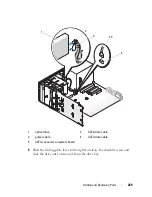
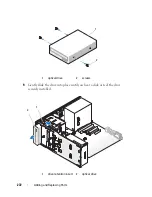
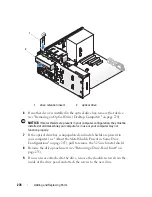
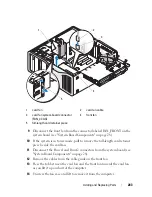
Pull the desktop drive retention insert out by the handle and set it aside in
a safe place.
Summary of Contents for Precision NX046
Page 1: ...w w w d e l l c o m s u p p o r t d e l l c o m Dell Precision T5400 User s Guide Model DCTA ...
Page 18: ...18 Finding Information ...
Page 43: ...About Your Computer 43 ...
Page 44: ...44 About Your Computer ...
Page 88: ...88 Securing Your Computer ...
Page 120: ...120 Troubleshooting ...
Page 140: ...140 Troubleshooting Tools ...
Page 238: ...238 Adding and Replacing Parts 1 drive panel tabs 2 drive panel 2 Tower Orientation 1 ...
Page 286: ...286 Adding and Replacing Parts ...
Page 287: ...Adding and Replacing Parts 287 ...
Page 288: ...288 Adding and Replacing Parts ...
Page 296: ...296 Getting Help ...
Page 316: ...316 Glossary ...

