54
Advanced Features
"Migrating to a RAID Level 0 Configuration" on page 57), a RAID level 1
configuration (see "Migrating to a RAID Level 1 Configuration" on page 58),
or a RAID level 5 configuration (see "Migrating to a RAID Level 5
Configuration" on page 59). Create a new volume only when:
• You are adding two new drives to an existing single-drive computer (and
the operating system is on the single drive), and you want to configure the
two new drives into a RAID volume.
• You already have a two-hard drive computer configured into a volume, but
you still have some space left on the volume that you want to designate as
a second RAID volume.
Creating a RAID Level 0 Configuration
NOTICE:
When you perform this operation, all data on the RAID drives will be lost.
NOTE:
This procedure is only possible if you ordered your computer with a RAID
configuration.
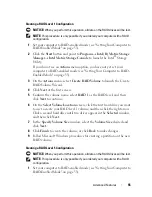
1
Set your computer to RAID-enabled mode (see "Setting Your Computer to
RAID-Enabled Mode" on page 53).
2
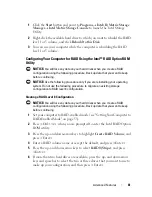
Click
Start
and point to
Programs
→
Intel(R) Matrix Storage Manager
→
Intel Matrix Storage Console
to launch the Intel Storage Utility.
If you do not see an
Actions
menu option, you have not yet set your
computer to RAID-enabled mode (see "Setting Your Computer to RAID-
Enabled Mode" on page 53).
3
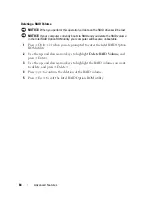
On the
Actions
menu, select
Create RAID Volume
to launch the Create
RAID Volume Wizard, and then click
Next
.
4
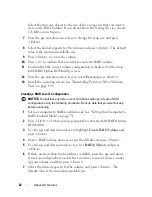
On the
Select Volume Location
screen, click the first hard drive you want
to include in your RAID level 0 volume, and then click the right arrow.
5
Click a second hard drive. To add a third hard drive in your RAID level 0
volume, click the right arrow and click on the third drive until three drives
appear in the
Selected
window, and then click
Next
.
6
In the
Specify Volume Size
window, click the
Volume Size
desired, and
then click
Next
.
7
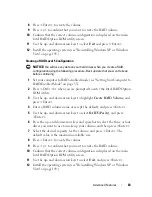
Click
Finish
to create the volume, or click
Back
to make changes.
Summary of Contents for Precision NX046
Page 1: ...w w w d e l l c o m s u p p o r t d e l l c o m Dell Precision T5400 User s Guide Model DCTA ...
Page 18: ...18 Finding Information ...
Page 43: ...About Your Computer 43 ...
Page 44: ...44 About Your Computer ...
Page 88: ...88 Securing Your Computer ...
Page 120: ...120 Troubleshooting ...
Page 140: ...140 Troubleshooting Tools ...
Page 238: ...238 Adding and Replacing Parts 1 drive panel tabs 2 drive panel 2 Tower Orientation 1 ...
Page 286: ...286 Adding and Replacing Parts ...
Page 287: ...Adding and Replacing Parts 287 ...
Page 288: ...288 Adding and Replacing Parts ...
Page 296: ...296 Getting Help ...
Page 316: ...316 Glossary ...


