About this task
Install the 1U cable management tray into a rack with a depth of 1070 mm (42.1 in.).
Steps
1.
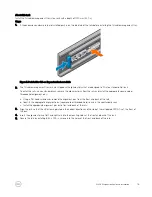
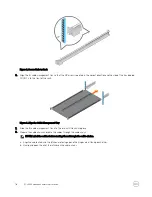
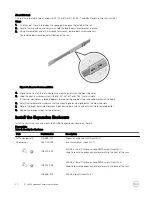
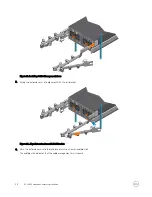
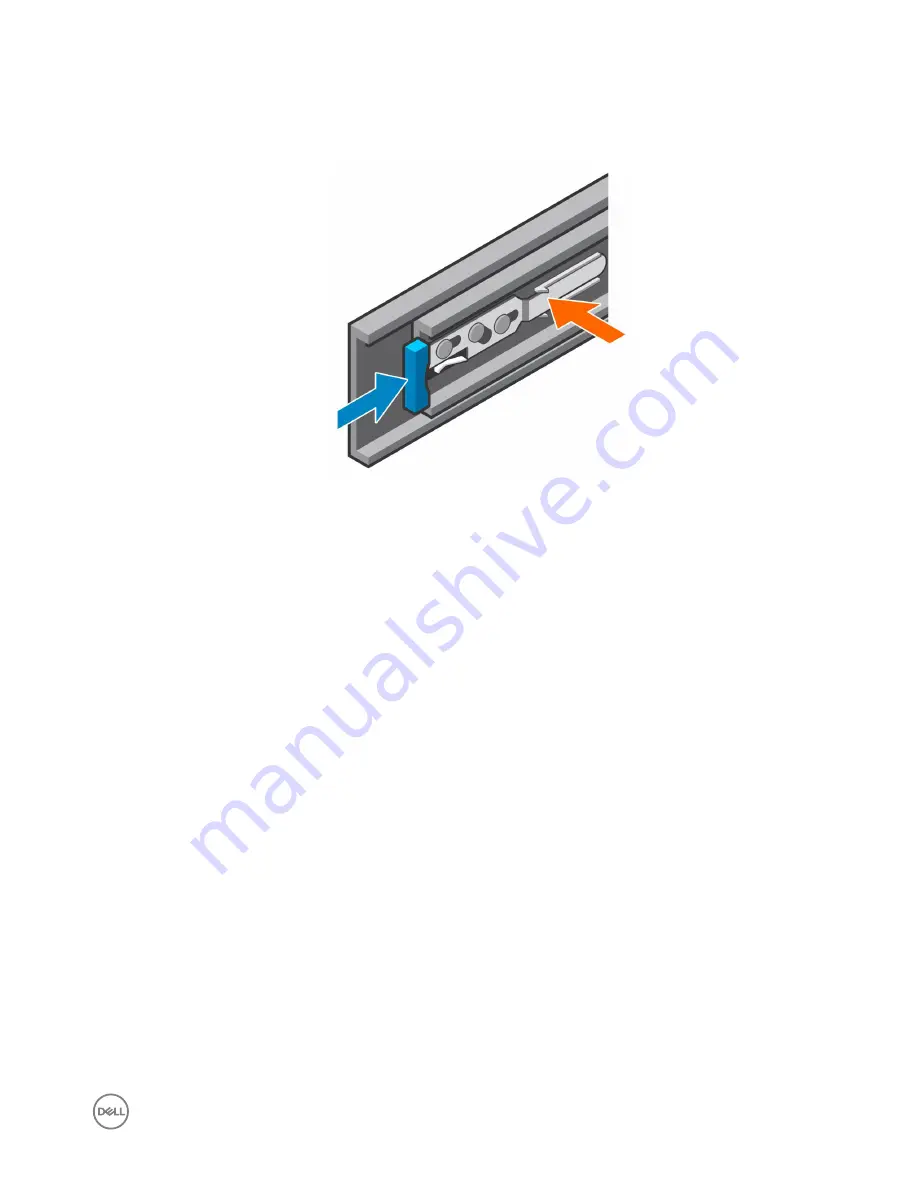
If the expansion enclosure rails are installed, push in on the blue tab of the rails before installing the 1U cable management tray.
Figure 7. Push in Blue Tab on Expansion Enclosure Rails
2.
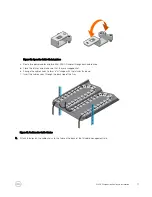
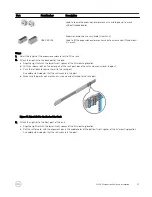
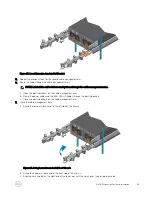
The 1U cable management tray rails are shipped with alignment pins that are designed to fit into a standard Dell rack.
To install the rails in a nonstandard rack, remove the alignment pins from the rails and install the appropriate square hole or
threaded hole alignment pins.
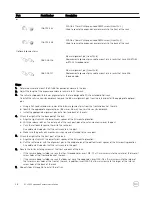
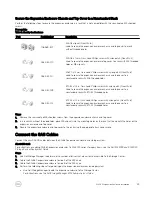
a. Using a flat-head screwdriver, remove the alignment pins from the front and back of the rails.
b. Identify the appropriate alignment pins (square hole or threaded hole) to use in the nonstandard rack
c. Install the appropriate alignment pins onto front and back of the rails.
3.
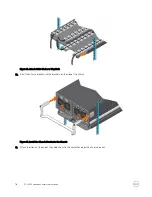
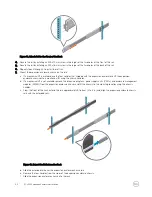
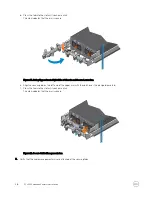
Align the rails so that the UP arrow is pointed in the correct direction and the side of the rail labeled FRONT is at the front of
the rack.
4.
Insert the alignment pins of left and right rails into the mounting holes at the front and back of the rack.
5.
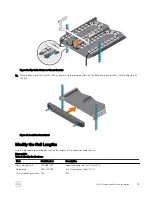
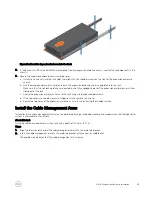
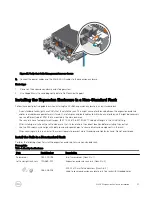
Secure the rails by installing 8-32 x 0.75 in. screws into the holes at the front and back of the rails.
SCv360 Expansion Enclosure Installation
15


