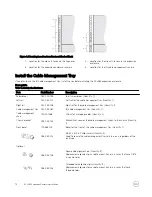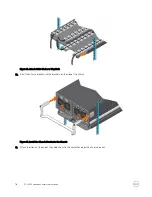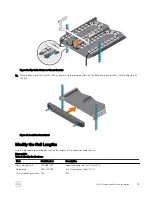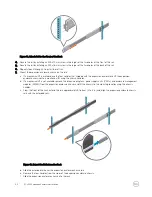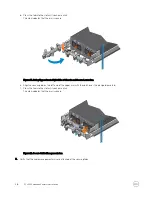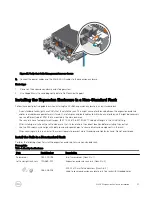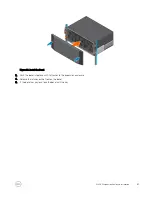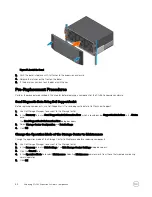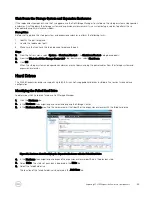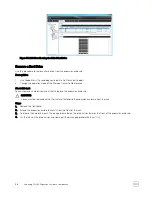
Figure 18. Attach Rail to the Front of the Rack
4.
Secure the rail by installing an M5 x 10 mm screw in the larger of the two holes at the front of the rail.
5.
Secure the rail by installing an M5 x 16 mm screw in the larger of the two holes at the back of the rail.
6.
Repeat steps 2 through 5 to install the left rail.
7.
Mount the expansion enclosure chassis on the rails.
a. If a mechanical lift is available, use the four handles that shipped with the expansion enclosure to lift the expansion
enclosure chassis onto a mechanical lift using the chassis handles.
b. If a mechanical lift is not available, remove the drives, cooling fans, power supply units (PSUs), and enclosure management
modules (EMMs) from the expansion enclosure chassis and lift the chassis to the mounting location using the chassis
handles.
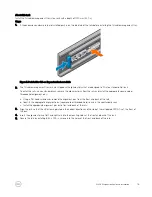
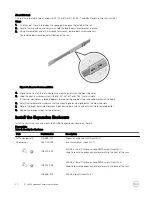
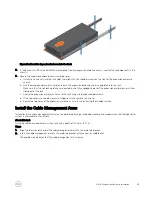
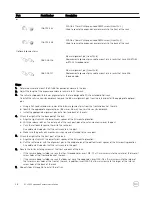
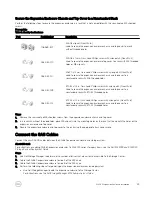
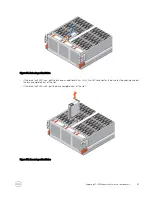
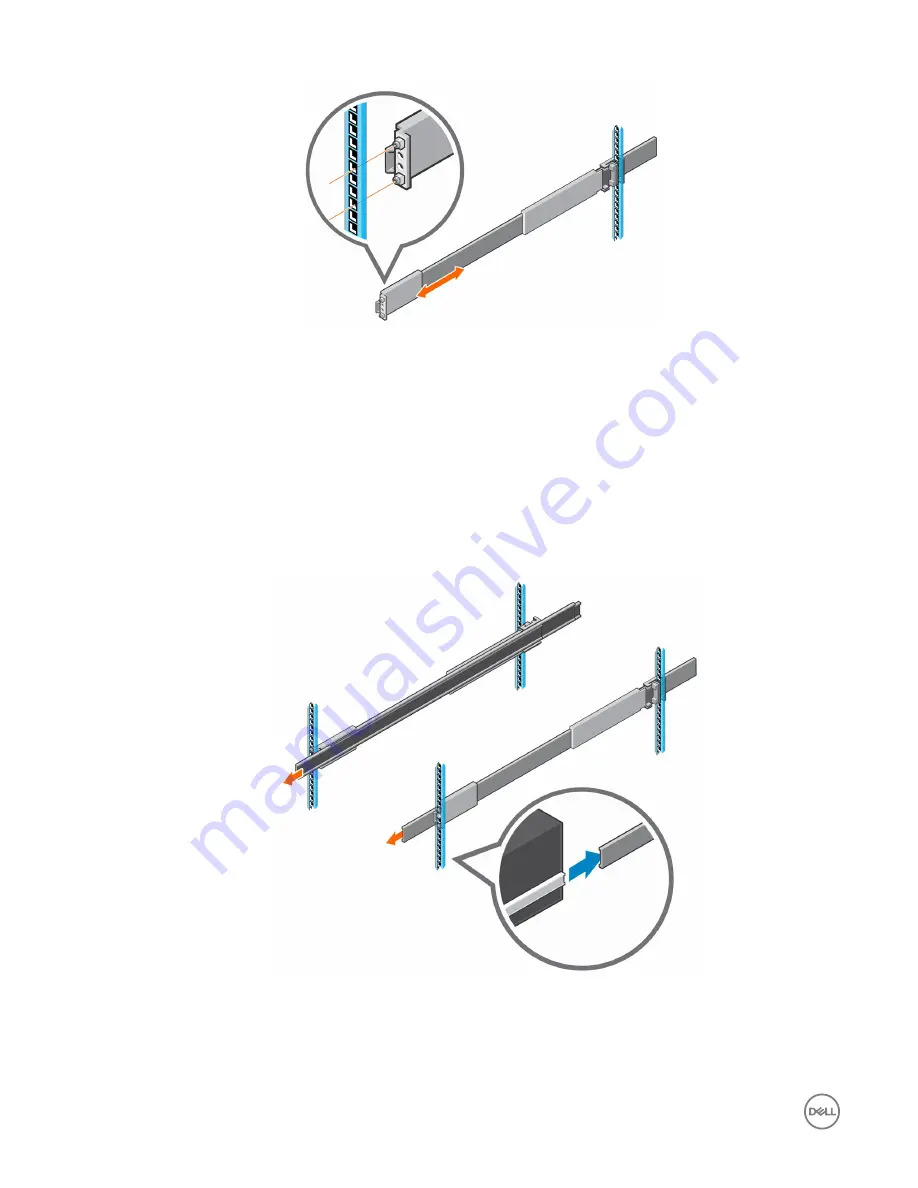
c. From the front of the rack, extend the rails approximately 5 to 8 cm (2 to 3 in.) and align the expansion enclosure chassis
rails with the extended rails.
Figure 19. Extend the Rails from the Rack
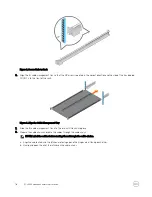
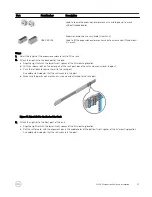
d. Slide the extended rails over the expansion enclosure chassis rails.
e. Remove the four handles from the sides of the expansion enclosure chassis.
f. Slide the expansion enclosure chassis into the rack.
22
SCv360 Expansion Enclosure Installation


