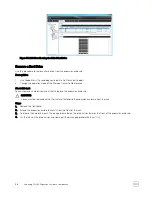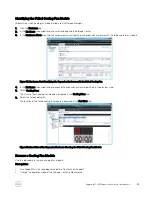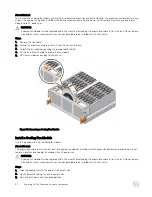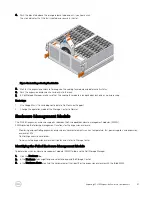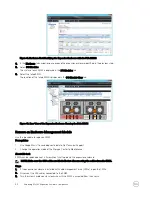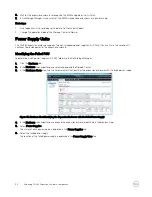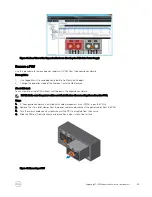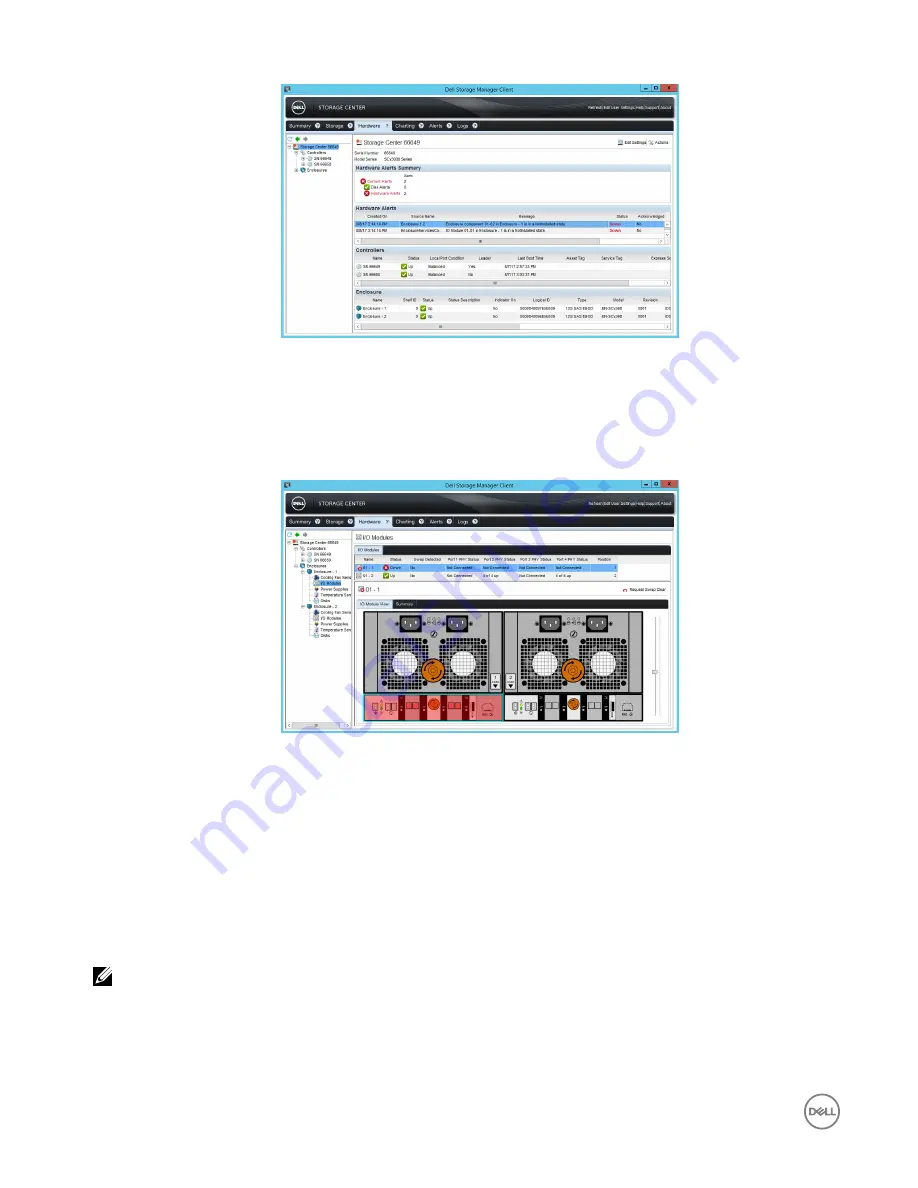
Figure 41. Hardware Alert Identifying the Expansion Enclosure with the Failed EMM
4.
In the
Hardware
tab navigation pane, expand the expansion enclosure identified in the previous step.
5.
Select
I/O Modules
.
The status of each EMM is displayed in the
I/O Modules
tab.
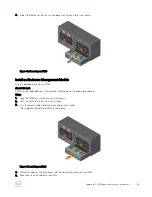
6.
Select the failed EMM.
The location of the failed EMM is displayed in the
I/O Module View
tab.
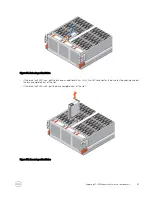
Figure 42. Rear View of the Expansion Enclosure Showing the Failed EMM
Remove an Enclosure Management Module
Use this procedure to replace a EMM.
Prerequisites
1.
Use SupportAssist to send diagnostic data to Dell Technical Support.
2.
Change the operation mode of the Storage Center to Maintenance.
About this task
EMMs can be replaced one at a time without shutting down the expansion enclosure.
NOTE: Make sure the SAS cables are labeled before disconnecting the cables from the EMM.
Steps
1.
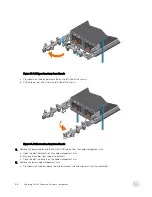
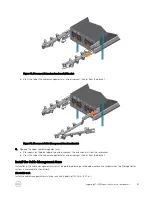
If the expansion enclosure is installed with cable management arms (CMAs), open the CMAs.
2.
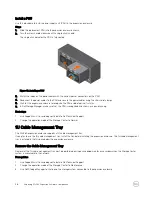
Disconnect the SAS cables connected to the EMM.
3.
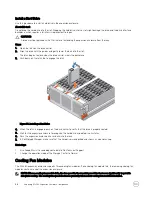
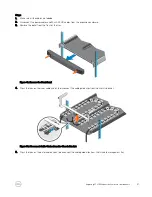
Turn the screw handle counter-clockwise until the EMM is unseated from the chassis.
42
Replacing SCv360 Expansion Enclosure Components

