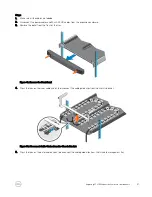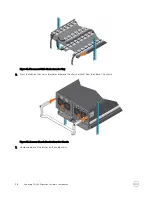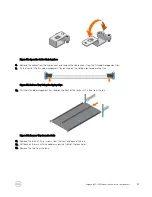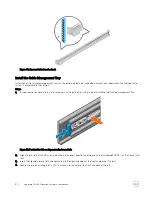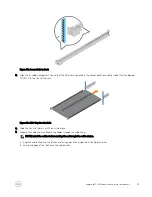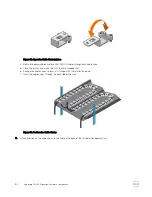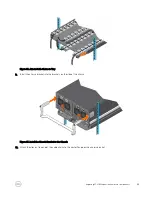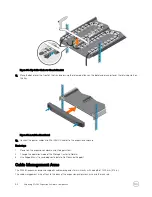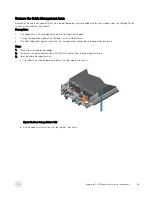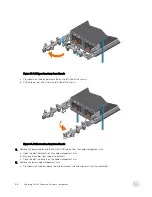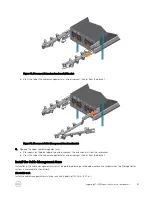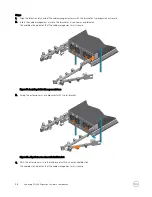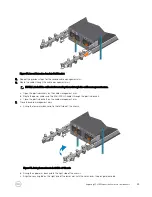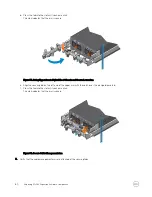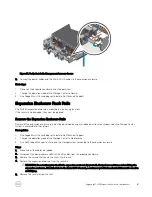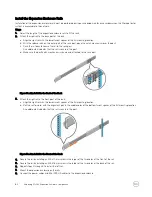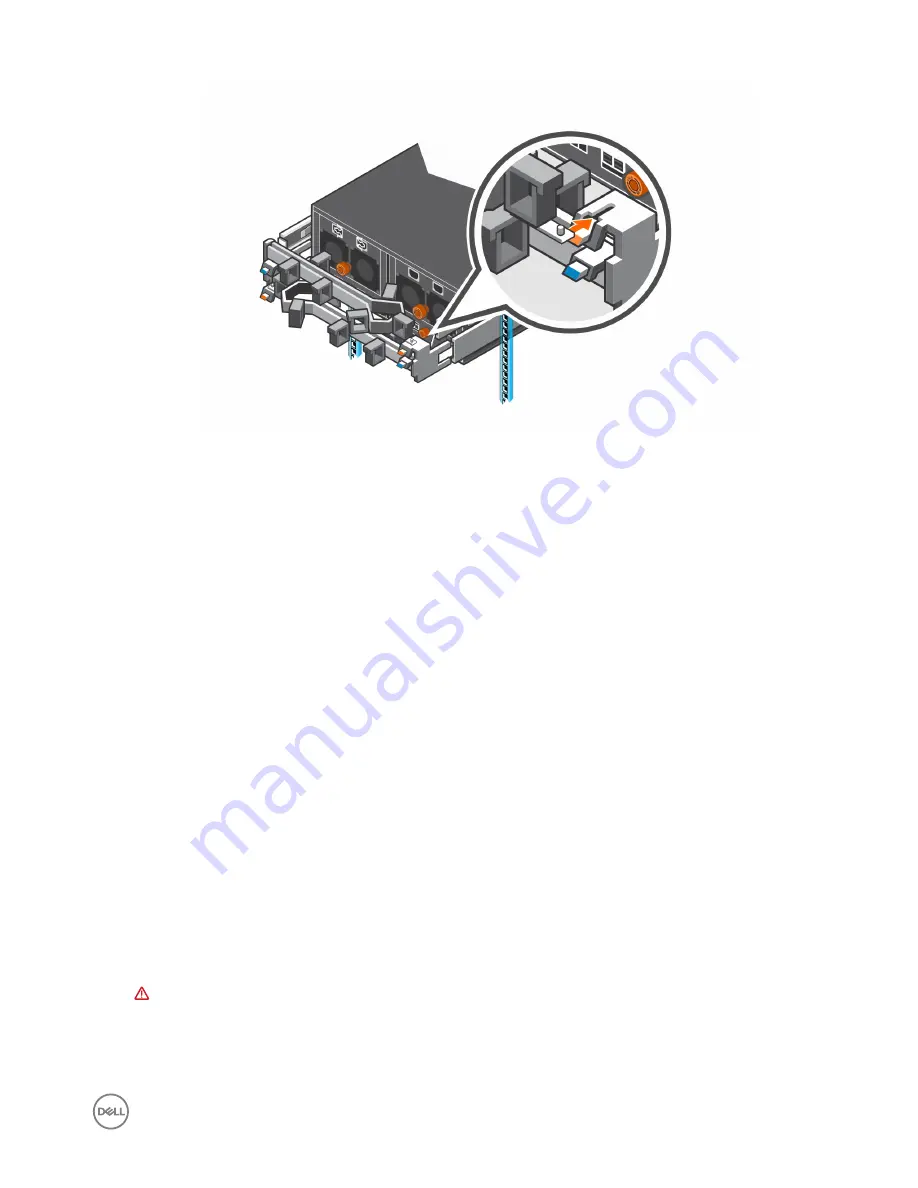
Figure 77. Verify that Cable Management Arms are Secure
9.
Connect the power cables and the Mini-SAS HD cables to the expansion enclosure.
Next steps
1.
Power on the expansion enclosure and storage system.
2.
Change the operation mode of the Storage Center to Normal.
3.
Use SupportAssist to send diagnostic data to Dell Technical Support.
Expansion Enclosure Rack Rails
The SCv360 expansion enclosure is mounted in a rack using rack rails.
If the rack rails are damaged, they must be replaced.
Remove the Expansion Enclosure Rails
Removal of the expansion enclosure rails must be performed during a scheduled maintenance window when the Storage Center
system is unavailable to the network.
Prerequisites
1.
Use SupportAssist to send diagnostic data to Dell Technical Support.
2.
Change the operation mode of the Storage Center to Maintenance.
3.
Use Dell Storage Manager to shut down the storage system connected to the expansion enclosure.
Steps
1.
Make sure all the cables are labeled.
2.
Disconnect the power cables and Mini-SAS HD cables from the expansion enclosure
3.
Remove the screws that secure the chassis to the rack.
4.
Remove the expansion enclosure from the rack rails.
WARNING: Do not attempt to the lift the expansion enclosure by yourself. Always have assistance when lifting the
expansion enclosure. If installed above the lower 20U of a rack, a customer-provided mechanical lift must be used to
avoid injury.
5.
Remove the rack rails from the rack.
Replacing SCv360 Expansion Enclosure Components
61

