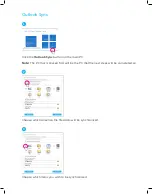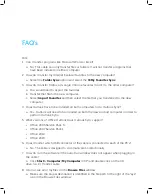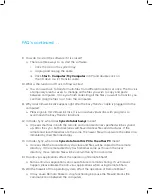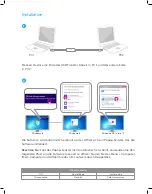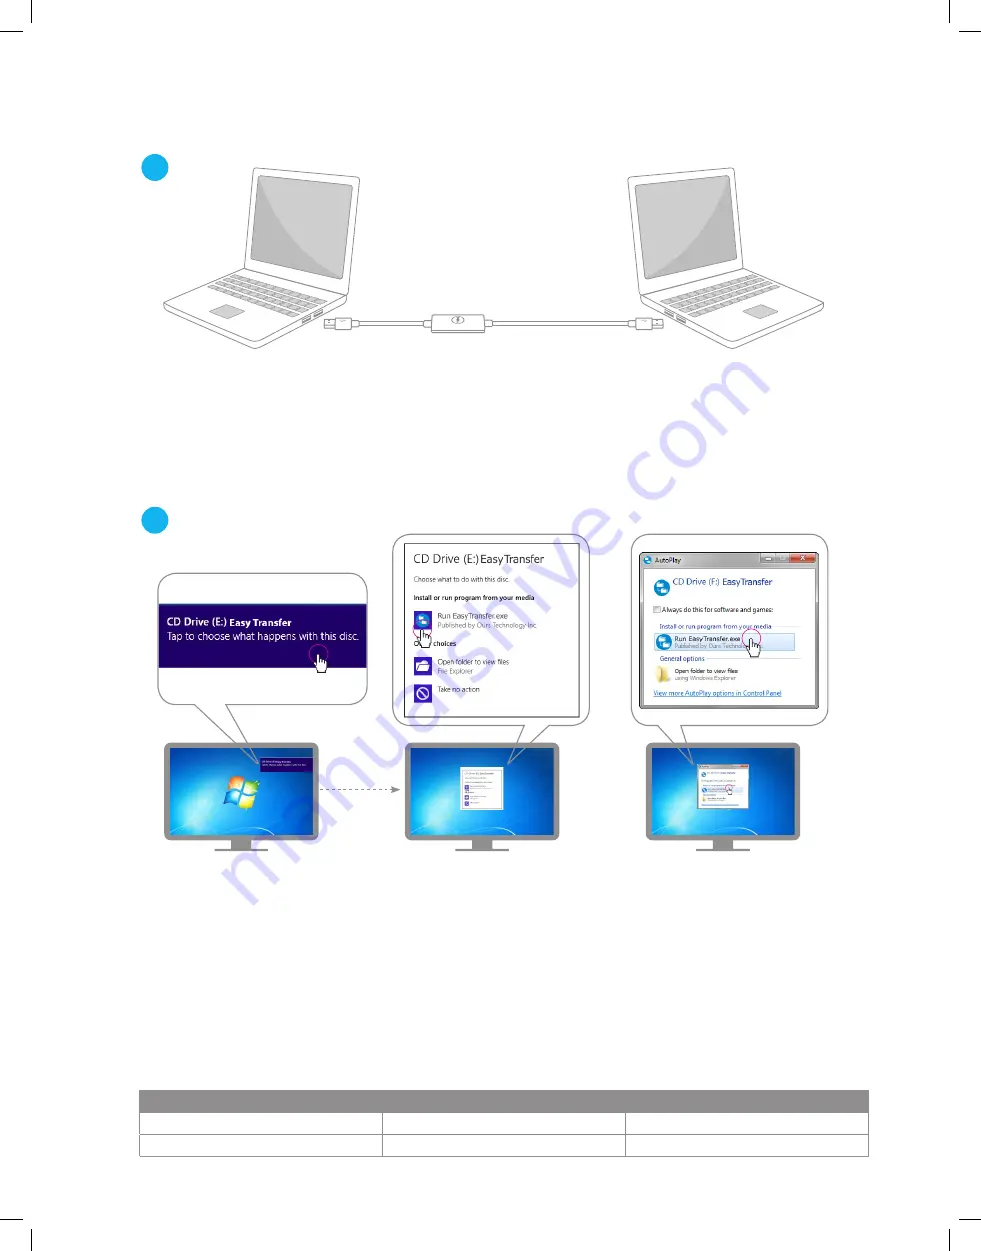
PC1
PC2
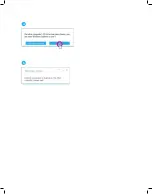
Windows 8
Windows 8
Windows XP / Vista / 7
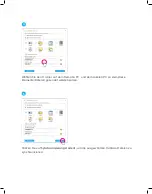
Installation
Stecken Sie das eine Ende des USB Transfer-Kabels in PC 1 und das andere Ende
in PC 2.
Die Software wird automatisch erkannt und es öffnet sich ein Popup-Fenster, das die
Software initialisiert.
Beachten Sie:
Falls das Popup-Fenster nicht automatisch erscheint, verwenden Sie den
folgenden Pfad, um die Software manuell zu öffnen: Starten Sie das Menü > Computer
(Mein Computer) und öffnen Sie das CD-Laufwerk durch Doppelklick.
1
2
USB LED Behavior
Off
Slow blinking
Fast blinking
Disconnected
Standby
Data transmission
Summary of Contents for USB Easy Transfer
Page 1: ...Dell USB Easy Transfer Cable for Windows User Guide ...
Page 2: ...Introduction Setup FAQ Troubleshooting Content MAN_Dell_TransferCable_UserGuide_English_RA ...
Page 3: ...Introduction Dell USB Easy Transfer Cable for Windows User Guide ...
Page 10: ...5 4 ...
Page 16: ......
Page 17: ...Dell USB Easy Transfer Kabel für Windows Benutzerhandbuch ...
Page 18: ...Einführung Installation FAQ Fehlerbehebung Inhalt MAN_Dell_TransferCable_UserGuide_German_RA ...
Page 19: ...Einführung Dell USB Easy Transfer Kabel für Windows Benutzerhandbuch ...
Page 26: ...5 4 ...
Page 32: ......
Page 33: ...Dell Cable USB Easy Transfer para Windows Guía del usuario ...
Page 35: ...Introducción Dell Cable USB Easy Transfer para Windows Guía del usuario ...
Page 42: ...5 4 ...
Page 48: ......
Page 49: ...Dell Guide de l utilisateur du câble de transfert de fichiers et paramètres USB pour Windows ...
Page 50: ...Introduction Installation FAQ Dépannage Contenu MAN_Dell_TransferCable_UserGuide_French_RA ...
Page 58: ...5 4 ...
Page 64: ......
Page 65: ...Dell Cavo USB Easy Transfer per Windows Guida utente ...
Page 67: ...Introduzione Dell Cavo USB Easy Transfer per Windows Guida utente ...
Page 74: ...5 4 ...
Page 80: ......


