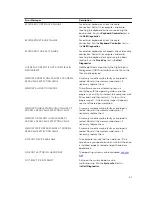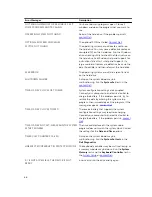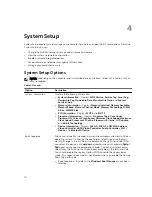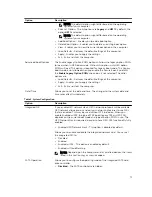
Option
Description
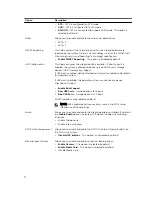
•
ATA
- SATA is configured for ATA mode.
•
AHCI
- SATA is configured for AHCI mode.
•
RAID ON
- SATA is configured to support RAID mode. This option is
selected by default.
Drives
Allows you to enable or disable the various on-board drives:
• SATA-0
• SATA-1
SMART Reporting
This field controls if the hard drive errors for the integrated drives are
reported during system startup. This technology is part of the SMART (Self
Monitoring Analysis and Reporting Technology) specification.
•
Enable SMART Reporting
- This option is disabled by default.
USB Configuration
This field configures the integrated USB controller. If
Boot Support
is
enabled, the system is allowed to boot any type of USB mass storage
devices (HDD, memory key, floppy).
If USB port is enabled, device attached to this port is enabled and available
for operation system.
If USB port is disabled, the operation system cannot see any device
attached to this port.
•
Enable Boot Support
•
Rear USB Ports
- Include options for 6 ports
•
Side USB Potrs
- Include options for 2 ports
All of the options are enabled by default.
NOTE: USB keyboard and mouse always work in the BIOS setup
irrespective of these settings.
Audio
Allows you to enable or disable the integrated audio controllers. By default,
the
Enable Audio
option is selected. This option includes the following
functions.
• Enable Microphone
• Enable Internal Speaker
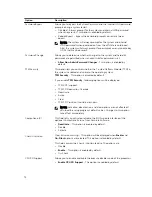
OSD Button Management
Allows you to enable or disable the OSD (On-Screen Display) buttons on
the All-In-One system.
•
Disable OSD buttons
- This option is unchecked by default.
Miscellaneous Devices
Allows you to enable or disable various on-board devices.
•
Enable Camera
- This option is selected by default.
•
Enable Media Card
- This option is selected by default.
• Disable Media Card
72
Summary of Contents for vostro 23-3340
Page 1: ...Dell Vostro 23 3340 Owner s Manual Regulatory Model W10C Regulatory Type W10C001 ...
Page 7: ...System Setup Options 70 Flashing the BIOS 80 5 Specifications 81 6 Contacting Dell 84 ...
Page 63: ...20 Replace the memory module s 21 Replace the back cover 22 Replace the stand assembly 63 ...

