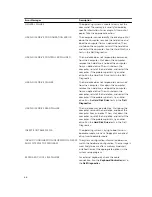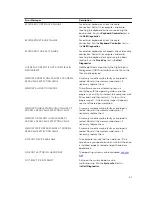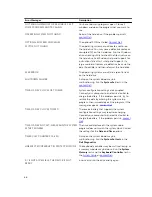
Option
Description
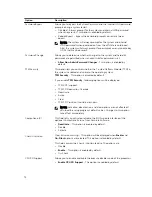
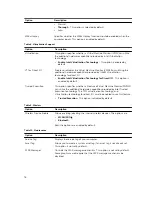
NOTE: This option is relevant only when the Integrated NIC control in
the System Configuration group is set to Enable with Cloud Desktop.
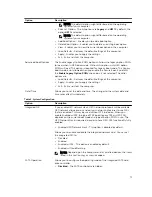
Domain Name
This option specifies the domain name of the client.
NOTE: This option is relevant only when the Integrated NIC control in
the System Configuration group is set to Enable with Cloud Desktop,
and when the client address method is set to static IP.
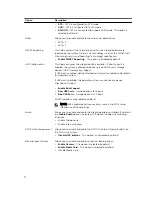
Advanced
This option turns on the Verbose Mode for advanced debugging. By
default, this option is disabled.
NOTE: This option is relevant only when the Integrated NIC control in
the System Configuration group is set to Enable with Cloud Desktop.
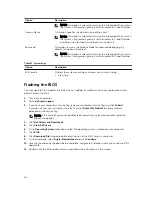
Table 12. System Logs
Option
Description
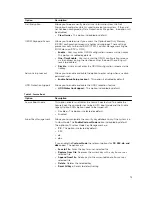
BIOS events
Displays the system event log and allows you to clear the log.
• Clear Log
Flashing the BIOS
You may need to flash (update) the BIOS when an update is available or when you replace the system
board. To flash the BIOS:
1.
Turn on the computer.
2.
Go to
dell.com/support
.
3.
If you have your computer's Service Tag, type your computer's Service Tag and click
Submit
.
If you do not have your computer's Service Tag, click
Detect My Product
to allow automatic
detection of the Service Tag.
NOTE: If the Service Tag cannot be detected automatically, select your product under the
product categories.
4.
Click
Get Drivers and Downloads
.
5.
Click
View All Drivers
.
6.
In the
Operating System
drop-down, select the operating system installed on your computer.
7.
Click
BIOS
.
8.
Click
Download File
to download the latest version of the BIOS for your computer.
9.
On the next page, select
Single-file download
and click
Continue
.
10.
Save the file and once the download is complete, navigate to the folder where you saved the BIOS
update file.
11.
Double-click the BIOS update file icon and follow the instructions on the screen.
80
Summary of Contents for vostro 23-3340
Page 1: ...Dell Vostro 23 3340 Owner s Manual Regulatory Model W10C Regulatory Type W10C001 ...
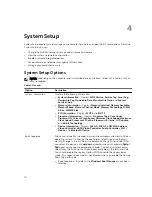
Page 7: ...System Setup Options 70 Flashing the BIOS 80 5 Specifications 81 6 Contacting Dell 84 ...
Page 63: ...20 Replace the memory module s 21 Replace the back cover 22 Replace the stand assembly 63 ...

