●
Hard-drive cables
●
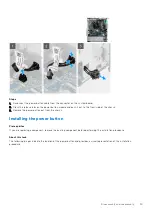
Power-button cable
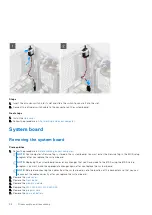
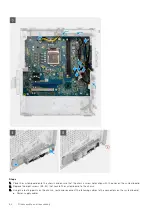
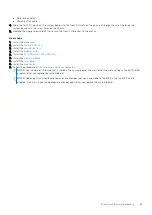
4. Slide the front I/O-ports on the system board into the front I/O-slots on the chassis and align the screw holes on the
system board with the screw holes on the chassis.
5. Replace the single screw (#6-32) to secure the front I/O-bracket to the chassis.
Next steps
1. Install the
.
2. Install the
.
3. Install the
4. Install the
5. Install the
/
6. Install the
.
7. Install the
.
8. Install the
.
After working inside your computer
.
NOTE:
Your computer’s Service Tag is stored in the system board. You must enter the Service Tag in the BIOS setup
program after you replace the system board.
NOTE:
Replacing the system board removes any changes that you have made to the BIOS using the BIOS setup
program. You must make the appropriate changes again after you replace the system board.
Disassembly and reassembly
65
Summary of Contents for Vostro 3881
Page 1: ...Vostro 3881 Service Manual Regulatory Model D29M Regulatory Type D29M002 August 2021 Rev A01 ...
Page 3: ...1 Major components of your system 3 ...
Page 4: ...Major components of your system 4 Major components of your system ...
Page 43: ...Disassembly and reassembly 43 ...
Page 60: ...60 Disassembly and reassembly ...
Page 63: ...Disassembly and reassembly 63 ...

